
Showing posts with label tree. Show all posts
Showing posts with label tree. Show all posts
Tuesday, February 26, 2019
Life is A Beautiful Ride Assemblage


Friday, December 7, 2018
Christmas Bulb Ornament

Here's a fun little ornament made with an upcycled light bulb to adorn your Christmas tree.
Materials:
Makin's Clay®: WHITE / RED
Clear Glass Ornament
Krazy® Glue
Art C Wax : Silver / Gold
Ribbon
Recommended Makin's® Tools:
Makin's® Christmas Nature Push Mold
Makin's Professional® Ultimate Clay Machine
Instructions:
 Roll out some WHITE Makin's Clay® on the # 3 setting on the Makin's Professional® Ultimate Clay Machine®.
Cover the bulb with the rolled out clay. I textured the clay while it was wet using an old gardening glove.


I glued, using Krazy® Glue, the poinsettia and bow to the front and back of the bulb. Let dry.


After the bulb was dried, I used Art C wax in gold and silver to highlight the piece. I also added a ribbon to the top. Now how easy was that! Merry Christmas.


Thursday, November 30, 2017
Church Window Ornament
 |
| Church Window Ornament by Carole Monahan |
Materials:
Makin's Clay® - 2oz Brown
Beacon Tacky
Glue™
Mylar or Tavoos
Dichroic films
Stringing
materials
Tools:
Makin's Professional® Ultimate Clay Extruder® - Extruder discs 6
and 18
Makin's Professional® Professional Tool Kit
I used the gothic window stencil board as a
pattern it is under a glass pane.
You can get the Masonite and just cover the
board with clay as well.
Extrude brown clay with the larger disc 1st 18
about 1 foot. Trim with the flat blade from the professional tool kit.
Place over the pattern and press onto the glass sheet to hold in place.
Then extrude with the smaller disc # 6 to add the small circles and details.
To smooth use the medium tip sculpting tool and spray with a little water.


After the window has dried for 24 hours, gently
remove from the glass and glue it on to the Tavoos or mylar sheet.
Let the Beacon’s Tacky Glue cure completely then trim off any excess.


I used a hole in the top to string the window
and it is ready to hang on your tree!
Saturday, November 25, 2017
Christmas Tree Dangle Earrings
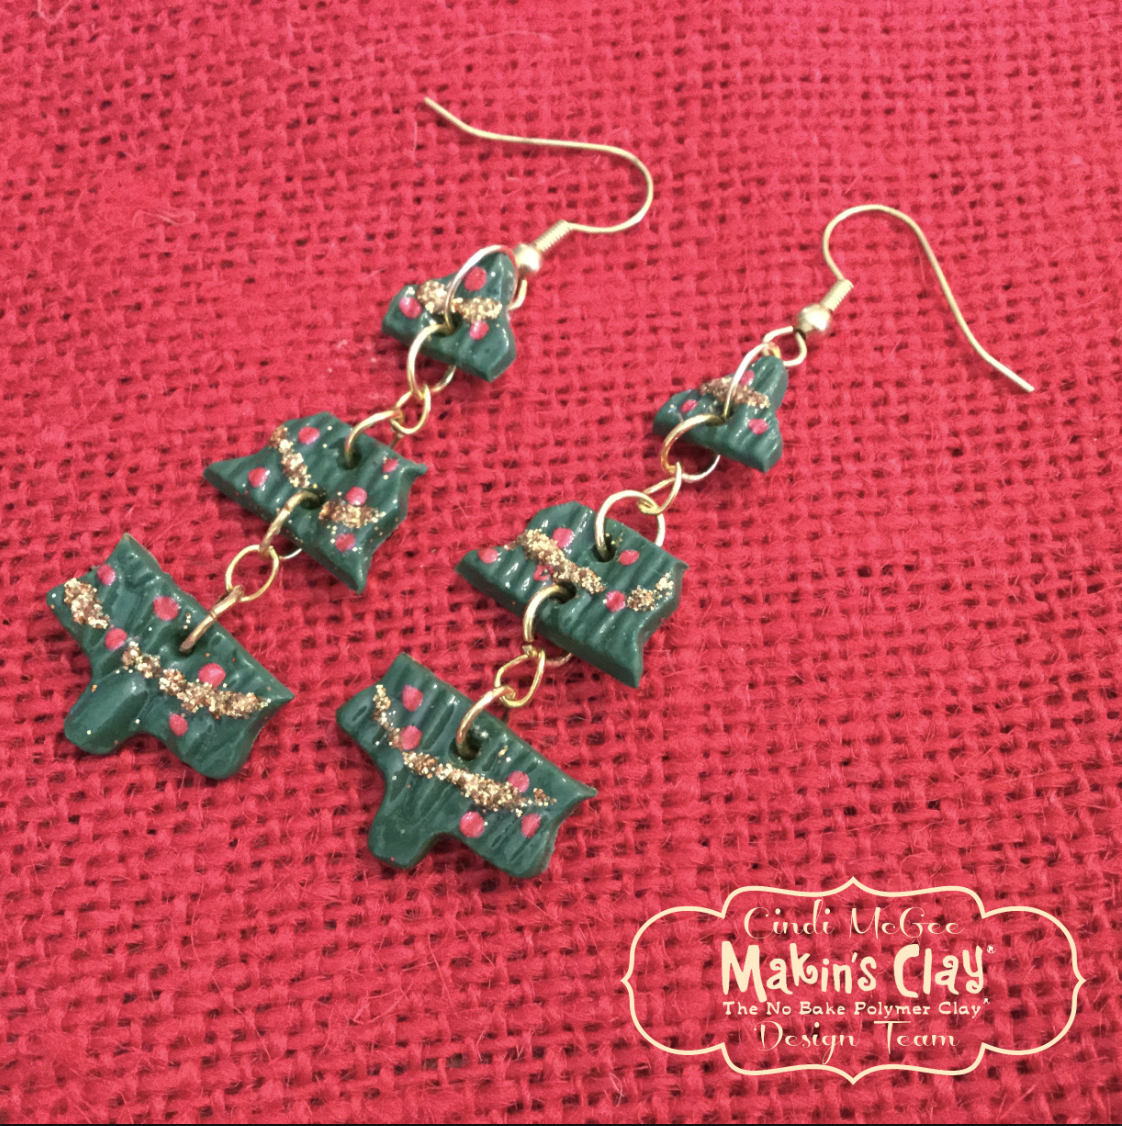
Materials:
Makin’s Clay® - Grape Leaf
Makin’s®
Texture Sheet Set D - Woodgrain
Clay Roller
Christmas Clay Cutter Set
Makin’s Professional - Professional Clay Tools
DecoArt® Dazzling Metallics™ -
Toothpick
Paintbrush
Judikins™ Diamond Glaze™
ART Instittue Glitter - Egyptian Gold
Gold jump rings (8 medium, 2 large), gold chain, gold earring wires
Jewelry pliers
Instructions:
Roll grape leaf green clay to a little more than 1/8” thick.
Place Woodgrain texture sheet over the rolled clay and press to transfer texture.


Use Christmas Tree clay cutter from Christmas set to cut out two trees from textured clay.
Use cutting wheel to cut each tree into 3 sections (as equal in width as possible).


 Use clay tool to make a small hole in the top center of the bottom third of the tree, two holes as shown in the center of the tree, and one in the bottom center of the top of the tree.
 Let dry 24 hours.
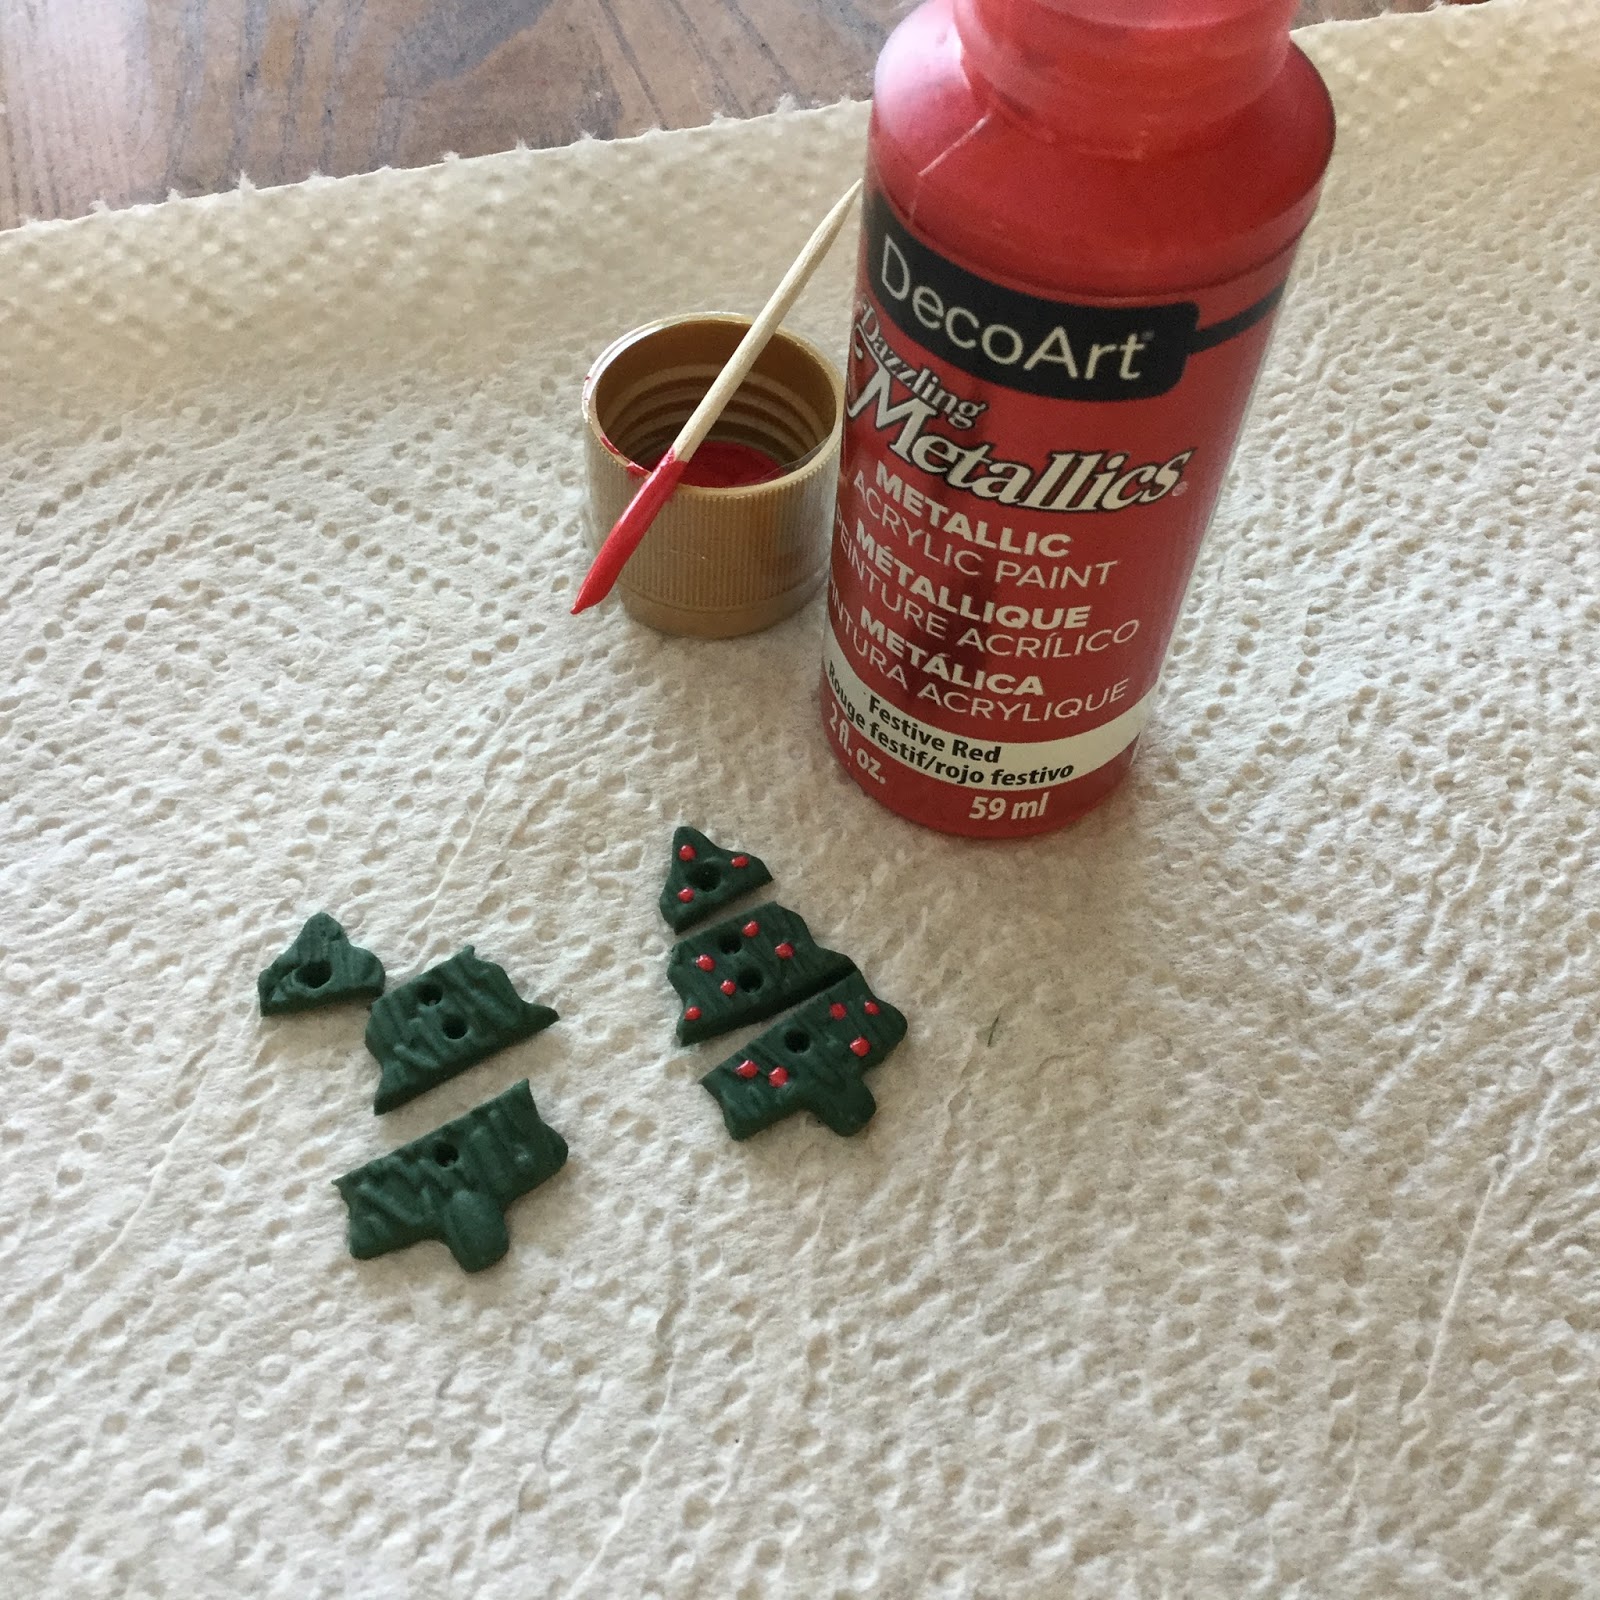
Use toothpick to make small dot “ornaments” with red Dazzling Metallics paint. Let dry.
Use toothpick to add small “garland” lines on tree with Diamond Glaze. While glaze is still wet, dip into gold ART Glitter. Let dry thoroughly.
Use dry paintbrush to brush away any excess glitter.


Apply a coat of Diamond Glaze over entire surface of trees. Let dry, then coat sides and back of trees. Let dry.

Add gold jump rings to re-connect each section of the tree. Add earring wires.

Tuesday, December 20, 2016
Coiled Holiday Tree Card
 |
| Coiled Holiday Tree Card by Erin Reed |
This month Makin's Clay® challenged it's Design Team members to select a Pin from our Tutorials & Techniques Board or our Polymer Clay Inspiration Projects Board and create a project using Makin's Clay® based upon the chosen pin. Our goal was not to have our designers simply copy of the projects, yet be inspired to perhaps try a new technique, or create a project style they might not normally have considered.
Hi all, Erin here today. I just recently went to a wine and painting class with some friends and the painting we did there used swirls to create a tree, and I thought why can't that translate into a card? Then I was browsing through the Makin's Clay® Tutorials & Techniques Pinterest board and I came across this fun technique using the Makin's Professional® Ultimate Clay Extruder® to make extrusions and then turn them into swirls, and it seemed like a match made in heaven!!
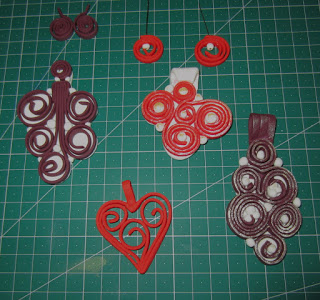 |
| https://www.pinterest.com/pin/501588477234460867/ |
 Materials:
Makin's Clay®
- Vineyard Tones - Grape Leaf, Merlot
- Earth Tones - Straw
Makin's®
- Christmas Nature Push Mold
- Clay Tools
Makin's Professional®
- Ultimate Clay Extruder® - Disc #7, Disc #4
- Cutting Mat
Card - Canvas Corp Brands
Ink - Brutus Monroe
Beacon 3-in-1 Adhesive™
Instructions:


 3) Remove triangle shaped paper, and glue swirls into place on Canvas Corp burlap stitched card with Beacon 3-in-1 Adhesive™.
4) Use the extruder and disk 4 with the Merlot clay and cut
symmetrical size pieces and roll into little balls. Glue decorative balls and star onto tree. Ink edges of card with Brutus Monroe green ink.


Here is a full video tutorial on how I made this swirl clay Christmas tree card.
https://www.youtube.com/watch?v=okkW76AfiwA
https://www.youtube.com/watch?v=okkW76AfiwA
Now you have a fun cute card to give to a special person for Christmas. You can also translate this idea into a decorative canvas or an ornament!!
Tuesday, December 6, 2016
Christmas Angels
 |
| Christmas Angels by Martha Lucia Gomez |
Hello dear friends, Martha Lucia here with you. Today I want to share some Angels for the Christmas season that I made using Makin's Clay® white with die cuts and applying one easy texture technique that you can find on our Tutorials & Techniques Pinterest board.
 |
| https://www.pinterest.com/pin/501588477227991796/ |
Product List:
- White
Circle and Heart Dies (Makin's® 4 Piece Large Circles and Hearts Clay Cutter Sets could also be used)
Crochet Doily
Tattered Angel Glimmer Mist
Crochet Doily
Tattered Angel Glimmer Mist
Instructions:
Take a small amount of white clay and smooth it with your hands to create an uniform ball. Create a thin layer of clay using the roller. The size of the layer depends on the size of the circle die cut that you want to use or the size of your angel. I used a 3" diameter circle.


Now it is time to apply an easy and simple texture technique using a crochet doily. Just turn over the clay circle and place the doily over the circle and press over it. With more pressure you get more texture, however, be careful you don't lose the original form. (Optional - texture your clay then cut the circle.)
 Create a "semi" cone with the circle leaving a tiny space on top to put the head of the angel.
Roll additional white clay to make the wings. For these you will use a heart die(or clay cutter). Just cut the form using the cutter tool.

Paste the heart behind of the cone with a few drops of water. (Fresh
clay will stick to fresh clay without additional adhesive - by moistening it a bit you ensure a good adhesion. If adhesive is needed, us a clear drying adhesive such as Beacon Adhesives Tacky Glue™).
clay will stick to fresh clay without additional adhesive - by moistening it a bit you ensure a good adhesion. If adhesive is needed, us a clear drying adhesive such as Beacon Adhesives Tacky Glue™).

With a little small amount of white clay, create a ball and paste on top of the cone with a few drops of water. If you want you can create at the same time the halo and paste it behind the head.
 Now that your angel is ready, you can decide if you want to keep it white or if you want to add a few touches of color. I am here to show you the difference.
I added some shimmer to one of mine using Glimmer Mist Poppy Pink from Tattered Angels.

I hope my project inspires you. Makin's Clay® has a lot of colors and shares a lot of techniques on their Pinterest Boards and you can visit us HERE to find inspiration to create your special decorations. Thank you for stopping by and see you soon!
Subscribe to:
Posts (Atom)