Design Team Member Patricia Krauchune recently shared this wonderfully textured lace heart pendant made with Makin's Clay®.
Pages - Menu
Search This Blog
Showing posts with label Patricia Krauchune. Show all posts
Friday, June 28, 2019
Thursday, June 6, 2019
"Connected" Steampunk Heart Pendant
![]() |
| "Connected" Steampunk Heart Pendant by Patricia Krauchune |
Supplies:
Black Makin's Clay®
1" screw
1/4" small screw
2 gears
Small piece of copper wire
1" piece of chain
Stack of three gears
2 eyelets
Small piece of ball chain
Art -C wax in gold, silver, copper
Materials:
Free form a heart shape from a 1" ball of black Makin's Clay®.
Make a diagonal cut through the heart.
Using the 1" screw, insert the screw through the top of the heart into the bottom piece.
Add a gear at the top part of the heart where the two pieces come together. Another gear is inserted at the other end of the "seam" but inserted between the two pieces.
Make 2 "U" shapes from the copper wire and use them as "staples" to keep the two halves together. A small screw was added to the top right side of the heart. A small 1" piece of chain was attached to the right side uses 2 small copper "U" shapes.
Saturday, May 25, 2019
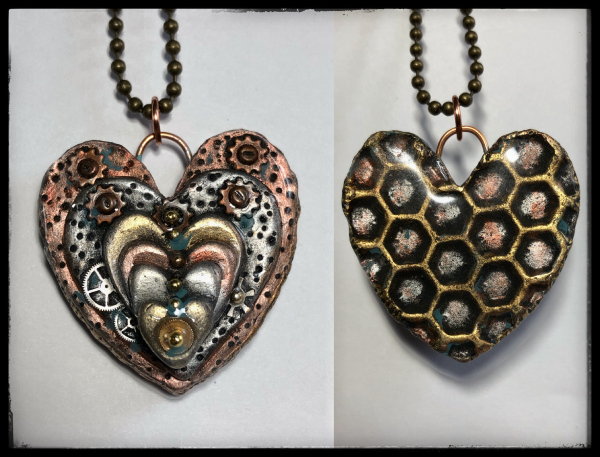
Layers of My Heart Pendant
Design Team Member Patricia Krauchune recently shared this wonderful steampunk style pendant. Pat used a Makin's® texture sheet to add this great honeycomb texture to the back of her pendant.
Tuesday, May 7, 2019
Steampunk Unhinged Heart Pendant
![]() |
| Steampunk Unhinged Heart Pendant by Patricia Krauchune |
I decided that for this year on the Design Team, I am doing a year of hearts. So here is my Unhinged Heart to start off the new year…can you feel the beat?
Supply list:
- Black Makin’s Clay®
- Makin’s® Texture Sheet: Diamond Tread from Set A
- 2 Gears / Small Hinge / 3 Eyelets / 3 Brads / 6 Nails
- Copper Wire
- Small Compass
- Art© Wax in Silver, Gold, Copper
Form a rough heart shape from some Black Makin’s Clay® and place it over the Diamond Tread Texture Sheet. Cut the heart in half, then insert the small hinge to connect the two pieces.
There you have it, a hinged steampunk heart.
Next, I added 2 gears to the top half of the heart and a bale I formed from the copper wire. I also added a small screw below the gears.
To the bottom half of the heart, I added a mini compass, 3 eyelets with brads in the middle and 6 small nails to the side. I then poked some holes with an awl to give the front surface more texture.
Let dry overnight.
The heart was then colored with Art© waxes in Silver, Gold and Copper. Add bead chain and closure.
There you have it, a hinged steampunk heart.
Sunday, March 10, 2019
Geared Heart Pendant
![]() |
| GEARED HEART PENDANT by Patricia Krauchune |
I love using small pieces of left over clay to make a new project. Nothing goes to waste if you use Makin's Clay®!
Supplies:
Small piece of dried Makin's Clay® (any color)
6 Jump rings
Large, medium and small gear
Watch stem
DecoArt® Extreme Sheen Copper paint
Tin paint, Aged Bronze paint
Paintbrushes
Small screw
Patina paint
Drill to make small holes (or similar tool - Makin's Clay® is easily drilled with a pick tool, even after it is dry!)
Craft knife or carving tool
Clay tool to make "carved" lines
Jewelry pliers
Bead chain
Krazy® Glue or strong clear drying adhesive such as Beacon 527®
Makin's Professional® Cutting Mat
Instructions:
Draw a heart shape on a piece of dried clay.
Carve out the heart shape and refine the edges.
Drill small holes as shown in the picture.
Attach jump rings to the holes you just drilled.
Texture the heart by carving some lines.
Start layering part by first painting on copper, tin, and then aged bronze metallic paints.

Stack the three gears starting with the largest and ending with the smallest. Push a watch stem into the holes in the gears and glue to the heart front.
Add a tiny screw to the base of the heart.
Lastly, use a little patina paint to age the piece.
Add bead chain.
Labels:
air dry clay,
carved clay,
carving,
fashion,
gears,
heart,
heart art,
jewelry,
Makin's Clay®,
metallic paint,
mixed-media,
necklace,
no bake clay,
Patricia Krauchune,
pendant,
polymer clay,
steampunk
Sunday, February 24, 2019
Steampunk "Faucet" Bottle of Hope
Design Team Member Patricia Krauchune recently shared this fun Steampunk style Bottle of Hope made with Makin's Clay®!
Note - Here is a bit more information about what Bottles of Hope are - Makin's Clay® is proud to have our designers supporting this worthy effort through the creation of Bottles of Hope featuring Makin's Clay®.
Bottles of Hope are small glass bottles covered with polymer clay and given to cancer patients. They symbolize a wish and a hope for health. This project was started in 1999 by a Rhode Island cancer survivor and has spread internationally. Bottles are made by artists, students, survivors, seniors and many more who volunteer their time and love. Learn more about this worthwhile project, see a gallery of many creative bottles and more here on their website.
Tuesday, February 5, 2019
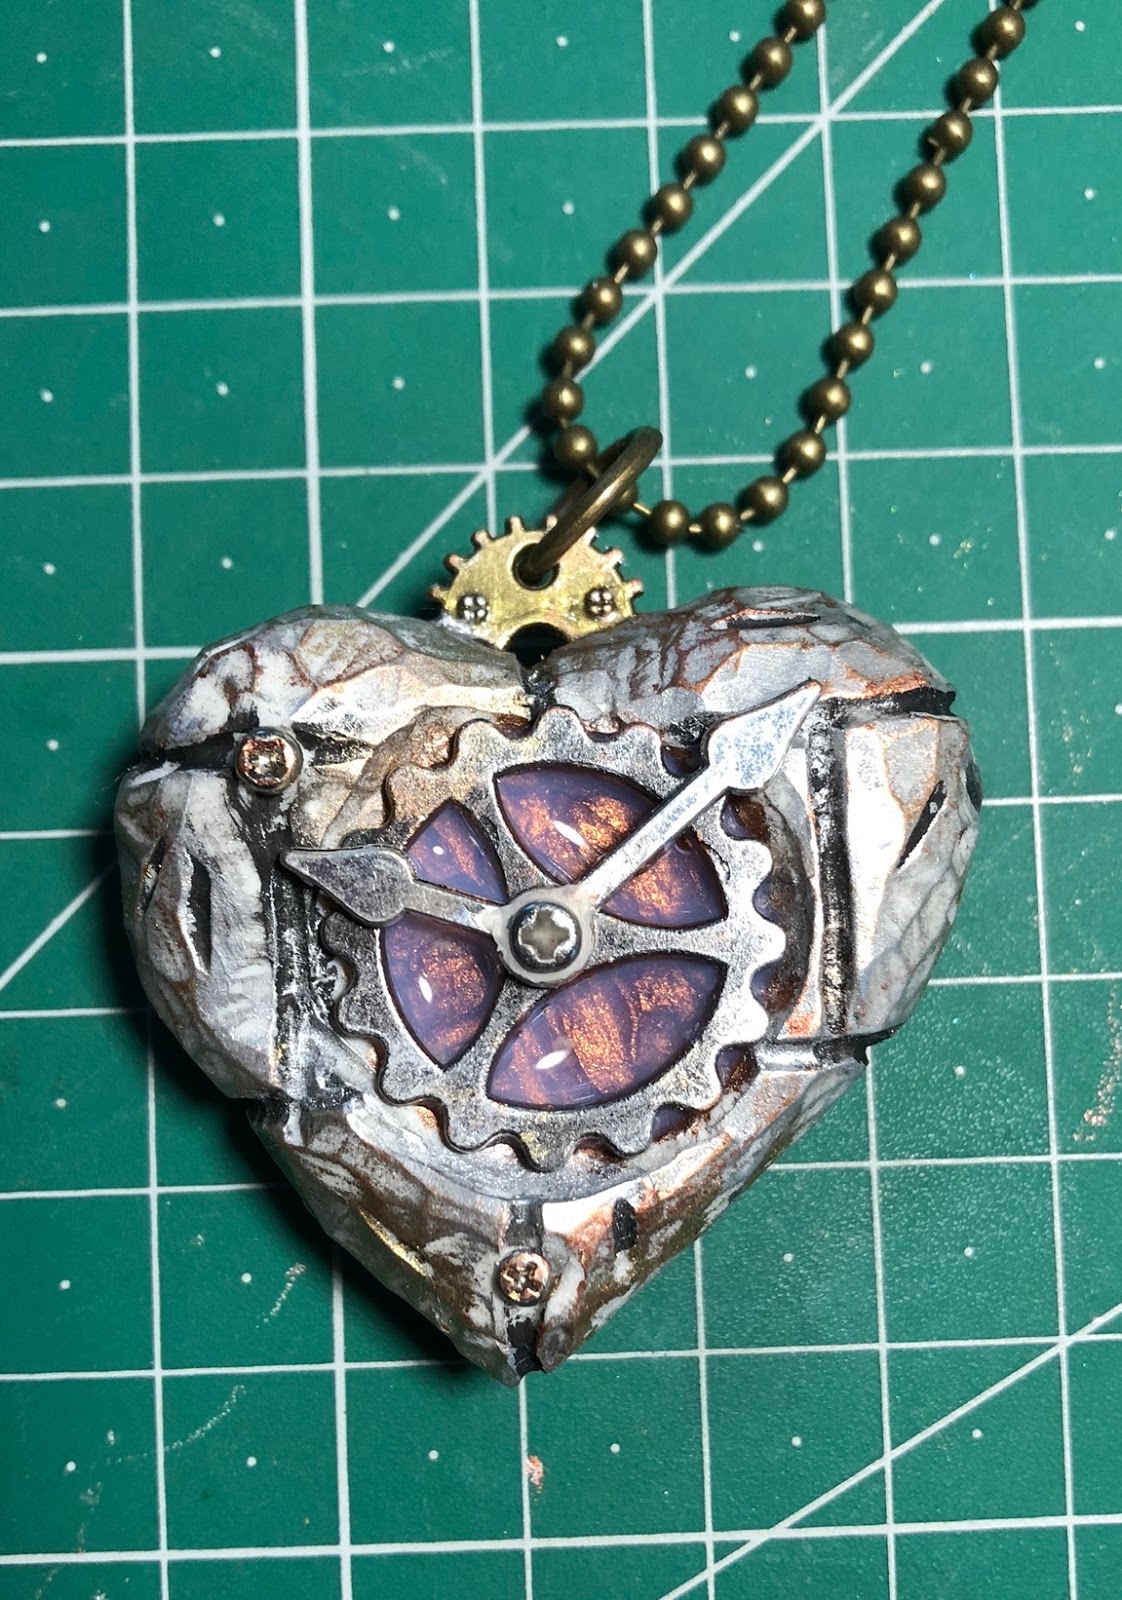
Hard Hearted Carved Polymer Clay Heart Pendant
![]() |
| Hard Hearted by Patricia Krauchune I love the fact that there is no waste with Makin’s Clay®. To demonstrate that, I left a package of clay opened for a couple of months to dry out. Here’s how I proceeded! |
Supplies:
- Makin's Clay® - White
- Makin's Professional® Cutting Mat
- Carving knife
- Linoleum cutter
- Large gear, Small Gear
- Clock hands
- 5 Minute Epoxy
- Art C® Wax
- Small screws
- Diamond Glaze
- Bead chain
- Jump ring
Instructions:
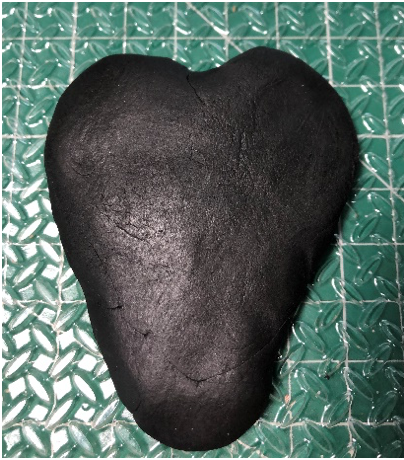
Draw a heart shape onto some totally dried out white clay. Cut out with a scroll saw.
Next, using a sharp knife, round off the edges. HINT: Draw a center line around the middle of the edge and round toward the line.
Draw some lines then use a linoleum cutter to make some grooves.
Hollow out an area for the large gear and place the gear over the opening.
Cut a groove at the top of the heart to hold a small gear that will be the bale. Epoxy the gear into the groove.
Epoxy a small screw through the hole in the clock hands and gear. Set aside to cure.
The heart was “antiqued” with Art C® wax. A bit of Diamond Glad was added to the center of the gear.
A jump ring was added to the top gear and the pendant is hung with a bead chain.
Labels:
air dry clay,
carved clay,
carving,
fashion,
gears,
heart,
hearts,
jewelry,
Makin's Clay®,
mixed-media,
necklace,
no bake clay,
Patricia Krauchune,
pendant,
polymer clay,
steampunk,
Valentine's Day
Friday, January 25, 2019
Bottle of Hope
Patricia Krauchune recently shared this cute little Bottle of Hope embellished with Makin's Clay®!
Note - Here is a bit more information about what Bottles of Hope are - Makin's Clay® is proud to have our designers supporting this worthy effort through the creation of Bottles of Hope featuring Makin's Clay®.
Bottles of Hope are small glass bottles covered with polymer clay and given to cancer patients. They symbolize a wish and a hope for health. This project was started in 1999 by a Rhode Island cancer survivor and has spread internationally. Bottles are made by artists, students, survivors, seniors and many more who volunteer their time and love. Learn more about this worthwhile project, see a gallery of many creative bottles and more here on their website.
Friday, January 4, 2019
Zippy the Robot
![]() |
| Zippy the Robot by Patricia Krauchune |
Here's a little bottle robot I made using a small piece of zipper, some ball chain and gears.
Makin's Clay®: Black Ball Chain 3 Mini Gears
Small Bottle 2 Square Eyelets 3 Glass Pins
Piece of Zipper 1 Large Gear / 1 Medium Gear 5 Minute Epoxy
Krazy® Glue Small Bulb Art C & Cosmic Shimmer Gilding Wax
Recommended Makin's® Tools:
Makin's Professional® Ultimate Clay Machine® Makin's® Texture Sheet - Tractor Tread B
Instructions:
Trim the piece of zipper to fit onto the front of the small bottle.
Use some Krazy® Glue to attach the zipper to the bottle.
Roll out some Black Makin's Clay® on the # 2 setting on the Makin's Professional® Ultimate Clay Machine®.
Cover the bottle with the rolled out clay and immediately add texture using the Tractor Tread B Makin's® Texture Sheet.
Push a couple of square eyelets into the side of the bottle to form a "socket" for the ball chain arms. Secure using Krazy® Glue.
Next I glued a medium size gear to the bottle top followed by a bulb for the robot's head.
Three small gears were added inside the zipper space.
A small piece of ball chain was added around the neck of the bottle and three glass pins were used to secure the small gears.
I used 5 minute epoxy to attach a large gear on the bottle bottom.
The robot was "colored" using Art C and Cosmic Shimmer Gilding wax.
Sunday, December 16, 2018
Treasures of the Heart Pendant
Design Team Member Patricia Krauchune recently shared this unique Steampunk style heart pendant made for a special friend. Pat carved her heart from a fully cured block of black Makin's Clay®, then added found treasures her friend located while on a metal detecting adventure.
Friday, December 7, 2018
Christmas Bulb Ornament
Here's a fun little ornament made with an upcycled light bulb to adorn your Christmas tree.
Materials:
Makin's Clay®: WHITE / RED
Clear Glass Ornament
Krazy® Glue
Art C Wax : Silver / Gold
Ribbon
Recommended Makin's® Tools:
Makin's® Christmas Nature Push Mold
Makin's Professional® Ultimate Clay Machine
Instructions:
Roll out some WHITE Makin's Clay® on the # 3 setting on the Makin's Professional® Ultimate Clay Machine®.Cover the bulb with the rolled out clay. I textured the clay while it was wet using an old gardening glove.
I glued, using Krazy® Glue, the poinsettia and bow to the front and back of the bulb. Let dry.
After the bulb was dried, I used Art C wax in gold and silver to highlight the piece. I also added a ribbon to the top. Now how easy was that! Merry Christmas.
Subscribe to:
Posts (Atom)