Pages - Menu

Search This Blog

Showing posts with label JudiKins Diamond Glaze. Show all posts

Saturday, April 28, 2018

Spring Daisy Pendant


Spring Daisy Pendant by Cindi McGee
This quick & easy Spring Daisy Pendant would be a great project for any age group and would be fun for a summer camp workshop.  Switch up the colors and you could simulate many kinds of flowers with similar petals - purple Echinacea Cone Flowers, Brown Eyed Susans, or fantasy flowers in unexpected colors. 

Materials:

Makin’s Clay® - Multi-Pack of Primary Colors 
Makin’s® 
  • Clay Cutter Set - Round
  • Clay Tool Set 
  • Roller & Cutter Set 
Makin’s Professional®
  • Cutting Mat
  • Ultimate Clay Extruder® - Disc #3 or #7
White satin cording 
JudiKins Diamond Glaze™
Fine paintbrush 
Scissors

Instructions:

Mix the entire package of blue Makin’s Clay® from the multi-pack, with about a 1” ball of white to create a slightly lighter shade of blue for the background.  


Roll to about 1/4” thick and cut with 40mm Round Clay Cutter. (Tip:  place plastic over the clay to be cut and it will give you rounded edges.)


Insert remainder of white clay into the Ultimate Clay Extruder®.  Using disc #7 or #3 (holes are the same size), extrude white clay. 

Cut into equal pieces about 1” long.  

Roll each piece into a ball, then form an elongated “teardrop” shape. 


Begin placing the teardrops onto the blue background.  The goal is to create the petals of the flower, leaving an opening for the center.  Use the tip of the clay tool to impress a line from the pointed end of each petal and ending just before the outside end of the petal themselves. 


Roll a ball of yellow clay about 1/2”.  Place onto the center of the flower and press gently to flatten slightly.  You still want it to be raised up from the petals.  

Use pointed end of tool to create tiny pinpoint impressions all over the surface of the yellow clay to mimic the texture of actual daisy centers. 


Use tool to create small hole for the satin cording at the top of the pendant between two of the petals. 

Use side of tool to gently impress a pattern around the outer edge of the blue clay. 

Let dry 24 hours. 


Apply Diamond Glaze to the front of the pendant. Let dry, apply on the reverse side and let dry. 


Add white satin cording and a slip knot closure, or add a metal closure.

Saturday, November 25, 2017

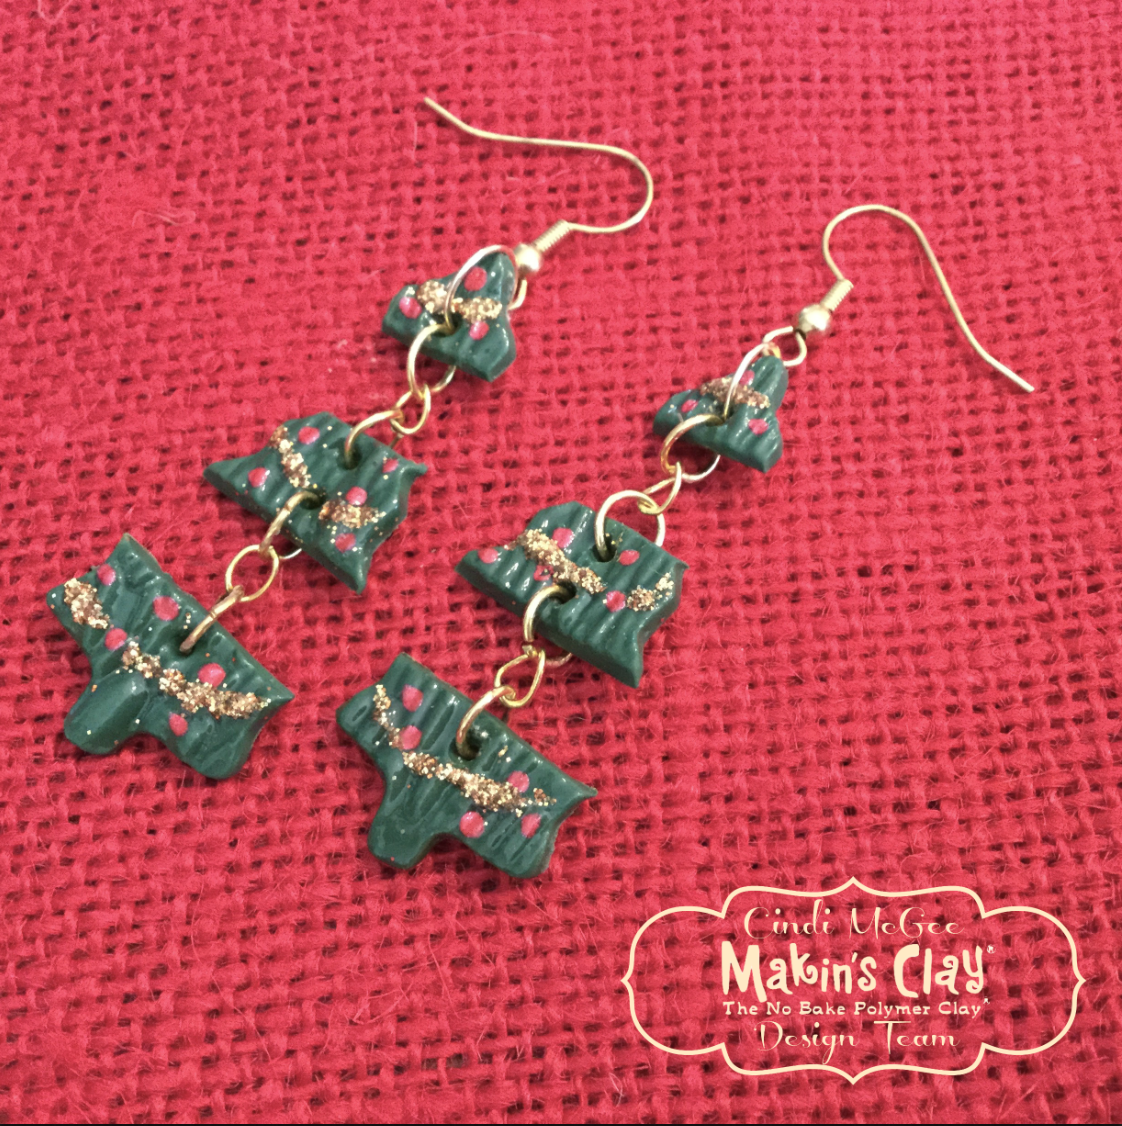
Christmas Tree Dangle Earrings


Materials:

Makin’s Clay® - Grape Leaf 
Makin’s® 
Texture Sheet Set D - Woodgrain
Clay Roller 
Christmas Clay Cutter Set 
Makin’s Professional - Professional Clay Tools 
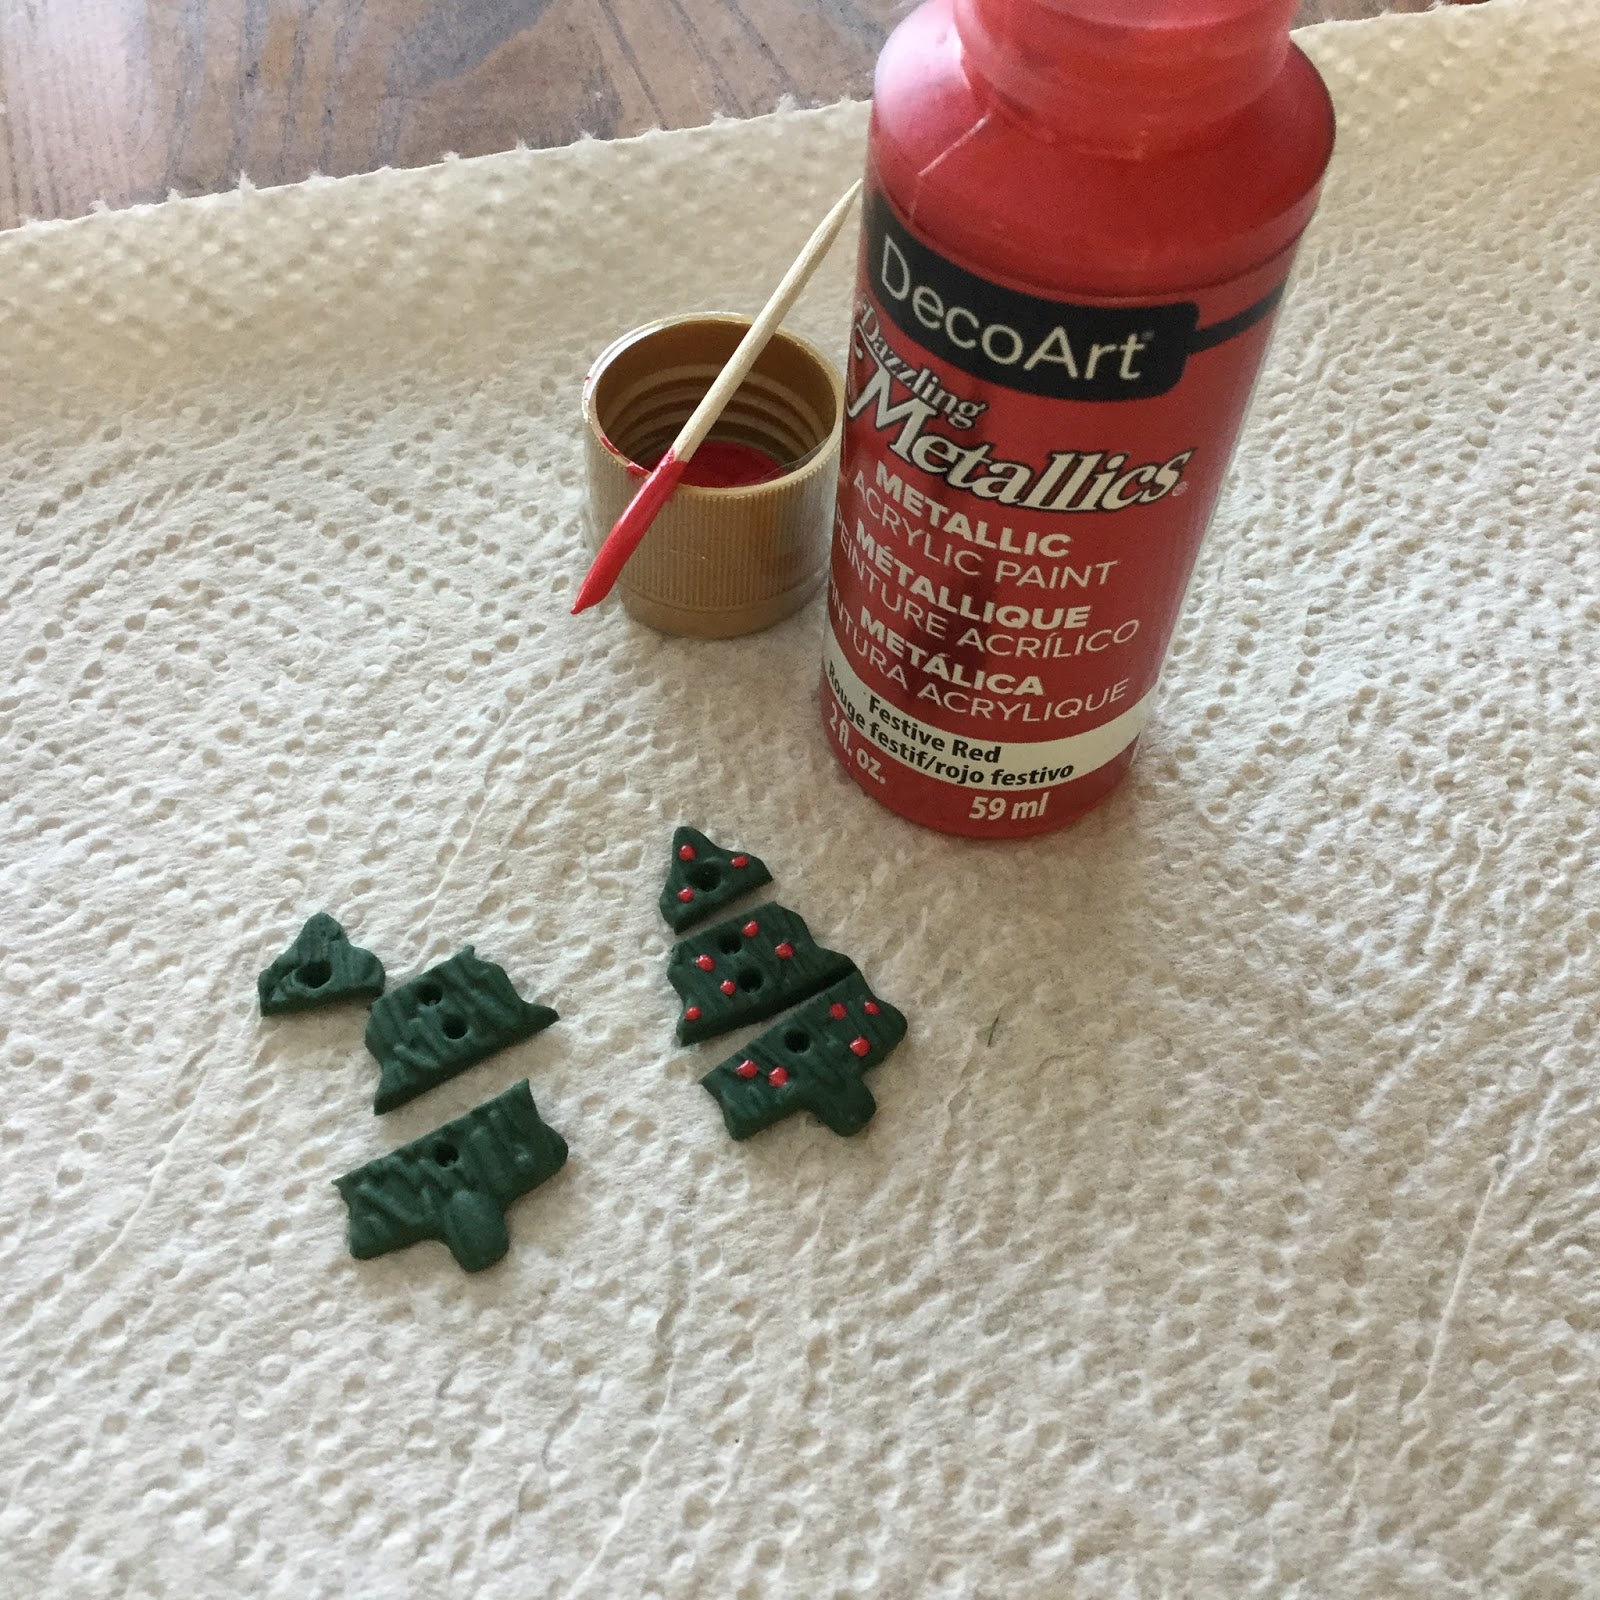
DecoArt® Dazzling Metallics™ - 
Toothpick 
Paintbrush
Judikins™ Diamond Glaze™
ART Instittue Glitter - Egyptian Gold 
Gold jump rings (8 medium, 2 large), gold chain, gold earring wires
Jewelry pliers 

Instructions:

Roll grape leaf green clay to a little more than 1/8” thick.  

Place Woodgrain texture sheet over the rolled clay and press to transfer texture. 


Use Christmas Tree clay cutter from Christmas set to cut out two trees from textured clay. 

Use cutting wheel to cut each tree into 3 sections (as equal in width as possible). 


Use clay tool to make a small hole in the top center of the bottom third of the tree, two holes  as shown in the center of the tree, and one in the bottom center of the top of the tree.   

Let dry 24 hours. 

Use toothpick to make small dot “ornaments” with red Dazzling Metallics paint.  Let dry. 


Use toothpick to add small “garland” lines on tree with Diamond Glaze.  While glaze is still wet, dip into gold ART Glitter.  Let dry thoroughly. 

Use dry paintbrush to brush away any excess glitter. 


Apply a coat of Diamond Glaze over entire surface of trees.  Let dry, then coat sides and back of trees.  Let dry. 


Add gold jump rings to re-connect each section of the tree.   Add earring wires. 


Tuesday, June 6, 2017

Steampunk Flash Drive

Steampunk Flash Drive by Patricia Krauchune 
 MAKIN'S® IN A FLASH!

 For my June Makin's Clay® project, I decided to cover a flash drive with clay in a Steampunk motif. 

Supply List: 

Makin's Clay® Black 


Bead Caps 


FolkArt® Metallic Antique Copper 
Flash Drive 
Kemper 1/4" Circle Punch 
DecoArt® Splendid Gold 
Gears 
Copper Wire 
FolkArt® Solid Bronze 
Letter Stamps 
Krazy Glue® 
Diamond Glaze™ 
Watch Stems 
FolkArt® Brushed Pearl Gold 
Beacon™ Fast Finish Decoupage 

Recommended Makin’s Professional® Tools: 

Cutting Mat 


Ultimate Clay Machine® 
Professional Clay Tools: Fine Point 
Instructions:

Here are the parts I used, yours may differ depending on what you have available. 
Roll out some Black Makin's Clay® on the #1 setting on the Ultimate Clay Machine®.


Wrap the clay around the main body of the flash drive.  I added some texture by rolling the handle of the Makin's Professional® Tool over the fresh clay. 


Punch out (4) circles using the Kemper 1/4" circle punch.  I bent two pieces of copper wire into an arch, then slipped a bead cap on each end. Push each end of the wire into one of the clay circles then attach to the side of the flash drive. Repeat for the other side.


Here's how it looks so far. Using the letter stamps, I spelled out "FLASH" and stamped the word into the back side of the flash drive. 


The next steps all depend on what you have available for parts.  On the opposite side of the flash drive, I attached some gears and used a watch stem to hold in place. I added a dab of Krazy Glue® to assure a bond. On the side with the word "FLASH", I made a "steam pipe" from some copper wire and glued it in place. 


Now the cap of the flash drive needed to be covered in clay.  I added a gear on both sides of the cap. I also added a coil I made from copper wire to the top of the cap.


This is what my flash drive looked like before painting. 


You can paint your flash drive in the Steampunk colors of your choice.  I named the paints I used in the above supply list. I also added a little Diamond Glaze™ into the gear slots for a secure adhesion. The finished drive was then coated with Beacon™ Fast Finish Decoupage. 

So there you have it, a Steampunk Flash Drive made possible with Makin's Clay®, the No Bake Clay®!

See you soon.  


Contact us

Name

Email *

Message *