 |
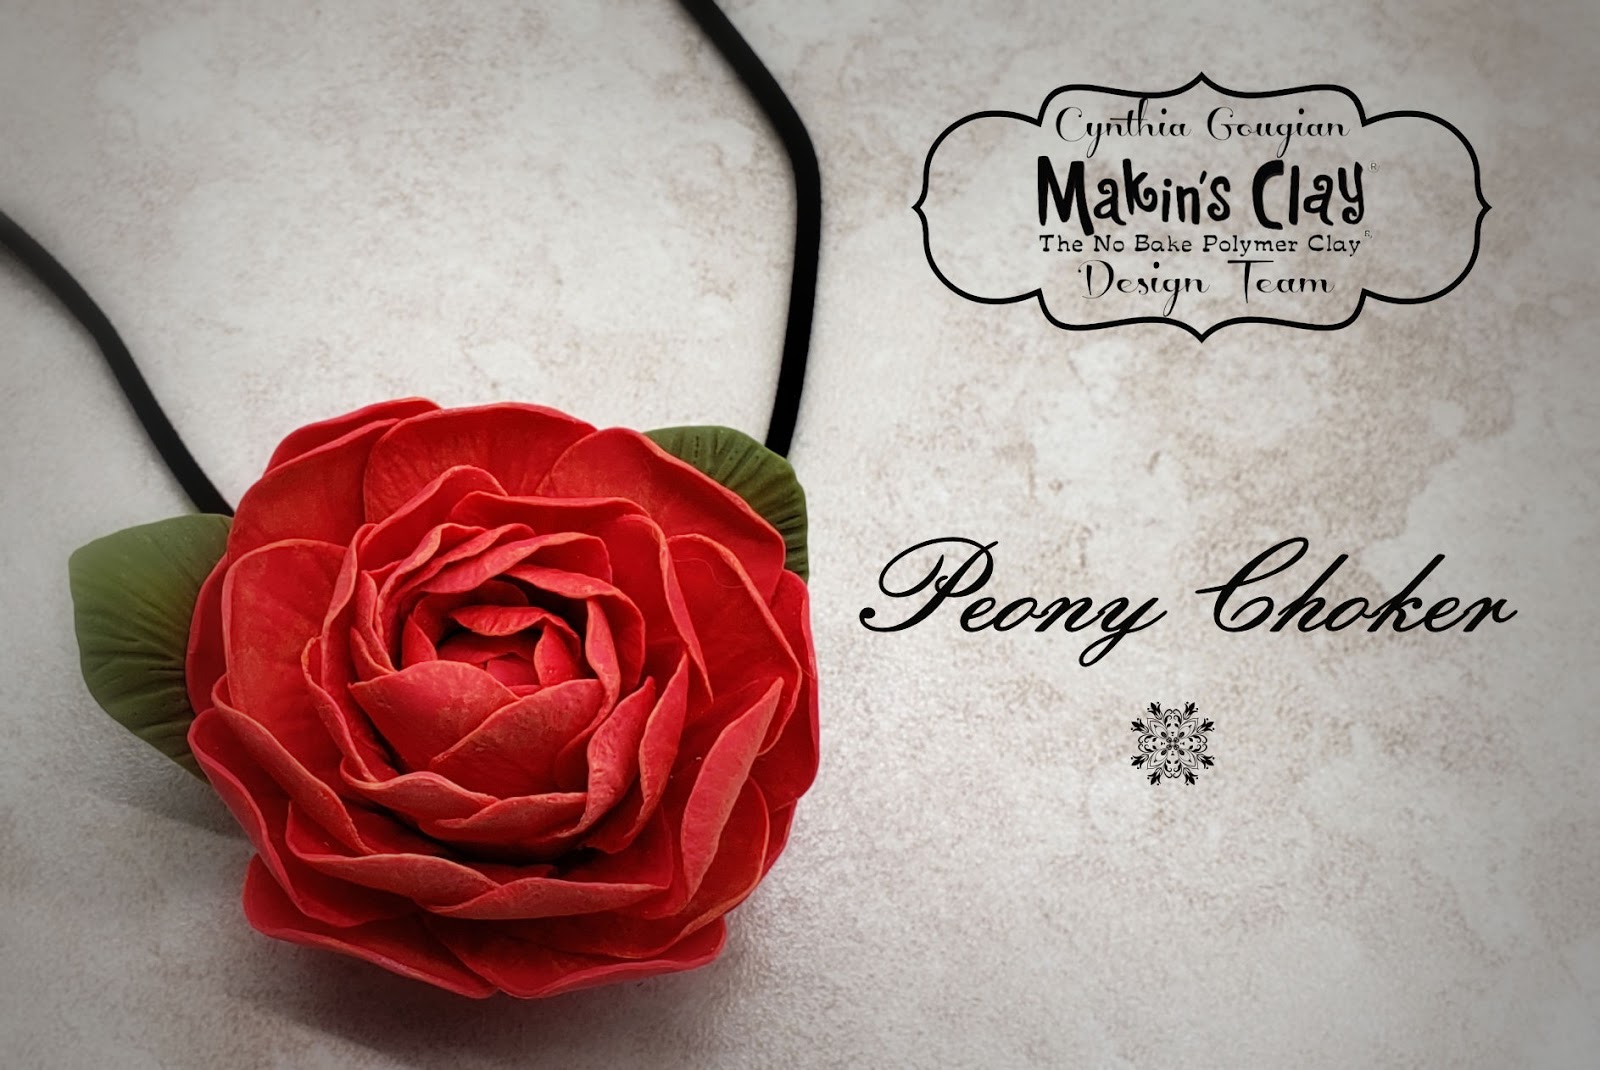
| Peony Choker by Cynthia Gougian |
Materials:
· Makin's Clay® 60G Red, small amount (about 10G) Olive Green
· Toothpicks
· A 1 ½ inch circle cutter
· Makin’s® Texture Sheet -Sand (from Set A)
· A ball tool (a spoon may be used in place of the ball tool)
· Fondant shaping foam (a piece of craft foam, or the back of a computer mouse pad may be used in place of the shaping foam)
· A 2-sided petal veiner (silicone works best)
· Makin’s® Clay Roller from the Makin’s® Cutter and Roller Set
· 2 sets of 4 playing cards glued together, or the Makin's Professional® Ultimate Clay Machine®
· Folk Art 2546E Bright Pink Acrylic paint by Plaid®
· Folk Art 628E Pure Orange Acrylic paint by Plaid®
· Folk Art 2894E Wicked White Acrylic paint by Plaid®
· A stencil brush, or stiff paint brush
· Aleene’s ® Quick drying Tacky Glue
· Water
· Soft artists brush
· A Leaf Veiner
· Foil Cupcake Holders with paper inserts removed
· A tube bail
· Stretch Magic®Silkies Necklace Cords 2mm
· A small container for water
· A cornstarch pounce (A cornstarch pounce is a clean Knee High stocking filled with cornstarch and tied off at the top)
Clay Blade
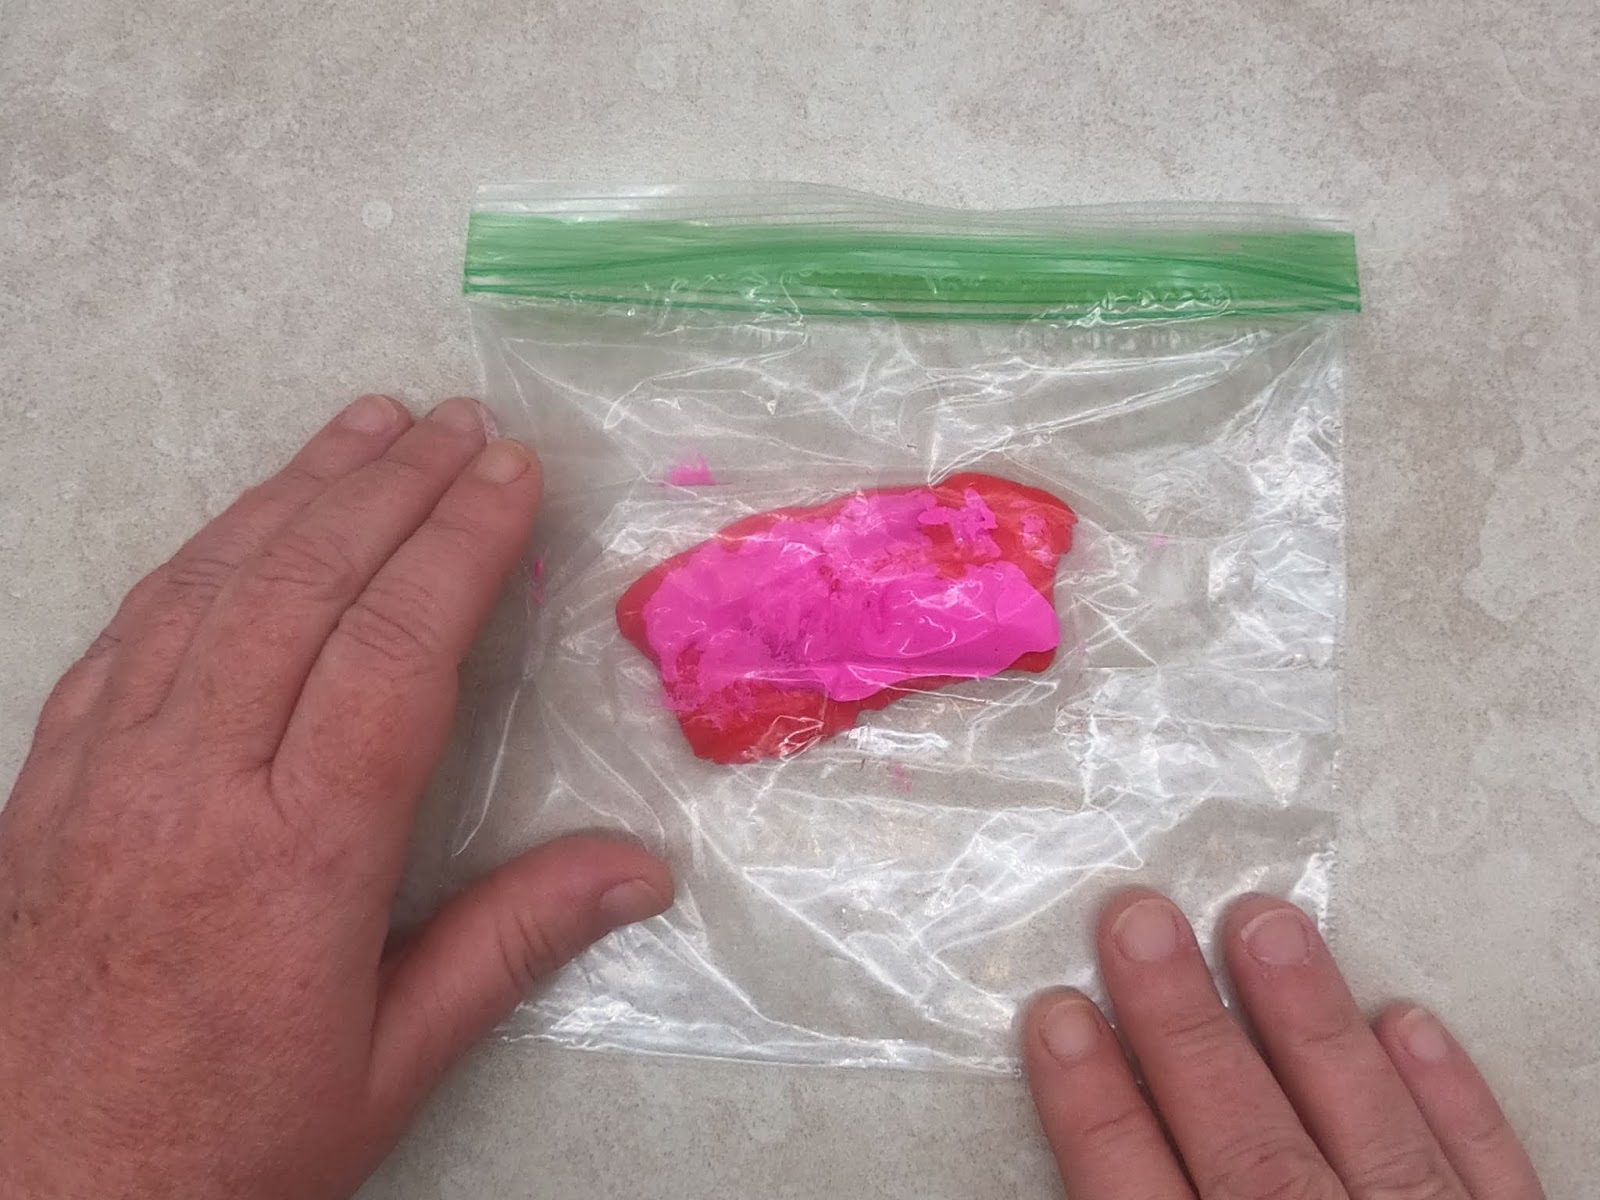
Step 1: Place Makin’s Clay® 60G Red in a plastic bag with 2 tsps of Folk Art 2546E Bright Pink Acrylic paint by Plaid®.
Step 2: Mix the paint into the clay by kneading it through the bag.
Step 3: After a few minutes of kneading through the plastic bag, remove the clay from the bag. Finish mixing the paint into the clay by hand. This process is messy and sticky at first. But, after a few minutes the clay will become smooth again.


Step 4: Roll a ½ inch sized ball of the clay.
Step 5: The clay for the petals should be rolled out to a medium thickness. If you are using the Makin's Professional® Ultimate Clay Machine, roll the clay out at setting 4. I used playing cards as a guide. I placed 4 playing cards glued together on either side of my clay. Then I used the Makin’s® Clay Roller to roll the clay until the thickness of the clay matched the thickness of the playing cards
Step 6: Use the smallest of the Makin’s® Cutter Set- Oval, to cut 3 petals from the clay.
Step 7: It’s best to roll out small amounts of clay at a time. Keep extra clay in a plastic bag with a wet paper towel. Spray the clay with water if it begins to dry out. Keep petals in a plastic bag with a wet paper towel until you are ready to thin, vein, and shape them.


Step 8: Place the petal on the fondant shaping foam. Use a ball tool to roll down the center of the petal, lengthening it. If you don’t have fondant shaping foam, you can use craft foam, or even the back of a computer mouse pad. If you don’t have a ball tool, you can use the tip of a spoon to lengthen the petal.
Step 9: Use the ball to thin the edges of the petal. The ball tool should be half on, half off the edge of the petal. Roll firmly around the entire petal.
Step 10: Use the cornstarch pounce to apply cornstarch to the bottom of the petal veiner. A cornstarch pounce is a clean knee high stocking filled with cornstarch and tied off at the top. You don’t need very much cornstarch. Just tap the pounce onto the veiner once, or twice.
Step 11: Place the petal in the veiner.
Step 12: Use the pounce to apply cornstarch to petal, just one, or two taps.
Step 13: Place the top of the petal veiner over the petal.
Step 14: Apply light, but even pressure.
Step 15: Use a toothpick to curl the top of the petal inward. If the petals won’t keep the curled shape, allow them to air dry for a few minutes, then curl them.
Step 16: Brush the curled edge of the petal with water. Brush the water on all but the very tip of the petal.
Step 17: Place the moistened petal on the ball of clay. Press lightly to adhere.
Step 18: Repeat Steps 8 -17 with the remaining 2 petals. Slightly overlap the petals on the ball.
Step 19: Cut six more petals with the smallest of the Makin’s® Cutter Sets Oval cutters. Follow Steps 8 – 15 to thin, vein, and curl the petals.
Step 20: Brush water on the long edge of one side of the petals.
Step 21: Overlap the 6 petals in a row.
Step 22: Brush water on overlapped petals. Brush the water about ½ way up the overlapped petals.
Step 23: Wrap overlapped petals around bud.
Step 24: Press lightly to adhere row of petals to bud. This completes the second row of petals.
Step 25: For the 3rd row of petals, cut 9 ovals with the medium oval cutter from the Makin’s® Cutter Sets -Oval.
Follow Steps 8 – 15 to thin, vein, and curl the petals.
Step 26: Moisten, and overlap the petals as before.
Step 27: Wet overlapped petals and wrap around bud as before.
Step 28: Press lightly to adhere.
Step 29: Use the medium oval cutter from the Makin’s® Cutter Sets- Oval to repeat steps 25-28 to create 4throw of medium sized petals.
Step 30: For the 5th Row, cut 9 ovals with the largest oval cutter from the Makin’s® Cutter Sets - Oval. Follow Steps 8 – 15 to thin, vein, and curl the petals.
Step 31: Wet the edges of the petals, but this time arrange them in an overlapped circle.
Step 32: Brush water about ½ way up the overlapped petals. Place flower in center.
Step 33: Gently press and arrange petals around flower.
Step 34: Repeat Steps 30-33 to add a second row of 9 large petals.


Step 35: Open the cupcake wrapper slightly. Remember to remove the paper liner. The flowers may stick to the paper liner after drying. But, the clay won’t stick to the foil.
Step 36: Place the peony in the cupcake wrapper and allow to dry thoroughly.
Step 37: After drying, you may dry brush the flower. To dry brush, place a small amount of paint onto a stiff brush. Wipe most of the paint off on a paper towel. Then lightly brush over the flower. The raised areas of the petals will pick up the paint. This flower was dry brushed with Folk Art 628E Pure Orange Acrylic paint by Plaid®, and Folk Art 2894E Wicked White Acrylic paint by Plaid®.


Step 38: Roll out a small amount of Makin’s® Clay Olive Green to 4 cards thick. If you are using the Makin's Professional® Ultimate Clay Machine, roll the clay out at setting 4.
Step 39: Cut 2 leaves with the largest oval cutter from the Makin’s® Cutter Sets - Oval.
Step 40: Place the leaves on a fondant mat. Lengthen Leaves by rolling a ball tool down the center of the leaves.
Step 41: Use a ball tool to thin the edges of the leaves. Roll the ball tool around the entire edge of the leaves. Only half of the ball tool should be on the leaves.
Step 42: Apply cornstarch to a leaf veiner.
Step 43: Press the leaves onto the leaf veiner. Then pinch ends of the leaves to cup them slightly.
Step 44: Flatten the pinched ends of the leaves to make it easier to adhere them to the peony.
Step 45: Apply Aleene’s ®Quick Dry Tacky Glue to the flattened ends of the leaves.
Step 46: Place the leaves glue side down on the back of the peony.
Step 47: Use a 1 ½ inch circle cutter to cut 2 circles from the Makin’s® Clay Olive Green. The clay should be rolled out to a thickness of 4 playing cards. If you are using the Makin's Professional® Ultimate Clay Machine, roll the clay out at setting 4.
Step 48: Apply Aleene’s ®Quick Dry Tacky Glue to one of the circles.
Step 49: Place the circle, glue side down on the back of the peony.
Step 50: Apply Aleene’s ®Quick Dry Tacky Glue to the tube bail.
Step 51: Press the tube bail, glue side down, into the circle on the back of the peony.
Step 52: Apply Aleene’s ®Quick Dry Tacky Glue onto the second circle and trim an ¼ inch from the top of the circle with a clay blade.
Step 53: Place the trimmed circle, glue side down, on top of the bail
Step 54: Use the Makin’s® Clay Texture Sheet -Sand (from Set A) to texture the circle and hide any seams. Allow the clay to completely dry.
Step 55: Place the Stretch Magic® Silkies Necklace Cord, 2mm through the bail, and enjoy!
Step 56: You can create variations of the peony with different colors of clay. The light pink peony on the right side of this photo was created using Makin’s® Clay 60G White mixed withFolk Art 2546E Bright Pink Acrylic paint by Plaid®

 Roll out your Makin's Clay® White, to the thickest setting on your clay machine, put some plastic wrap on top of your sheet of clay and press down firmly with the Circle cutter. This will give you perfectly rounded edges… (which I forgot to do, oops… but no big deal… just smooth the edges with your fingertips).