Pages - Menu

Search This Blog

Showing posts with label tutorial. Show all posts

Friday, August 23, 2019

Spring Bloom Polymer Clay Magnets

Spring Bloom Magnets by Naomi Scarparo

Spring will be here soon in Australia. I already see the first signs of flowers blooming in my garden and it inspired me to make these colourful flower magnets for my fridge and to remind myself to stop and smell the flowers...


Materials:

Makin's® Clay Roller or Makin's Professional® Ultimate® Clay Machine 
Makin’s Professional® Cutting Mat 
Makin's® Clay Push Molds - Floral Item #39005
Small, Soft Tip sculpting tool
Black Stamp Inkpad
Stamp with Quote - used ‘Have a Blooming Good Day’
Circle cutter 5cm diameter
Soft small tip paintbrush
Lumiere By Jacquard 573 Pearlescent Magenta, 557 Halo Violet Gold, 571 Pearlescent Turquoise, 554 Sunset Gold, 572 Pearlescent Emerald Green
Weldbound glue
Magnets 

Instructions:

Roll out your Makin's Clay® White, to the thickest setting on your clay machine, put some plastic wrap on top of your sheet of clay and press down firmly with the Circle cutter. This will give you perfectly rounded edges… (which I forgot to do, oops… but no big deal… just smooth the edges with your fingertips).

Ink your saying stamp ‘Having a Blooming Good Day’, then gently press the stamp into the clay and remove it leaving the stamp impression (don’t worry if the ink did not press into the clay clearly).

Using the Lumiere paints, Starting with the lightest colour - 571 Pearlescent Turquoise dab with a slightly damp small brush apply over the whole circle. 

  
Then using Lumiere - 573 Pearlescent Magenta, dot along the edges of the circle as if a blooming branch is leaning over.

Apply Lumiere - 554 Sunset Gold with a fine tip paintbrush in the impressed stamped quote. Then apply Lumiere - 572 Pearlescent Emerald Green around the base of the circle as though there is bush or shrubs around.

Allow the pain to dry. As the paint for the Quote magnet paint is drying, start making the flowers using the Makin's Clay® Clay Push Molds - Floral Item #39005. 

To use the molds

Lightly dust the push molds with cornstarch, shaking the excess off. This will help to keep the clay from sticking to the mold. Using the white clay, roll into a smaller size ball than the mold. Press the clay into the mold starting in the centre and working towards the edges. 
Tip - the clear view mold can be turned over to check for any air bubbles that need to be pressed out and to make sure that the areas are all filled.  

Remove excess clay that overlaps the edges of the mold. Remove the moulded flower gently by pressing the mold from the front side or use the clay chisel to help lift the mold out. You can clean up the edges using your fingertips and a soft pointed tip sculpting tool. 


Set some of the flowers in an arrangement that you like, an example of what I used is in a photo below. I used a mix of the 3 vine leaf and Roses (opened flower and bud). Place then together using some tacky glue or if still slightly damp a spritz of water. 


Paint the flowers using the Lumiere By Jacquard paints. I painted the flowers individually and once touch dry, I added 554 Sunset Gold to highlight areas like the centre of the flowers.


 Cut the clustered flower (pictured below) using the circle cutter, to add the top and bottom decoration, attach them sing tacky glue, and reshape if needed using the Soft tip sculpting tool.


Paint edges of the flowers and allow to dry for 24 hours.

Once dry turn over and paint the backs of the flowers. Allow to dry. 


Attach magnets to the back of the flowers with tacky glue. 
Tip - Check which side of the magnet is magnetic and ensure that it is glued facing out. 

Makin's Clay® is light weight and perfect to make magnets with as I didn’t have to worry too much about what strength of magnet is needed. I used an old business card magnet, cut into strips. 


Enjoy making your magnets to pretty up your fridge...

Saturday, August 17, 2019

Silkscreened Summer Polymer Clay Pendant

Silkscreened Summer Pendant by Leila Bidler
Using silkscreens you can make a very quick and very eye catching pendant for this summer in no time!

For this project you will need:

Makins's Clay® Earth Tones Colors Package (I used the colors Olive and Straw)
Makin's® Clay Roller
Cookie Cutters (Makin's® Clay Cutters are great for this project)
Makin’s Professional® Cutting Mat
Makin's® Clay Tool Set
1 Jump Ring
Silk Screens (I used one of my own and MOIKO brand)
Squeegee (you can use an old credit card if you have none)
Acrylic colors of your choice (I used Lumiere Metallic Grape, Halo Blue Gold, True Gold, White)
Pearl Ex gold pigment powder
Necklace cord
Extra for the silk screen: a bowl of water

Instructions:

Take your two colors of Makins's Clay® out of the package and mix it with a small amount of gold pigment powder. Start with a small quantity, remember you can always add more if you think you need more, but not take it out if you did add too much! Mix both colors individually with the gold pigment powder to get it nice and sparkly.


When you are satisfied of the mix roll out the clay with the clay roller.

Now take your silkscreen and place it shiny side downon your clay. Be careful to place the correct side up and read the manufacturers instructions. Rub very slightly with your finger to make sure id adheres well to the clay. Also prepare a small bowl or dish of water to rinse your silk screen right after using it. 

There are several different approaches to doing silk screen, I like to add the color directly to the border of the squeegee (if you do not have one a rubber or silicone texture sheet or old credit card work well also). As shown here, if you want some color variations you can add two different colors: 


Now pull the squeegee and the color across the screen, from top to bottom. Go firmly in one motion but do not push too hard to not indent the clay underneath. As you can see the colors mix nicely on the screen:


This is the result on the Olive Green Clay - after using your silk screen put it immediately in your bowl of water so the paint will not dry and cloak the mesh before you get a chance to properly wash it. 


Choose a different pattern for the second piece of clay and proceed with a first print, using a dark color:

Let's add a special effect: le the color dry, wash and dry your silk screen, place it exactly on top of the previous print, then move it very, very slightly and print again using a light color. This way we will create the illusion of a shadow image on the clay: 


Cut out two shapes you like and place one on top of the other, putting a drop of water between them to help the clay stick together to create your pendant. You can put it on a slightly curved surface to let it dry in a curved shape to add more interest.

Have fun experimenting with different shapes of silk screens and different colors, layering them in different ways to get very interesting designs, here another example using different colors and silk screens. 


Poke a hole in your pendant before it dries. Let your pendant dry and then add a jump ring and string it and it is ready to be worn. Optional: you can add clear varnish or resin on top of the pendant but you do not really need it as the acrylic colors will not rub easily.

Go to the beach and have fun! 

Wednesday, July 31, 2019

Framed Steampunk Monogram

Framed Steampunk Monogram by Cindi McGee

I save almost all of my "leftovers" when creating projects with Makin's Clay®.  This Steampunk monogram was created for my good friend Patricia Krauchune.  She is the queen of Steampunk and I wanted to make her something special for her studio.  It is made up entirely of "scraps" of textured and stamped clay from other projects.  Below are the materials you would need to recreate the same variety of textures and images. 

Materials:

Makin's Clay® - Black, Natural, Brown
Makin's® Texture Sheet Sets - A, F, G, and H 
Makin's Professional® Ultimate Clay Machine®
Makin's Professional® Professional Clay Tools 
Makin's Professional® Cutting Mat 
Clock face rubber stamp, other varied Steampunk style rubber stamps 
DecoArt® Metallic Lustre™ - Copper Kettle, Gold Rush, Black Shimmer, Silver Spark, Burnished Brass 
DecoArt® Americana™ Decor® Creme Wax - Golden Brown
Scissors 
Craft knife 
Ruler
Frame with mat board insert 
Silver and black acrylic paints 
Black Staz-On ink pad
Beacon® Tacky Glue
Beacon® 527 Adhesive 


Instructions:

Roll sheets of black, brown clay, and natural Makin's Clay®. I used the Makin's Professional® Ultimate Clay Machine® and rolled to setting #2. Use a variety of the texture sheets to texture the black and brown clay sheets. I also used rubber stamps to add texture to some pieces.  

Use stamps inked with permanent black ink to stamp onto natural clay sheets.  Let all sheets dry 24 hours. 

To "age" the natural sheets, apply brown creme wax and then immediately wipe off excess.  This will stain the natural clay and give it the desired effect. 

Use the assorted DecoArt® Metallic Lustres™ to highlight the textures on the brown and black textured sheets of clay. 

Now you are ready to begin assembling your letter. 

For the base of the monogram, roll black Makin's Clay® with Makin's Professional® Ultimate Clay Machine® to setting #3. 
Using the mat board, determine size of letter you wish to create.  Use craft knife to cut the rolled clay sheets to the appropriate sizes to create the letter.  If desired, trace a letter as a template. 


Use scissors to cut squares, rectangles, and strips from the textured and stamped sheets of dry clay. 
Begin to assemble them in a random fashion, alternating patterns and colors of metallic finish, to fill in the entire area of the base letter. The goal at this point is to create your desired pattern, NOT to permanently mount the pieces to the base letter.   


Once you have them arranged to your liking, add tacky glue to the back of each piece and reassemble. 

Roll an additional sheet of black clay to setting #3 on the Ultimate Clay Machine®.  Place onto cutting mat, use ruler and cutting wheel to cut strips of clay the same width to place between the seams of all the individual tiles.  Apply Black Shimmer Metallic Lustre™ to each strip. Cut them to the required size to create the outlines for the tiles, add tacky glue and mount. 


I created the rivets/screws for the corners of each tile by using a tool to cut small circles from a sheet of black clay. You could also create small balls of clay and flatten them. Each circle was given a "x" on the surface to mimic a screw head. Add Black Shimmer Metallic Lustre to each screw. Use tacky glue to mount them to the corners of each tile. Let dry 24 hours. 


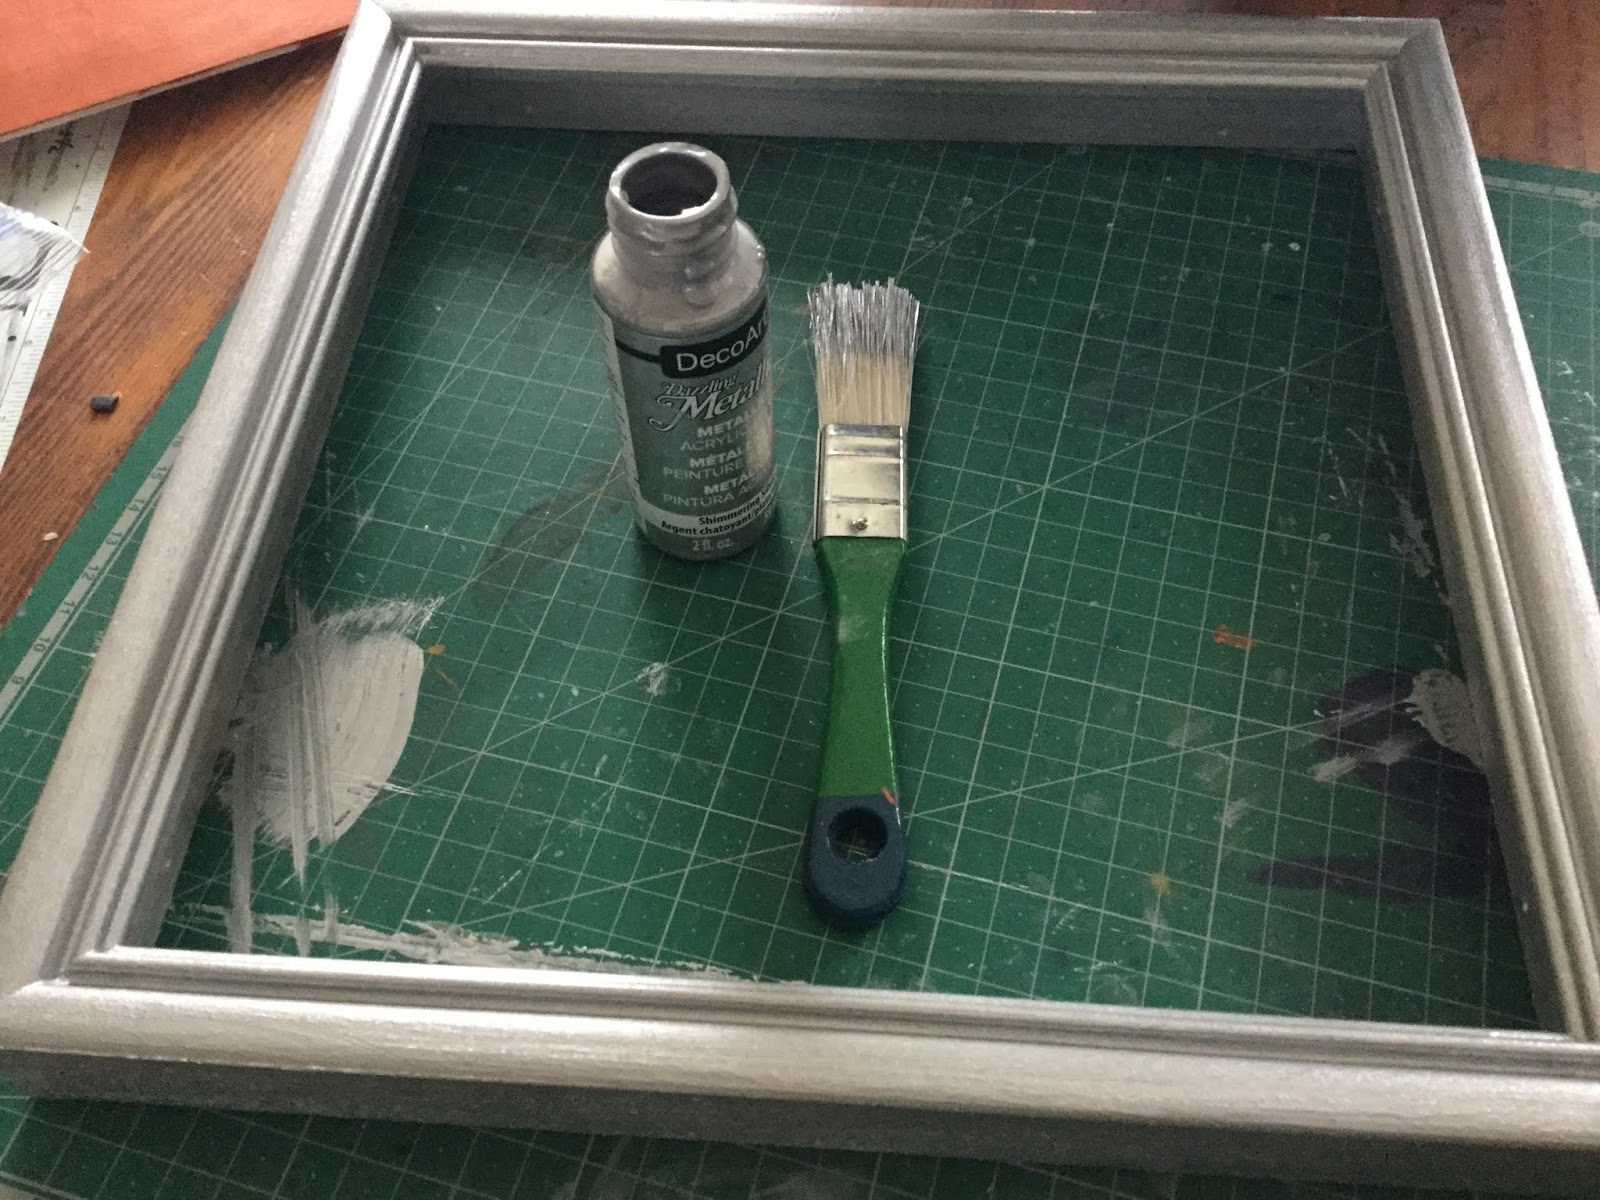
Paint the mat board with metallic copper paint and let dry.  Paint the frame with silver metallic paint and let dry. Use a damp paper towel to apply a light amount of black acrylic paint over the silver frame.  Then use dry paper towel to rub off excess, leaving an aged effect. 


Place the mat board into the frame. Use Beacon 527 or similar strong adhesive to mount the clay letter, centered. Let dry. Add hanging hardware to back of frame. 


Contact us

Name

Email *

Message *