|
| Framed Steampunk Monogram by Cindi McGee |
I save almost all of my "leftovers" when creating projects with Makin's Clay®. This Steampunk monogram was created for my good friend Patricia Krauchune. She is the queen of Steampunk and I wanted to make her something special for her studio. It is made up entirely of "scraps" of textured and stamped clay from other projects. Below are the materials you would need to recreate the same variety of textures and images.
Materials:
Makin's Clay® - Black, Natural, Brown
Makin's® Texture Sheet Sets - A, F, G, and H
Makin's Professional® Ultimate Clay Machine®
Makin's Professional® Professional Clay Tools
Makin's Professional® Cutting Mat
Clock face rubber stamp, other varied Steampunk style rubber stamps
DecoArt® Metallic Lustre™ - Copper Kettle, Gold Rush, Black Shimmer, Silver Spark, Burnished Brass
DecoArt® Americana™ Decor® Creme Wax - Golden Brown
Scissors
Craft knife
Ruler
Frame with mat board insert
Silver and black acrylic paints
Black Staz-On ink pad
Beacon® Tacky Glue
Beacon® 527 Adhesive
Instructions:
Roll sheets of black, brown clay, and natural Makin's Clay®. I used the Makin's Professional® Ultimate Clay Machine® and rolled to setting #2. Use a variety of the texture sheets to texture the black and brown clay sheets. I also used rubber stamps to add texture to some pieces.
Use stamps inked with permanent black ink to stamp onto natural clay sheets. Let all sheets dry 24 hours.
To "age" the natural sheets, apply brown creme wax and then immediately wipe off excess. This will stain the natural clay and give it the desired effect.
Use the assorted DecoArt® Metallic Lustres™ to highlight the textures on the brown and black textured sheets of clay.
Now you are ready to begin assembling your letter.
 For the base of the monogram, roll black Makin's Clay® with Makin's Professional® Ultimate Clay Machine® to setting #3.
Using the mat board, determine size of letter you wish to create. Use craft knife to cut the rolled clay sheets to the appropriate sizes to create the letter. If desired, trace a letter as a template.


Use scissors to cut squares, rectangles, and strips from the textured and stamped sheets of dry clay.
Begin to assemble them in a random fashion, alternating patterns and colors of metallic finish, to fill in the entire area of the base letter. The goal at this point is to create your desired pattern, NOT to permanently mount the pieces to the base letter.


Once you have them arranged to your liking, add tacky glue to the back of each piece and reassemble.


Roll an additional sheet of black clay to setting #3 on the Ultimate Clay Machine®. Place onto cutting mat, use ruler and cutting wheel to cut strips of clay the same width to place between the seams of all the individual tiles. Apply Black Shimmer Metallic Lustre™ to each strip. Cut them to the required size to create the outlines for the tiles, add tacky glue and mount.


I created the rivets/screws for the corners of each tile by using a tool to cut small circles from a sheet of black clay. You could also create small balls of clay and flatten them. Each circle was given a "x" on the surface to mimic a screw head. Add Black Shimmer Metallic Lustre to each screw. Use tacky glue to mount them to the corners of each tile. Let dry 24 hours.


Paint the mat board with metallic copper paint and let dry. Paint the frame with silver metallic paint and let dry. Use a damp paper towel to apply a light amount of black acrylic paint over the silver frame. Then use dry paper towel to rub off excess, leaving an aged effect.

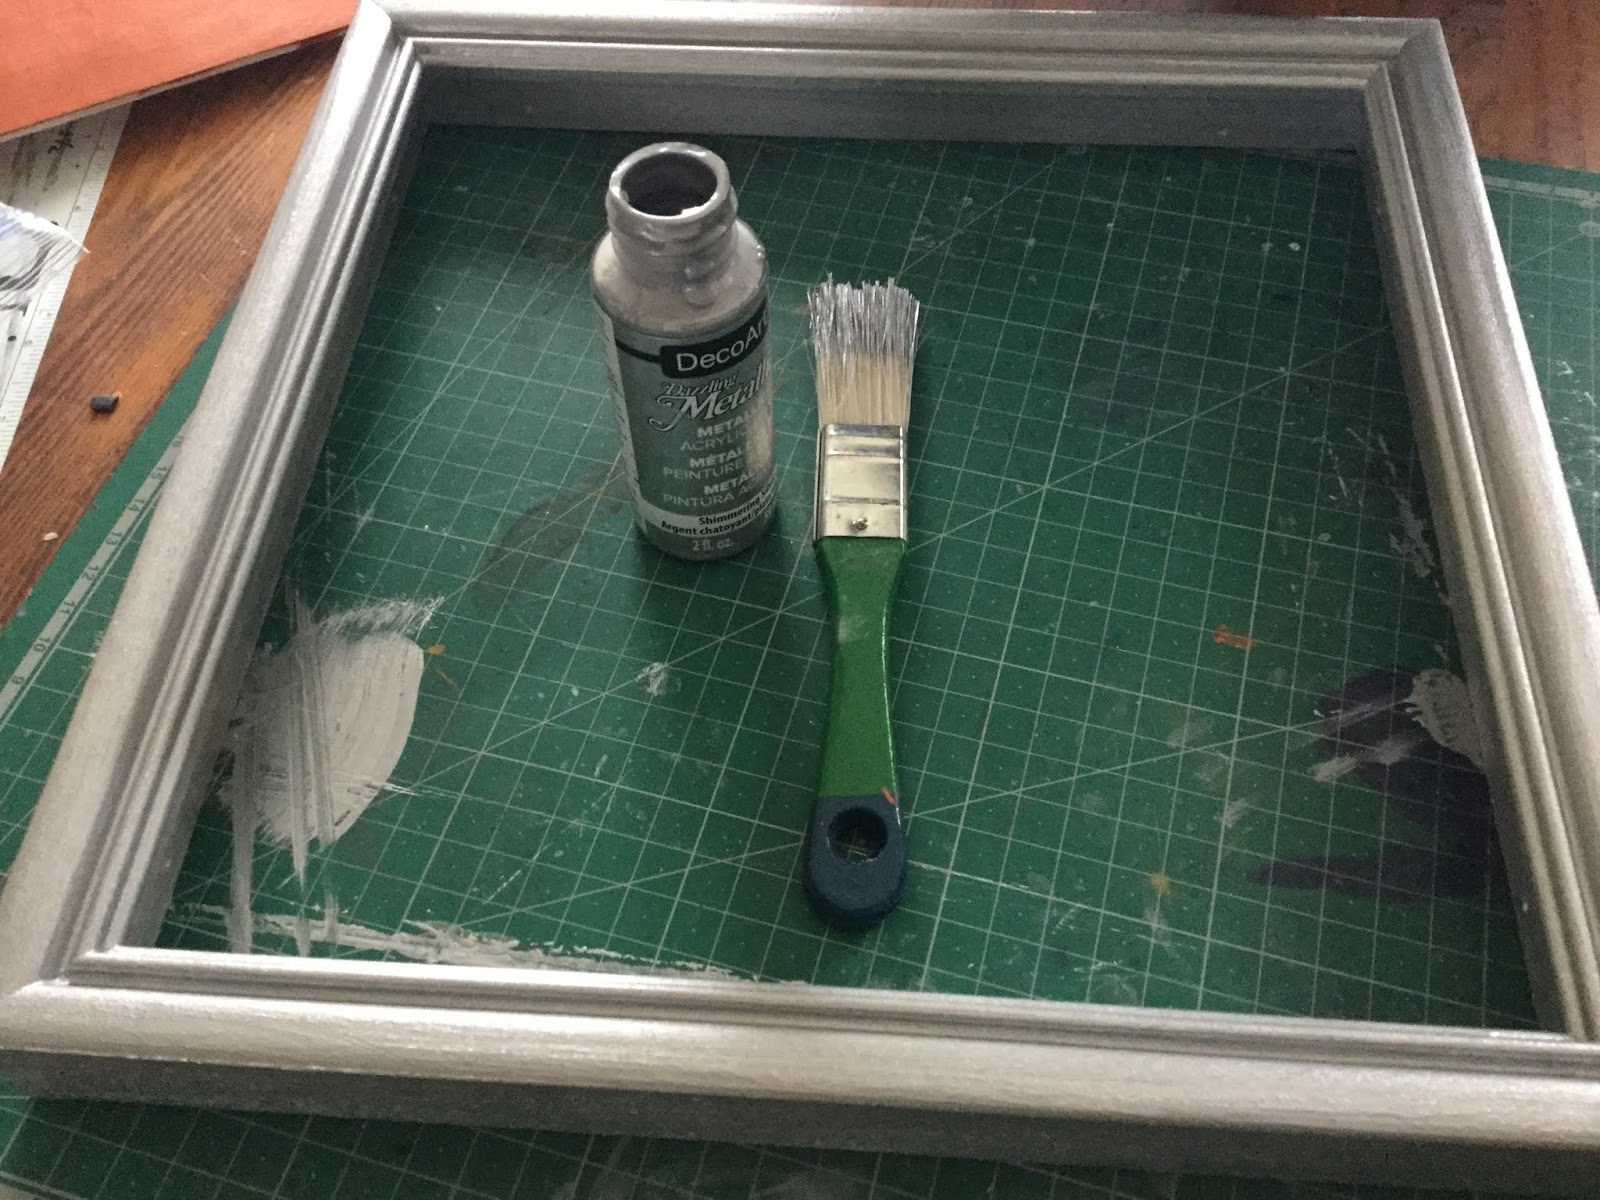

Place the mat board into the frame. Use Beacon 527 or similar strong adhesive to mount the clay letter, centered. Let dry. Add hanging hardware to back of frame.