|
| Dragon Egg Jewelry by Irit Shalom |
Hello my dear crafty friends! Irit is here today and I will show you how to make a fancy jewelry set using Dragon Egg Pinterest tutorial inspiration.
This is my own version of this technique. The original tutorial features foil over the polymer clay. I don't have any foil, or even a scalloped polymer clay cutting wheel. So I worked with metallic leafing and a scalloped clay cutter, but the result is very similar.
 |
https://www.pinterest.com/pin/501588477234266218/
|
 |
| https://www.pinterest.com/pin/501588477234266214/ |
So here is my final project: a necklace, pair of earrings and a key chain/bag chain all together. And now here is my tutorial for you.
Materials:
Makin's Clay® - Black
Makin's®
Oval clay cutters
Globecraft Enamel and embossing powder adhesive
Gold and silver metallic leafing
Jewelry findings and gold waxed string
Jewelry pliers
Instructions:

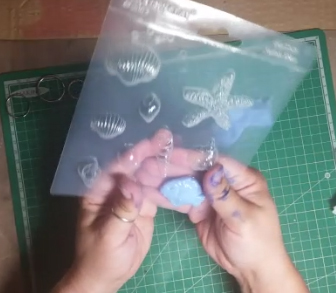
Roll half package of black clay with the clay roller to about 1/8" thick.
Add a thin layer of enamel powder adhesive over the rolled clay sheet. You can use any other adhesive that keeps metallic leafing over the surface; I used whatever I had and it worked just perfectly. Add a random layer of silver leafing over the adhesive and let it dry.

Add another layer of enamel adhesive and fill with a mix of copper, red gold, and gold leafing as shown. Let the adhesive dry, but do not wait until the clay is dry.

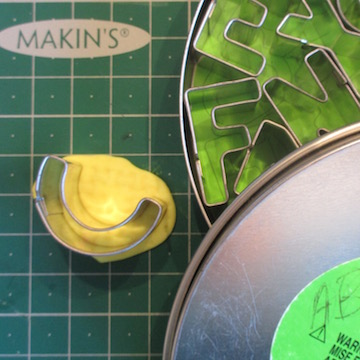
Use the scallop clay cutter, or a scalloped clay cutting wheel, and make a few scalloped strips from the metal covered clay piece.

Roll another piece of black clay and use the Makin's® round clay cutters and two sizes of oval clay cutters to make all pieces shown that will make all three jewelry projects.

Cover the ovals with any glossy glue and use all the scalloped pieces to cover both sides of the ovals.

Cut circles from the foiled sheet with the round clay cutters and cover the black clay circles on both sides.

Make holes in the beads and trinkets and let it dry overnight.
Arrange the necklace using the largest oval piece, larger circles and smaller round beads.
Make the earrings with smaller ovals and small circles as shown. Now arrange the key chain with the last two beads.


 Roll half package of black clay with the clay roller to about 1/8" thick.

 Use the scallop clay cutter, or a scalloped clay cutting wheel, and make a few scalloped strips from the metal covered clay piece.
 Roll another piece of black clay and use the Makin's® round clay cutters and two sizes of oval clay cutters to make all pieces shown that will make all three jewelry projects.
 Cover the ovals with any glossy glue and use all the scalloped pieces to cover both sides of the ovals.
 Cut circles from the foiled sheet with the round clay cutters and cover the black clay circles on both sides.
 Make holes in the beads and trinkets and let it dry overnight.


 Materials: