 |
| Driftwood Fairy by Bea Grob |
Today I'm
here with a new driftwood fairy. I love everything with wings, and so fairies
are included. Not sure if they really exist, but I like the idea anyway....
Materials:
Makin's
Clay® - Natural, Red
Makin's® Clay Tool Set
Makin's
Professional® - Ultimate Clay Machine®
Metal leaf
any color you like. I used a variegated one
Glue for
metal leaf
Brown
acrylic paint as patina
Die and embossing folder for the wings
Wire from
the hardware store
Glue E6000
Driftwood,
wire, 2 beads for hands, toothpick to attach head and a stand to put the
driftwood on top.
Instructions:
I started with a ball of Makin's Clay® in natural. To form the head and the neck I used a tool from my clay tool set.
I marked a hairline and then started applying very thin pieces for torn clay to mimic
the hair.
 A toothpick
in her neck will give a connection to the driftwood.
A toothpick
in her neck will give a connection to the driftwood.
Roll clay beginning on setting #1 of the Ultimate Clay Machine® and then #2, then #3, and ending on setting #4.
 Now I had
to let dry everything over night, before I diecut and embossed some wings from
a bee. (it is a set from Tim Holtz). If you don't have it you could totally
just cut by hand some wings. It is really easy with Makin's Clay®, just use a
pair of scissors.
Now I had
to let dry everything over night, before I diecut and embossed some wings from
a bee. (it is a set from Tim Holtz). If you don't have it you could totally
just cut by hand some wings. It is really easy with Makin's Clay®, just use a
pair of scissors.
I also
shaped a little bird in red, again with the help of a tool from the tool set.
 I also had
to prepare my driftwood. I used a power tool for making holes for the head
and at the bottom for the stand. For the arms I used a simple hardware store
wire and made holes on both sides. To glue everything into the wood and also
the bird on the wire I used E-6000.
I also had
to prepare my driftwood. I used a power tool for making holes for the head
and at the bottom for the stand. For the arms I used a simple hardware store
wire and made holes on both sides. To glue everything into the wood and also
the bird on the wire I used E-6000.
To give a
little bit more dimension to the head, I used brown acrylic paint. I used a stiff stencil brush to get the paint into the cracks of the hair. Then I
let it dry somewhat and used a wet towel to remove the paint again from the
top parts. Leaving the paints mostly in the cracks. This is sometimes a back
and forth process, means apply paint, wipe it of, apply more paint and so on.
I like to
mix and match in all my art, so I added some metal leaf to the wood and
the Makin's Clay®. To glue on I prefer
gluepaste as it dries faster but any other metal leaf glue works too.
The goal is
to have the glue not completely dry, but a little bit tacky, so you can
carefully add the leaf. When it has dried you can use a brush to wipe off any
excess.

I also
added the same brown acrylic paint as patina, and no worries it wipes off easy
from the metal leaf. As you can
see I was going for a more aged, grungy look.
 When
everything was dry, I assembled my fairy. I used E-6000 to add the
wings to the back and also to attach the beads and the bird to the wire arms.
When
everything was dry, I assembled my fairy. I used E-6000 to add the
wings to the back and also to attach the beads and the bird to the wire arms.
Now have
fun to make your own fairy.....


 A toothpick
in her neck will give a connection to the driftwood.
A toothpick
in her neck will give a connection to the driftwood. Now I had
to let dry everything over night, before I diecut and embossed some wings from
a bee. (it is a set from Tim Holtz). If you don't have it you could totally
just cut by hand some wings. It is really easy with Makin's Clay®, just use a
pair of scissors.
Now I had
to let dry everything over night, before I diecut and embossed some wings from
a bee. (it is a set from Tim Holtz). If you don't have it you could totally
just cut by hand some wings. It is really easy with Makin's Clay®, just use a
pair of scissors.

 I also had
to prepare my driftwood. I used a power tool for making holes for the head
and at the bottom for the stand. For the arms I used a simple hardware store
wire and made holes on both sides. To glue everything into the wood and also
the bird on the wire I used E-6000.
I also had
to prepare my driftwood. I used a power tool for making holes for the head
and at the bottom for the stand. For the arms I used a simple hardware store
wire and made holes on both sides. To glue everything into the wood and also
the bird on the wire I used E-6000.


 When
everything was dry, I assembled my fairy. I used E-6000 to add the
wings to the back and also to attach the beads and the bird to the wire arms.
When
everything was dry, I assembled my fairy. I used E-6000 to add the
wings to the back and also to attach the beads and the bird to the wire arms. 


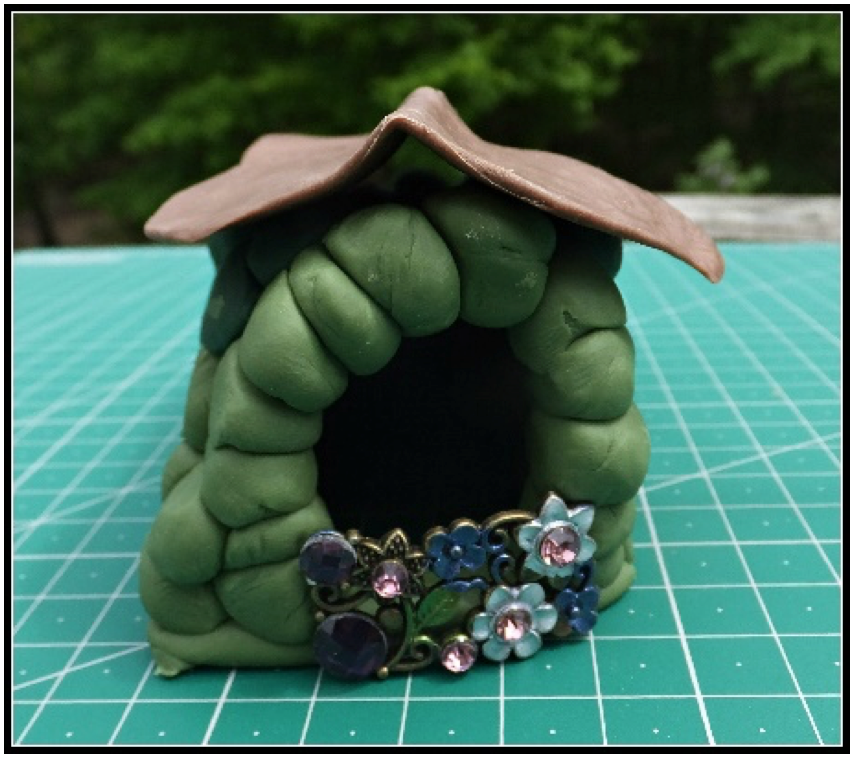


 Design Team Member Pat Krauchune shared this creative Leaf Fairies wall hanging recently here on her blog. She used a Makin's® texture sheet for her background on this piece.

