Pages - Menu

Search This Blog

Showing posts with label Bea Grob. Show all posts

Sunday, October 20, 2019

"Cute Scary" Little Pumpkins


Do you like Halloween?  Me too, but not too scary, rather cute scary. I think these little pumpkins are perfect.

Supplies

About 30 gr (1 ounce) of white Makin's Clay® for each little pumpkin
Makin's Professional® Clay Texture Set
Ball point tool with a rather small ball
Makin's Professional® Cutting Mat
Acrylic paint

Materials

I started with creating a rolled ball approx 4 cm or 2 ¾ “ diameter. Then I squished it somewhat flat.

For the arm, I made a log, which I made somewhat flat and then cut some fingers. Some have 3 fingers, some have 5 fingers.

Slightly dampen your fingers and  shape the pumpkin's fingers further.


I used the clay texture set tool to make a hole where I can insert the little arms.

I also have made the typical pumpkin ridges. For the eyes, I used the professional clay texture set, but this time the tip you can see in the picture below.

I simply twisted it above the mouth and then with the pointy tool I added some nostrils.

I made a long slit for the mouth with the pointy tool and then added either teeth or a tongue.
As some last steps I added a twisted piece to the top and textured the whole pumpkin with the small ballpoint tool.

In the end I had 3 little pumpkins which now had to dry for about 2 days. 


I used different acrylic paint mainly orange, some yellow a tiny bit of a bronze color, for the body. 

I added patina to the ridges with a flat brush with the some brown as I have used for the little stem at the top.

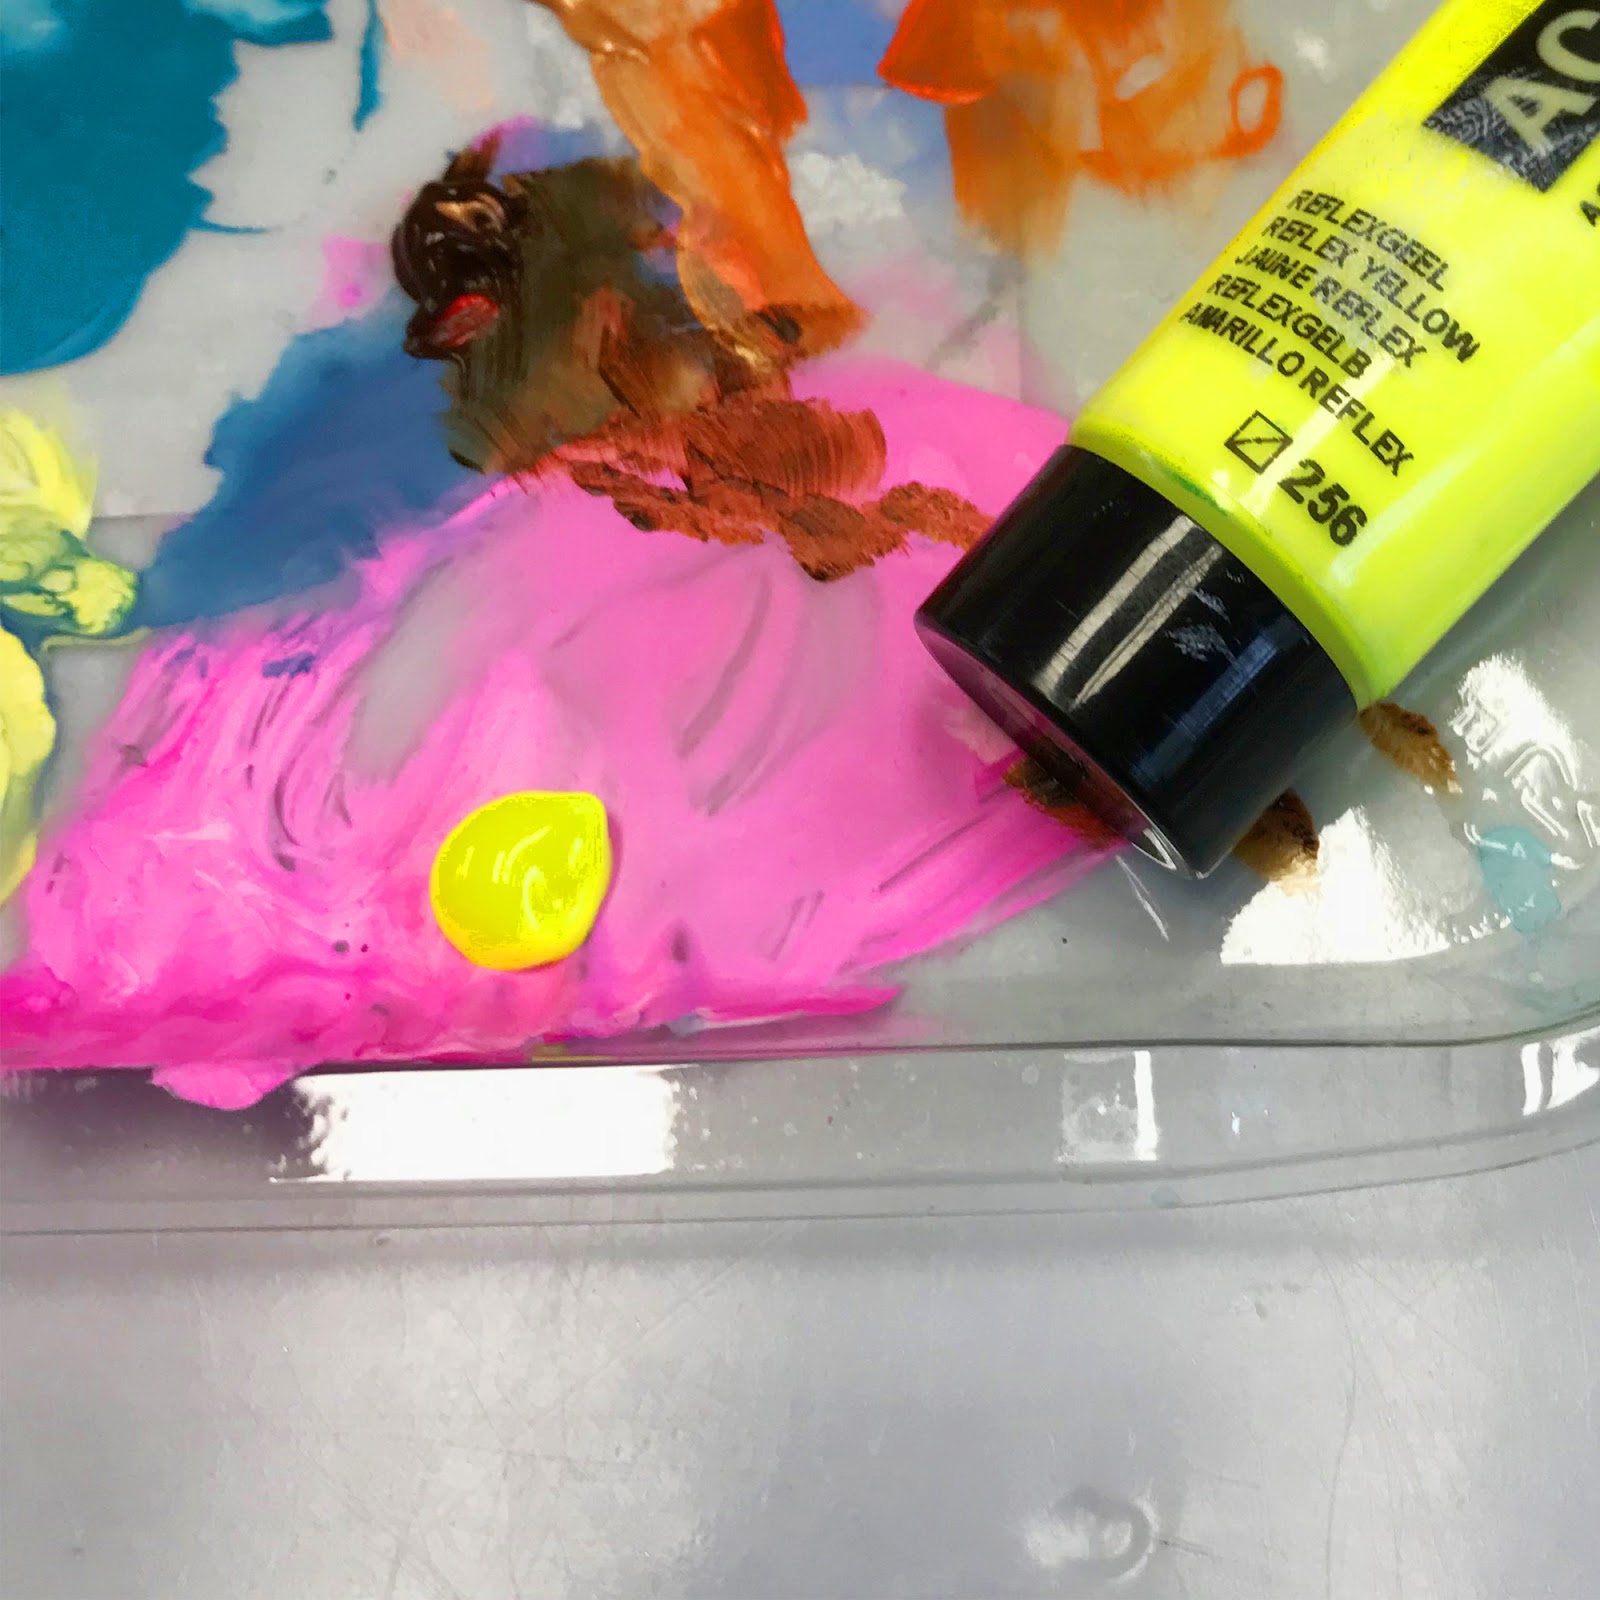
With some fluorescent color I added some dots to the eyes.


Saturday, September 28, 2019

Friday, September 20, 2019

"Thankful" Autumn Cards


"Thankful" Autumn Cards by Bea Grob

Fall is around the corner, I did spot already some colorful leaves. That and because I need some cards anyway inspired me to make some “faux fall leaves.”  Embellishments from Makin's Clay®are easy to make and once the Makin's Clay® is dry it is acid free, so perfect for going onto cards, scrapbooks and what not.

Supplies

About 40 gr (1 ounce) of white Makin's Clay®
Makin's® Push Mold Leaves SKU 39001
Cutting Matt
Several colors of mica powders

Materials

I started with a rolled ball of clay approximately 1 cm diameter.  Push it into the mold.

Make sure that the backside is flat, by smushing excess clay away from the leave. Continue to make as many leaves as you would like. 

While the clay still is fresh, right after you have made the backside flat, pull the leaves carefully out from the mold. Sometimes it is helpful to bend the mold a bit which can be done, as the mold is flexible. Make a bunch of leaves and make sure that they don't dry. I sprayed mine with a little bit of water, while working on some more leaves. For the next step the Makin's Clay® still needs to be damp.


Grab several colors of mica powders you like. I have chosen greens, golds, copper, yellow. I also added a hot pink. I added them in different spots onto the leaves with a brush. Simply dip into the powders and then dabb it onto the leaves.

I let them dry overnight.


The next day I grabbed some papers, ribbons and card bases to make two cards.

On some craft colored card stock I have printed on my computer the word thankful and then I cut it to size. I mostly always add some black outline with a permanent marker. 

For the card base and the mat I use some glue, but for the word and the leaves I use some foam tape to raise them up a bit.


Now you have some beautiful fall themed cards which would also work well for Thanksgiving day.

Sunday, August 25, 2019

Square Heads


Design Team Member Bea Grob recently shared these creative "square head" sculptures on her blog.  Bea used Makins Clay® to create her sculptures.  Find the tutorial video on her blog.

Tuesday, August 20, 2019

Peek a Boo Polymer Clay Earrings

Peek a Boo Earrings by Bea Grob

Recently, I was playing again with Makin's Clay®. These layered earrings, with a sort of a peek a boo effect with the shiny foil underneath.

Tools and Materials:

Makin's Clay® - White
Makin's Professional® Ultimate Clay Machine®
Makin's Professional® Cutting mat (small)
Kemper tool smallest round cutter
Sculpey® hollow bead maker and graduated cutters
Transfer foil in the pattern and color you like
20 Gauge wire dead soft and wire tools for the earring hooks.

Instructions:

I started with some white clay, which I have run through the Makin's Professional® Ultimate Clay Machine® setting Nr. 2. My next step was to add the foil and burnish it down with the help of an old gift card.

Next, I picked it up at a corner (the foil is bigger then the clay) and ripped it off like a band aid.


Not all foils work equal, but this one I was lucky and it did work right from the beginning. If not, just reapply the foil after lightly moistening the clay and burnishing again.

Depending on the size of the earrings you want pick the right size of cutter to go with the hollow bead maker and cut out two circles.

Place them accordingly onto the bead maker and form them a little around the bend.


Now, press the next size cutter into the clay, but leave it there until you have cut out tiny holes. I used the Kemper tools, straws may work too.

Remove the cutter and lift the clay carefully with the help of a thin blade, try not to distort the round shape.

Place it over the foiled piece and again shape it accordingly.

I grabbed the cutter again to help shaping.


Make two discs the same size and let them dry completely. I let mine dry for about 36 hours.


I cut two pieces of 20 gauge wire about 5 inch long. I filed the end that goes through the ear.

Then I shaped it the way I wanted it to be and made some spirals at the end, which I then bended perpendicular.

To make them more stable and also give some structure, I hammered them flat.


Next, I filled the dry domes with some clay in the backside, filling the indentation completely. I pushed the earring wire into the clay. 

Of course, I want to have a nice back side to the earrings, so I cut circles of clay and placed on them on top.


So we have the back, but I wanted to add a little texture too. I also smoothed out the edges afterwards a seen on the right earring.


Saturday, July 20, 2019

Articulated Faux "Paper" Doll


Have you played with paper dolls lately? Well I did, or at least lets say I made one. It is not actually paper, it's made with Makin's Clay®!


Supplies

120 g white Makin's Clay®
some sort of a blade or knife
napkins with some nice patterns
permanent black marker
acrylic paint markers or acrylic paint and a fine brush
jumprings 10 mm


First, I made some patterns which you can use if you like or make your own pattern.

Next, I rolled out some of the clay for the body, it is on the thickest setting. As you can see I used a craft knife to go along the pattern.

To smooth out the raggedy edges I used a damp wipe.  I placed the body on some parchment paper. This helps to move things around more easily.

Next, I made sure that the surface of the body was damp. That helps to stick the top layer of the napkin (only the top layer!) to the body. Also, I went over the napkin with the wet wipe. Just be careful, so you don't tear it. It is more of a dapping motion then sliding over the napkin.


I also added some napkin to the arms the same way.

I also used some tiny heart cutters.


The next morning, everything was dry, and first I transferred the pattern to Makin's Clay®. Dry Makin's Clay® acts very similar to paper, so transfer either with a transfer paper or with graphite pencil is easy. Now I was ready to paint. I use markers and acrylic paint.

My next step was to make some holes with a simple drill and then attach the legs and arms to the body with 10 mm jump rings.


Contact us

Name

Email *

Message *