Pages - Menu

Search This Blog

Showing posts with label Cindi McGee. Show all posts

Thursday, September 26, 2019

Copper Autumn Mums Earrings

Copper Autumn Mums Earrings by Cindi McGee
Materials:

Makin’s Clay® - White (or any scrap colors) 
Makin’s Professional® Professional Clay Tools - Sphere tool 
Makin’s® Clay Tool Set 
Makin’s® Clay Roller 
Makin’® Circle Clay Cutter Set 
Beacon Mixed-Media Glue®
DecoArt® Dazzling Metallics® - Copper 
Fine paintbrush 
Bronze/Copper French earring wires, jump rings, eye pins
Copper toned crystal beads 
Jewelry pliers 

Instructions:

I save “extra” Makin’s Clay® from my projects for use in future projects. As long as you store it in an airtight container, such as a zipper bag, with a damp paper towel or moist towelette, the clay will remain fresh for later use. For this project, I actually used some of that scrap clay - I have one bag that is small bits of assorted colors - so please disregard the fact that the clay I used appears “dirty.” The finished earrings are painted so it does not really matter what color your base clay is.  The flexible and lightweight nature of Makin’s Clay® when it is dry makes it ideal for delicate projects like this, as the petals will bend a bit rather than be fragile and break off easily. 

Roll clay into two balls about 3/4”, flatten the balls. It is okay if they are irregular. 

Roll a strand of clay about 1/8” in diameter (Optional: Use the Makin’s Professional® Ultimate Clay Extruder®  and single hole disc #2 or #3 to extrude a strand for this step.) 

Use tool to cut pieces about 1/4” from the strand. Take your fingertip and gently roll the pieces to a point on one end to create petals.

Place the flat edge of the tool onto the petals to create an indentation from the point to the end. 


Place the first row of petals onto the disc, using the sphere tool to gently push the ends against the disc.  

Repeat with a second layer, alterating placement of the petals. Then, repeat with additional layers as desired, using less petals each time, bringing them in closer and closer toward the center as you go until your mum is fully formed. 

Let dry 24 hours. 


Roll clay to about 1/8”.  Use circle cutter large enough to cover the base area of each mum. 

Assemble French earring wires, adding a crystal on an eye pin, and then a small jump ring to each. Trim 2 more eye pins to about 1/2”.  Attach the earring wires. Place the pins against the back of each earring. Add a touch of Mixed-Media Glue and place the cut circles over the pins, pressing into place to adhere and secure the pins. 

Let dry 24 hours. 


Paint each mum with Dazzling Metallics copper paint. 


Monday, September 9, 2019

Woodland Fairy Door


Cindi McGee recently shared this woodland fairy door.  Cindi used two Makin's® Texture Sheets in the creation of her wood effect veneer for the door.  She used Woodgrain from Set D, and Abstract B from Set H.


Saturday, August 31, 2019

A Simple Fish - Polymer Clay Pendant

A Simple Fish Pendant by Cindi McGee

Materials:

Makin’s Clay® - White 
Makin’s® Clay Cutters - Fish, 4 Piece Circle 
Makin’s® Clay Tools
Makin’s® Texture Sheet Set D - Scales
Alcohol Inks - Lettuce, Sailboat Blue 
Silver mica powder 
Opalized hot fix pearls - CreateAlong.com  
Rubbing Alcohol
Cotton balls
Silver chain, jump ring, closure 
Jewelry pliers
Helmar Crystal Kote - Gloss Varnish


Instructions:

Roll white Makin’s Clay® to about 1/4” thick.  

Apply rubbing alcohol to a cotton ball.  Add 2-3 drops of blue alcohol ink, dab onto clay sheet.  Cover the sheet with the ink.  

Add 2-3 drops of lettuce green ink, lightly dab touches onto the blue - do not completely cover the blue, the goal is to just add a bit of “sea green” effect.  Let ink dry.


Use smallest circle cutter from 4 cutter set and cut circle for base of pendant. 

Use the cotton ball with the alcohol ink to over the sides, and the back of the pendant. 

Make a small hole at the top center for the jump ring. 


Roll a sheet of white clay a little less than 1/4” thick. Place the scales texture sheet over the rolled clay and press to transfer the texture.  Texture sheets can be used on both sides, one side will create an indented texture, the other a raised texture. 

Use largest fish cutter to cut fish.  

Apply silver mica powder to the top and sides of the fish. 

Use a touch of Beacon 527 Adhesive to mount the fish to the “water” disc base. 


Let dry 24 hours. 

Spray with two coats of Hellmar Gloss finish, or use the glossy finish of your choice.  Let dry. 


Add three opalized hot fix pearls to mimic bubbles.  Since the pendant is not being baked, I used the 527 Adhesive to mount them. 

I decided to add a touch of the silver mica powder around the edge of the “water” disc after sealing. 


Add jump ring, chain and closure. 


Wednesday, July 31, 2019

Framed Steampunk Monogram

Framed Steampunk Monogram by Cindi McGee

I save almost all of my "leftovers" when creating projects with Makin's Clay®.  This Steampunk monogram was created for my good friend Patricia Krauchune.  She is the queen of Steampunk and I wanted to make her something special for her studio.  It is made up entirely of "scraps" of textured and stamped clay from other projects.  Below are the materials you would need to recreate the same variety of textures and images. 

Materials:

Makin's Clay® - Black, Natural, Brown
Makin's® Texture Sheet Sets - A, F, G, and H 
Makin's Professional® Ultimate Clay Machine®
Makin's Professional® Professional Clay Tools 
Makin's Professional® Cutting Mat 
Clock face rubber stamp, other varied Steampunk style rubber stamps 
DecoArt® Metallic Lustre™ - Copper Kettle, Gold Rush, Black Shimmer, Silver Spark, Burnished Brass 
DecoArt® Americana™ Decor® Creme Wax - Golden Brown
Scissors 
Craft knife 
Ruler
Frame with mat board insert 
Silver and black acrylic paints 
Black Staz-On ink pad
Beacon® Tacky Glue
Beacon® 527 Adhesive 


Instructions:

Roll sheets of black, brown clay, and natural Makin's Clay®. I used the Makin's Professional® Ultimate Clay Machine® and rolled to setting #2. Use a variety of the texture sheets to texture the black and brown clay sheets. I also used rubber stamps to add texture to some pieces.  

Use stamps inked with permanent black ink to stamp onto natural clay sheets.  Let all sheets dry 24 hours. 

To "age" the natural sheets, apply brown creme wax and then immediately wipe off excess.  This will stain the natural clay and give it the desired effect. 

Use the assorted DecoArt® Metallic Lustres™ to highlight the textures on the brown and black textured sheets of clay. 

Now you are ready to begin assembling your letter. 

For the base of the monogram, roll black Makin's Clay® with Makin's Professional® Ultimate Clay Machine® to setting #3. 
Using the mat board, determine size of letter you wish to create.  Use craft knife to cut the rolled clay sheets to the appropriate sizes to create the letter.  If desired, trace a letter as a template. 


Use scissors to cut squares, rectangles, and strips from the textured and stamped sheets of dry clay. 
Begin to assemble them in a random fashion, alternating patterns and colors of metallic finish, to fill in the entire area of the base letter. The goal at this point is to create your desired pattern, NOT to permanently mount the pieces to the base letter.   


Once you have them arranged to your liking, add tacky glue to the back of each piece and reassemble. 

Roll an additional sheet of black clay to setting #3 on the Ultimate Clay Machine®.  Place onto cutting mat, use ruler and cutting wheel to cut strips of clay the same width to place between the seams of all the individual tiles.  Apply Black Shimmer Metallic Lustre™ to each strip. Cut them to the required size to create the outlines for the tiles, add tacky glue and mount. 


I created the rivets/screws for the corners of each tile by using a tool to cut small circles from a sheet of black clay. You could also create small balls of clay and flatten them. Each circle was given a "x" on the surface to mimic a screw head. Add Black Shimmer Metallic Lustre to each screw. Use tacky glue to mount them to the corners of each tile. Let dry 24 hours. 


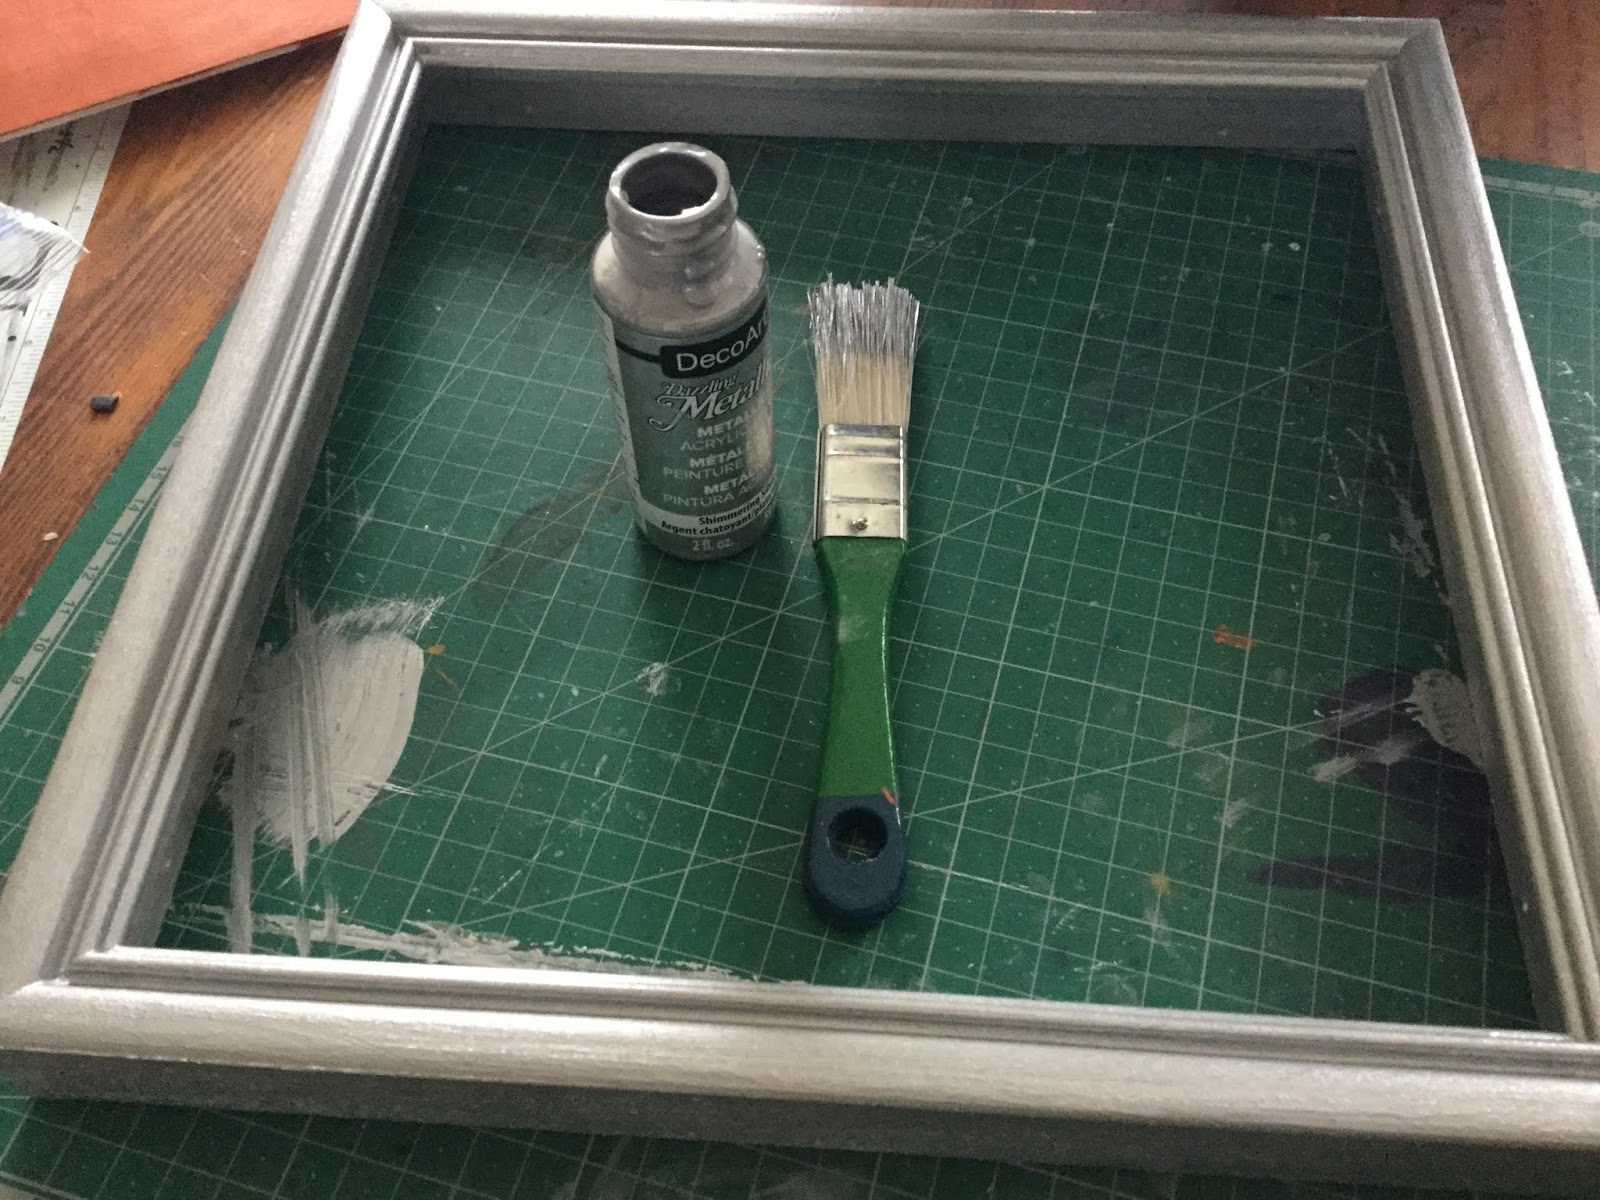
Paint the mat board with metallic copper paint and let dry.  Paint the frame with silver metallic paint and let dry. Use a damp paper towel to apply a light amount of black acrylic paint over the silver frame.  Then use dry paper towel to rub off excess, leaving an aged effect. 


Place the mat board into the frame. Use Beacon 527 or similar strong adhesive to mount the clay letter, centered. Let dry. Add hanging hardware to back of frame. 


Contact us

Name

Email *

Message *