Pages - Menu

Search This Blog

Showing posts with label Decoart. Show all posts

Wednesday, July 31, 2019

Framed Steampunk Monogram

Framed Steampunk Monogram by Cindi McGee

I save almost all of my "leftovers" when creating projects with Makin's Clay®.  This Steampunk monogram was created for my good friend Patricia Krauchune.  She is the queen of Steampunk and I wanted to make her something special for her studio.  It is made up entirely of "scraps" of textured and stamped clay from other projects.  Below are the materials you would need to recreate the same variety of textures and images. 

Materials:

Makin's Clay® - Black, Natural, Brown
Makin's® Texture Sheet Sets - A, F, G, and H 
Makin's Professional® Ultimate Clay Machine®
Makin's Professional® Professional Clay Tools 
Makin's Professional® Cutting Mat 
Clock face rubber stamp, other varied Steampunk style rubber stamps 
DecoArt® Metallic Lustre™ - Copper Kettle, Gold Rush, Black Shimmer, Silver Spark, Burnished Brass 
DecoArt® Americana™ Decor® Creme Wax - Golden Brown
Scissors 
Craft knife 
Ruler
Frame with mat board insert 
Silver and black acrylic paints 
Black Staz-On ink pad
Beacon® Tacky Glue
Beacon® 527 Adhesive 


Instructions:

Roll sheets of black, brown clay, and natural Makin's Clay®. I used the Makin's Professional® Ultimate Clay Machine® and rolled to setting #2. Use a variety of the texture sheets to texture the black and brown clay sheets. I also used rubber stamps to add texture to some pieces.  

Use stamps inked with permanent black ink to stamp onto natural clay sheets.  Let all sheets dry 24 hours. 

To "age" the natural sheets, apply brown creme wax and then immediately wipe off excess.  This will stain the natural clay and give it the desired effect. 

Use the assorted DecoArt® Metallic Lustres™ to highlight the textures on the brown and black textured sheets of clay. 

Now you are ready to begin assembling your letter. 

For the base of the monogram, roll black Makin's Clay® with Makin's Professional® Ultimate Clay Machine® to setting #3. 
Using the mat board, determine size of letter you wish to create.  Use craft knife to cut the rolled clay sheets to the appropriate sizes to create the letter.  If desired, trace a letter as a template. 


Use scissors to cut squares, rectangles, and strips from the textured and stamped sheets of dry clay. 
Begin to assemble them in a random fashion, alternating patterns and colors of metallic finish, to fill in the entire area of the base letter. The goal at this point is to create your desired pattern, NOT to permanently mount the pieces to the base letter.   


Once you have them arranged to your liking, add tacky glue to the back of each piece and reassemble. 

Roll an additional sheet of black clay to setting #3 on the Ultimate Clay Machine®.  Place onto cutting mat, use ruler and cutting wheel to cut strips of clay the same width to place between the seams of all the individual tiles.  Apply Black Shimmer Metallic Lustre™ to each strip. Cut them to the required size to create the outlines for the tiles, add tacky glue and mount. 


I created the rivets/screws for the corners of each tile by using a tool to cut small circles from a sheet of black clay. You could also create small balls of clay and flatten them. Each circle was given a "x" on the surface to mimic a screw head. Add Black Shimmer Metallic Lustre to each screw. Use tacky glue to mount them to the corners of each tile. Let dry 24 hours. 


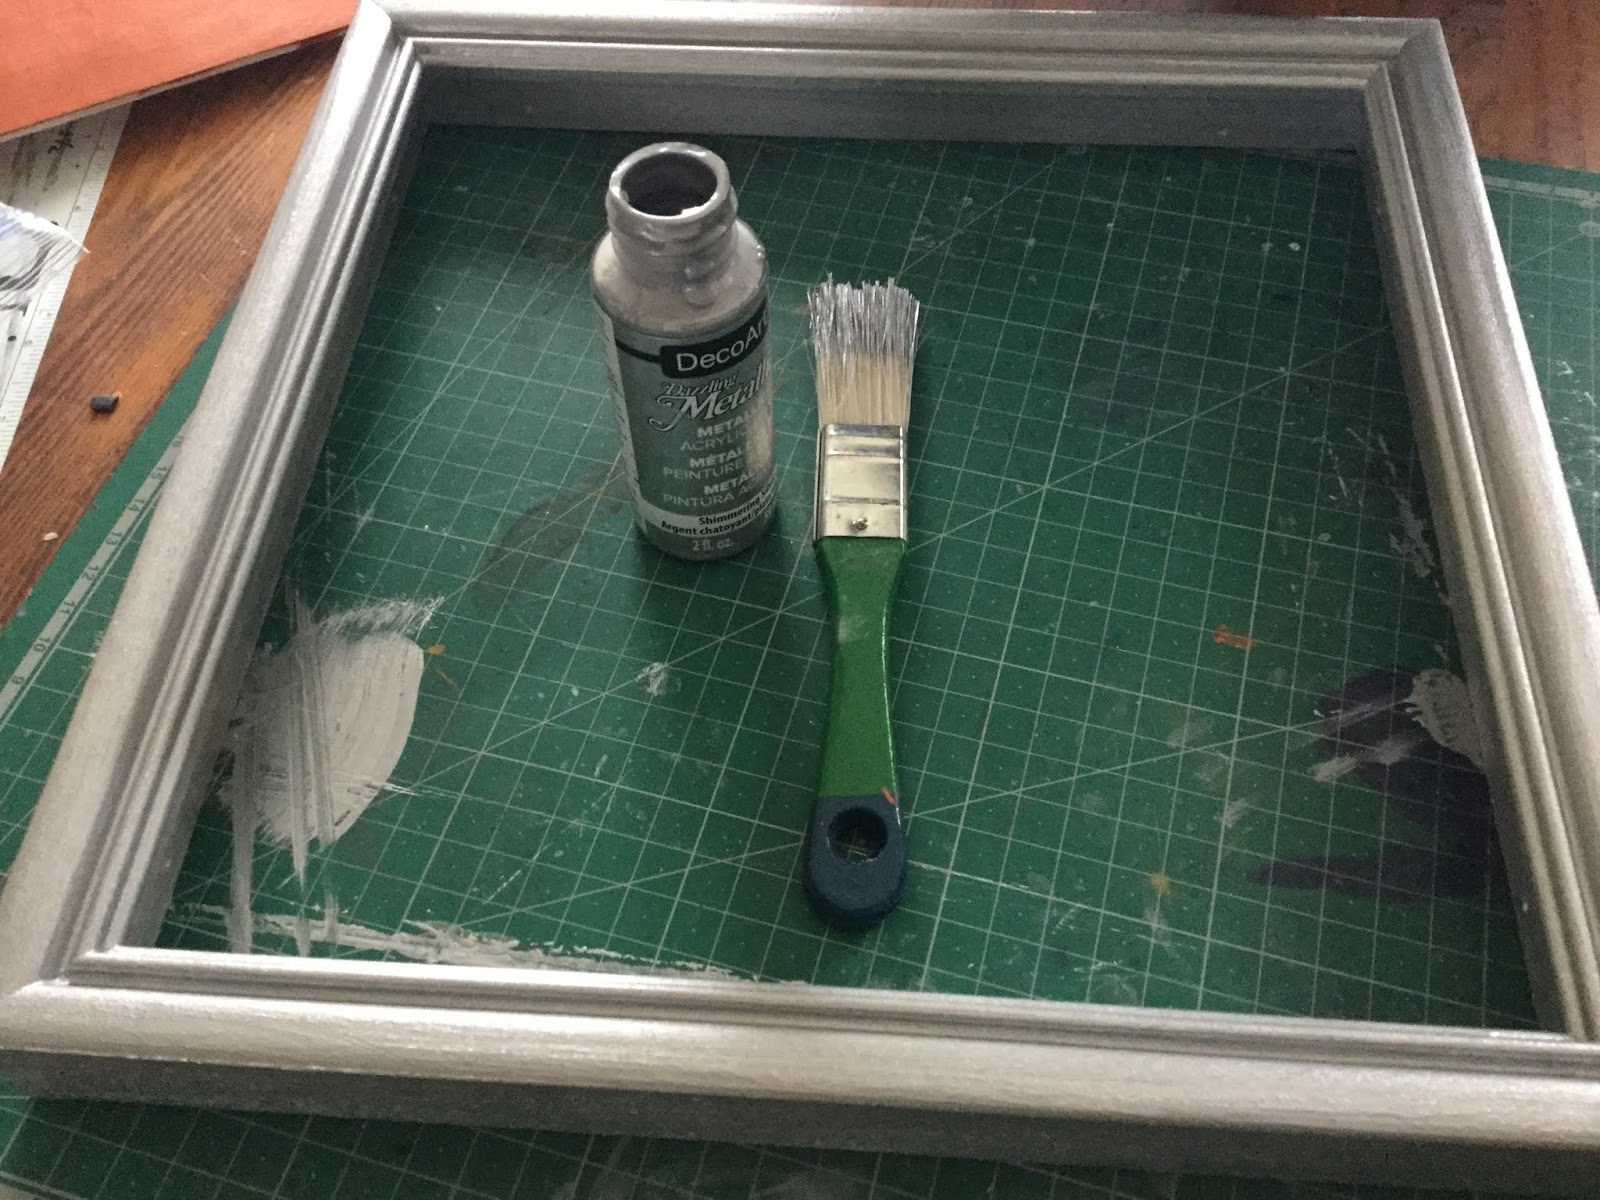
Paint the mat board with metallic copper paint and let dry.  Paint the frame with silver metallic paint and let dry. Use a damp paper towel to apply a light amount of black acrylic paint over the silver frame.  Then use dry paper towel to rub off excess, leaving an aged effect. 


Place the mat board into the frame. Use Beacon 527 or similar strong adhesive to mount the clay letter, centered. Let dry. Add hanging hardware to back of frame. 


Friday, June 15, 2018

Faux Sea Glass Polymer Clay Bracelet

Faux Sea Glass Bracelet by Patricia Roberts-Thompson

Materials:
                   
Makin’s Clay® White 30g                  
Makin’s® Push Mold - Sea Shells
Makin's Professional® Ultimate Clay Machine®
Elastic 
Wet wipes 
Size 6 seed beads
Charms
Jumpring
DecoArt acrylic paints: Island Blue, Golden Brown 
Craftsmart: Ocean Breeze, 
Chalk paint – Light cream color  
Glue    
Blade or scissors
Needle tool 
Paintbrush
Knitting needle
Americana DuraCoat Matte Varnish or Golden Matte varnish
Cornstarch
Stamp block

Directions: 

Fig 1: Condition some white Makin’s Clay® and add acrylic paints in blue, aqua green and ochre ( Golden Brown ) to three separate balls of clay. Take some of each resulting colour, and mix those together to get more colours for your faux beach glass look nuggets. Keep in mind they will dry darker than the color you mix.  Dust the Sea Shells push mold with cornstarch and using a color of clay that you like, press some into the smaller clam shell mold. You will use two for each bead. I find it easier to use more clay than I need, press into the mold, letting it go past the edges which gives you something to hold onto when pulling it from the mold. Then use a sharp pair of scissors to trim away the excess clay. I used a round toothpick, laid it through the middle of one clam side, and then placed the other one on top. Twist the toothpick as you pull it out from the bead. This was easier than poking a hole.  Use a needle tool to detail the clam shell.

Fig 2: To make the sea glass nuggets, roll a ball of clay, just smaller than a marble, but vary the sizes. I used a stamp block to press some angles into each piece, and the occasional groove. I used a small knitting needle, dipped in cornstarch to make the holes. Make the holes large enough to accommodate your stringing material.  Let them dry for 24 hours.

Fig 3: When the beads are dry, brush a coat of chalk paint, and remove most of it with a wet wipe or damp paper towel. You want just a hint of the cream color remaining. The cream paint helps make the beads look more translucent. Let the beads dry, and then varnish them. I love the Matte varnish from Golden, but you can use your favorite matte varnish.


Fig 4: Assembly. I choose a fabric elastic found in the sewing notions section of WalMart for my stringing  material. It’s very strong, and the knots don’t come out as you wear the bracelet. Stretch Magic works very well also! Thread your beads, alternating the colors and placing a size 6 seed bead between each one. You’ve probably made extra like I did, so just pick your favorites, testing the fit as you go. Use a bead with a large hole for the end, so you can hide the knot in the elastic. Thread on a charm on a jumpring if you like. Tie the elastic in a square knot, then one more knot. Add a drop of glue if you like, and then pull the knot into the larger hole of the last bead.
All done! Something cute to wear to the beach!

Wednesday, November 8, 2017

Autumn Leaf Pendant

Autumn Leaf Pendant by Patricia Krauchune
For my November Makin's Clay® project, I decided to showcase the flexibility of Makin's Clay®. This leaf is almost paper, thin yet flexible and strong. 

Materials:

Makin's Clay® - Black                DecoArt® Triple Thick Glaze™
2 Part Silicone Leaf Mold            Jacquard® Lumiere® Metallic Olive Green Paint  
Jump ring                                     Nail Art Foil 
1 Eyelet                                        Krazy® Glue
Weldbond Glue

Recommended Makin's® Tools: 

Makin's Professional®
  • Ultimate Clay Machine®
  • Cutting Mat

Instructions:

Roll out some Black Makin's Clay® to the #6 setting on the Ultimate Clay Machine®. Place the thin sheet of clay between the two part leaf mold: (pink) and press firmly. Remove clay from mold and allow to dry overnight. 


I punched a few random holes in the leaf and trimmed the edge with scissors. I hand tore one small section to give a more realistic look to the leaf. Next, punch a small hole at the top of the leaf and add a small eyelet. I added a few drops of Krazy® Glue to the back of the eyelet for reinforcement. 
 

Paint the leaf with Jacquard® Lumiere® Metallic Olive Green paint. Here's where the "magic" happens. Working on a small area at a time, brush a layer of Weldbond Glue then burnish the nail art foil over the glue and lift off. Keep repeating till you get the effect you like and coverage of the foil that pleases you. Let dry completely and then do the same to the back side of the leaf. 
 

After the leaf has dried overnight, seal both sides with DecoArt® Triple Thick Glaze™. Add either a chain or a leather cord and you are finished! 


I love the versatility of Makin's Clay® in this project. 

See you soon with another fun Makin's project! 

Thursday, September 7, 2017

ROBO Number 13


ROBO Number 13 by Patricia Krauchune 

For my September Makin's Clay® project, I decided to make a little steampunk robot. Let's get cooking! 

Supply List:

Makin's Clay® Black              5 Gears:  3 Small, 2 Medium                2 Old Keys 
Aluminum Foil                        Mini Gauge                                           Copper Wire 
Rigid Wrap™                          Metal Roller Ball                                  Old Alarm Clock Bell    
Black Gesso                            2 Metal Beads                                        Loctite® 5 Minute Epoxy 
Small Piece of Zipper             2 Small Screws with Washers               2 Springs 
2 Tire Stem Valve Cores         Small Nails                                            Metal Frame
2 Donut Shaped Beads            Krazy® Glue                                         Assorted Screws and Pins 
Small Metal 13 Plaque            3 Watch Stems                                       1 Large Gear 
Artists's Loft™ Burnt              DecoArt® Shimmering Silver              Martha Stewart™ Copper Paint
   Umber Oil Paint                   DecoArt® Splendid Gold                     
Beacon Tacky Glue™             DecoArt® Triple Thick Gloss Glaze™

Instructions:

Form 2 rectangles from aluminum foil, one slightly bigger than the other. Next wrap the rectangles with Rigid Wrap™ Plaster Cloth. Let them dry overnight. When dry, I painted the "cubes" with black gesso. 


Roll out some Black Makin's Clay® using the Makin's Professional® Ultimate Clay Machine® on the number 1. setting. Brush some Beacon's™ Tacky Glue onto the smaller cube and wrap the rolled out clay onto the cube. I impressed several different items to give some texture. A small piece of zipper was added for the mouth, two donut shaped beads form the eyes and a couple of mini screws with attached washers go in the center of the eyes. I used tire valve stem cores for the ears. Here is where you use what you have on hand. Small nails form "hair", and a metal piece with a rolling ball in the center adorns the top of the head. All pieces are held in place with Krazy® Glue. 


I had a small bell from an old alarm clock that I used for the base. Form some copper wire to feed into the hole in the bell housing which will be the base of the robot. Place the bell base upside down onto a spool. Mix some Loctite® 5 Minute Epoxy and fill the bell housing with the mixture. CAUTION! THE EPOXY GETS VERY HOT WHILE CURING, DO NOT TOUCH THE BELL HOUSING!!! The full cure takes 24 hours. When fully cured, paint the bell housing with copper paint. 


Now cover the larger cube with more black clay. Glue a small metal frame to the front using Krazy® Glue and paint the inside area of the frame with gold paint. This is the robot's front area. On the back side, I added a small metal tag with the number "13", a couple of small screws, mini nails and large pin heads. You can use whatever you have on hand to make the robot yours. I scour junk stores and yard sales for findings to make my robots and other steampunk pieces. 


Old keys will be used for arms. First I put a gear, a metal bead, the key and a screw that holds the assembly in place, Krazy® Glue again used as the adhesive. Small gears, a mini gauge and a copper coil were added inside the metal frame. With the cured bell housing base, I slipped a plastic tube over some springs and then wrapped copper wire to make "steam" pipes. Mix some more 5 minute epoxy and attach the body to the bell housing base. I filled the inside of the frame with DecoArt® Triple Thick Gloss Glaze™. 


Next I pushed a piece of copper wire into the top of the body, added a large gear, some epoxy and pushed the head of the robot in place. Leave undisturbed for 24 hours. At this point I decided to add a glass pin head to the top. 


Number 13 was painted silver, my choice for him.


The next day I antiqued Number 13 with Artist's Loft™ Burnt Umber Oil Paint. Brushed it on, wiped it off. 

My little guy is finished and I really like him. Now gather some supplies and make one for yourself. Anything is possible with Makin's Clay®, The No Bake Clay®. 


Contact us

Name

Email *

Message *