Pages - Menu

Search This Blog

Showing posts with label Judikins. Show all posts

Wednesday, March 27, 2019

Honeycomb & Bee Pendant

HONEYCOMB & BEE PENDANT by Cindi McGee
Materials:

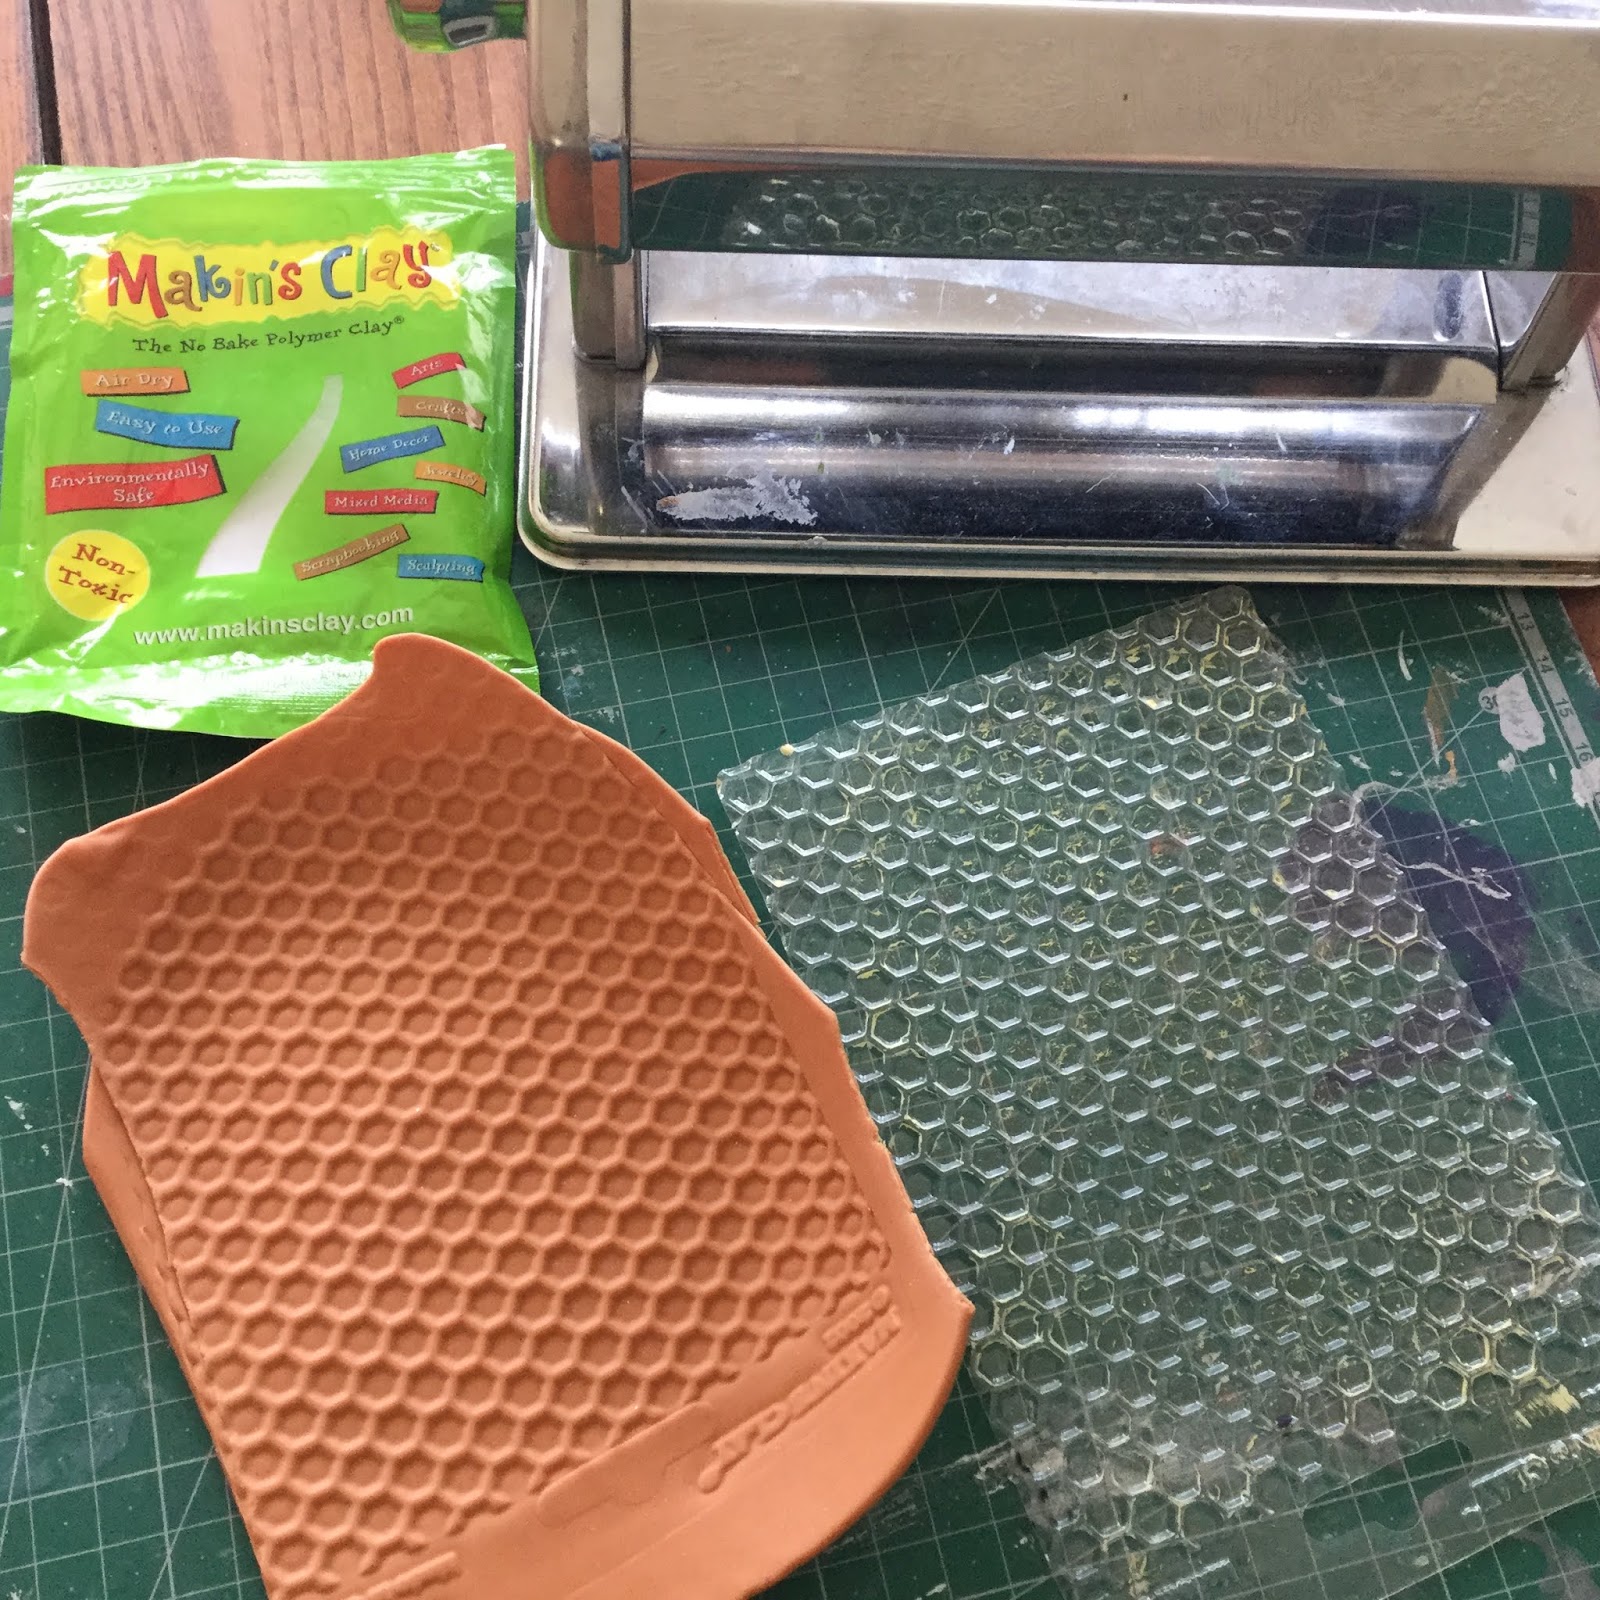
Makin’s Clay® 60g Persimmon, Black
Makin’s Professional®

  • Cutting Mat
  • Ultimate Clay Machine®
  • Ultimate Clay Extruder® - Slot Disc 11
Makin’s® Texture Sheet Set -  C -  Honeycomb 
Clay blade
JudiKins™ Big Bee rubber stamp 
Staz-on Jet Black permanent ink pad
Black cording
Beacon® Tacky Glue 

Instructions:

Roll Persimmon clay to setting #1 on clay machine. Place texture sheet over clay and roll both through machine again on setting #1. 

Place onto cutting mat. Determine approximate finished size of piece based upon the stamp you are using.  

Use the guidelines on the mat to cut a square (mine was 6 cm x 6 cm). Then use the guideilnes to cut the corners to make a hexagon. Since my square was 6 cm, I cut in 2 cm on each side to make the slant cuts. 


Ink stamp with permanent black ink. Carefully impress tamp into clay to transfer ink and pattern into clay. 

Roll remaining clay to setting #1 on clay machine. Place texture sheet over clay and roll both through machine again on setting #1. 

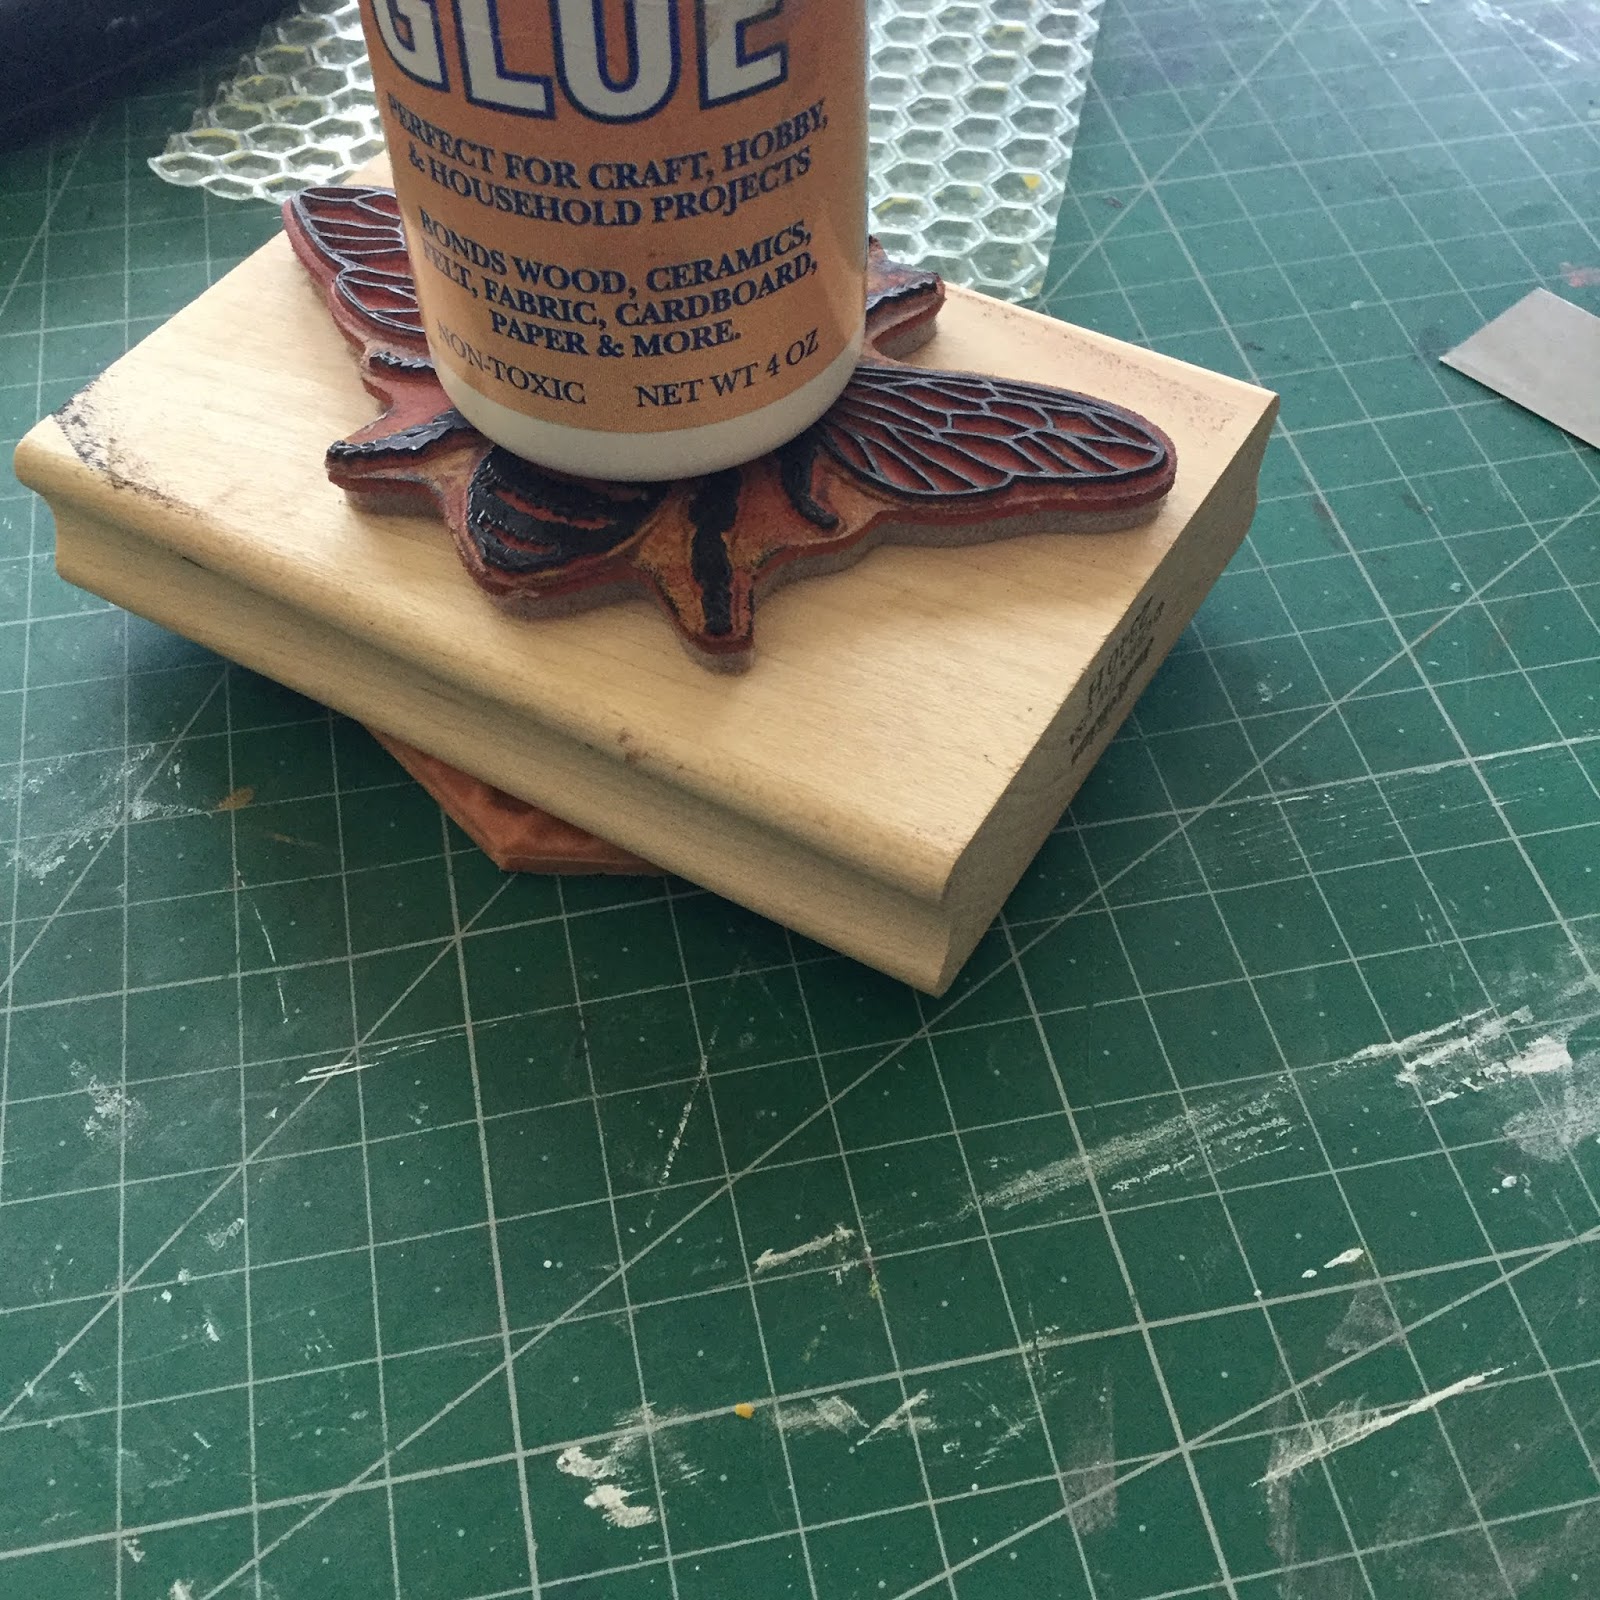
Use the first hexagon as a template to cut another.  Add tacky glue to the back and mount the two pieces together so the honeycomb is on both sides. Make a hole at the top fo cording. Use something to weigh down and ensure it dries flat - I used the stamp with the glue bottle - it was just heavy enough to ensure it remained flat yet not heavy enough to effect the texture. Let dry 24 hours. 


Extrude black clay strand.  Add tacky glue to edge of honeycomb and then add black strand around outer edge. Trim to fit as needed.  Let dry 24 hours. 


Add black cording. 

Sunday, February 10, 2019

Black & Gold Paisley Bangle Bracelet

Black & Gold Paisley Bangle Bracelet by Cindi McGee
Materials:

Makin’s Professional® Ultimate Clay Extruder® - 3 hole disc 
Makin’s Professional® Ultimate Clay Machine®
Wooden bangle 
JudiKins™ Diamond Glaze 
Gold microbeads 
DecoArt® Americana® Multi-Surface Satin™ - Gold 
CreateAlong.com Peacock Borders Silkscreen by Cindi McGee Designs
Paintbrush 
Scissors 
Squeegee 
Beacon™ 527 Adhesive 

Instructions:

Often when I am working on a project and have “leftover” clay I will roll it into thin sheets and allow it to dry. Then I have sheets ready to die cut or craft punch, etc. when I’m ready to create. To create the sheets I simply roll black Makin’s Clay® beginning on setting #1 of the Ultimate Clay Machine®, the moving up one setting at a time and in this case ending at a setting #6. 

Place silkscreen orange side down over the clay sheet. Apply gold metallic paint to squeegee.  While holding the silkscreen in place, carefully use the squeegee to apply the paint over the silkscreen, transferring the image to the clay sheet. Immediately wash the silkscreen and squeegee, and let paint dry on clay sheet. Then repeat to make a second border. 
 

When silkscreening is dry, use scissors to trim around the borders and create two rectangular strips of equal size. I purposely made mine about 1/4” narrower than the width of the bangle as I wanted to add a row of gold microbeads. 

Paint inside of wooden bangle with gold paint. Let dry.


Apply 527 Adhesive to back of first strip of clay.  Wrap around bangle. Trim second strip to fill in any remaining space, being careful to match pattern as best as possible. Glue in place. Let glue dry. 


 Use Ultimate Clay Extruder® and 3 hole disc to extrude black clay. Twist three strands. Add adhesive to top edge of bangle, wrap twisted clay around the top edge, trim to fit. Repeat on opposite side of bangle. Let dry 24 hours.
Apply Diamond Glaze to area between silkscreened clay and the twisted border piece. Add gold microbeads.  Repeat all around the bangle, on top and bottom edges. Let dry. 


Thursday, December 14, 2017

Easy Sparkling Clay Snowflakes - DIY Video


  There's a frosty chill in the air !  Today, we thought we'd "re-share" Cindi McGee's DIY video she created last year featuring clay snowflake ornaments and light enhancers.   Bring a little winter sparkle into your home with these sparkling flakes! 


Monday, May 15, 2017

"Earth Beads" Bracelet


Cindi McGee recently shared how to create these textured, dimensional beads.  Cindi thought these beads resembled images of Earth, but you can change the colors and get a totally different look.

Friday, December 9, 2016

Easy Sparkling Clay Snowflakes DIY Video


Cindi McGee recently shared this DIY video showing a quick & easy way to make sturdy snowflake light enhancers and ornaments with Makin's Clay®.

Snowflake Light Enhancers & Ornaments by Cindi McGee

Wednesday, September 28, 2016

Monday, September 26, 2016

Asian Inspired ATC's

Asian Inspired ATC's by Cindi McGee
Designer Cindi McGee is sharing these Asian Themed ATC's today on her blog.   Cindi used Makin's Clay® to custom mold faux coins for her embellishments.

Faux coins made with Makin's Clay® 

Friday, September 2, 2016

Gothic Romance Pendant with Makin's Clay®

Gothic Skull Pendant by Cindi McGee
Cindi McGee shares more creepy fun jewelry today with this Gothic Romance Pendant - Cindi used Makin's Clay® to create her textured background for the creepy skull in this piece.  Find her full instructions here on her blog.

Thursday, September 1, 2016

Ghoulish Gothic Skull Jewelry with Makin's Clay®

Ghoulish Gothic Skull Bracelet Designed by Cindi McGee
Ghoulish Gothic Skull Earrings by Cindi McGee
I love Halloween for a number of reasons.  I love spooky movies, with fabulous special effects and monster make-up (especially those made in the days when they actually used real props and make-up instead of CGI!), and I love Halloween decorations because they are creepy, silly, and fun.   As the season approaches each year my creative muse seems to kick into mega creepy mode and I just can’t find enough time to make all the spooky jewelry and decorations I envision in my head.   Thes “Creepy Gothic Skull Bracelet & Earrings" combines three ghoulish elements - skulls, spiderwebs, and blood - what could be more perfect for the spookiest time of the year? 


Materials: 

Makin's Clay® - White, Black, Natural 
Makin's® Cutting Mat 
Open back beads for bezels 
Small skull beads 
Small black spacer beads, small smoky gray beads, small red glass seed beads 
Alumilite/Amazing Casting Products Amazing Mold Putty 
JudiKins™ Spider Web rubber stamp 
JudiKins™ Diamond Glaze™
DecoArt® Americana® Multi-Surface Satin™ Acrylic - Black Tie, Dark Scarlet 
Beacon™ Power-Tac Adhesive
Jewelry wire, crimps, closure, earring wires 
Paper towels, scissors, jewelry pliers 


Instructions:

Step 1 - Building the Bezels - Getting "Webby" 

I’ve had these "open-backed" beads in my jewelry making stash for a while, and they seemed like the perfect choice to make mini-bezels to hold my creepy skulls and blood.   

Mix a small amount of black with white Makin’s Clay® to create a smoky gray.   Place clay on back side of each bead to cover the crystal and decorative side, bringing the clay over the sides of each bead. 

Be sure to open the holes on opposite sides of the beads to allow the wire to pass through. 


While the clay is still fresh, stamp the flat surface of each bead with the spider web rubber stamp; stamp firmly enough to leave an impression of the web.  Let dry 24 hours. 


Cover each bead with Black Tie DecoArt® Americana® Multi-Surface Satin™ paint, then immediately wipe off with paper towel, just allowing paint to remain in the impression of the spider web and slightly tint the gray clay. 


Step 2 - Skull Time!


I had a few of these plastic skull beads in my stash, but the bright colors would just not work for this project, and I wanted a way to make multiples for future projects.  Making a mold was the answer! 


Mix equal parts Part A and Part B of Amazing Mold Putty.  Push beads into putty face down.   Let set per manufacturer instructions (about 5 minutes was enough for me!)  and remove beads from molds. 


Make skulls by molding Natural Makin’s Clay® in the skull bead molds.  I let my clay dry about an hour before I removed from the mold just to ensure they maintained their shape well.  Let beads dry 24 hours.  Trim any excess clay from the base of each skull.  


Cover each skull with black paint.  Wipe away while wet, leaving paint in indentations to highlight details and to tint the rest of the skulls to “age” them a bit. 


For bracelet, string “bezels” onto jewelry wire, alternating with black beads, until bracelet is desired length.  Use Beacon™ Power-Tac to mount a skull in the center of each bezel, over wire.  Let dry. 

For earrings, string two bezels onto separate pieces of jewelry wire, then use Beacon™ Power-Tac to mount a skull in the center of each bezel, over wire.  Let dry. 


Step 3 - Bring on the Ghoul Factor - Making Faux Blood!

I love to experiment with ways to make faux blood for creative projects.  Adding the acrylic paint to Diamond Glaze™ worked great for this project.  I've also created faux blood with two part resin and a touch of RIT Dye - that works fantastic too! 

Mix JudiKins™ Diamond Glaze™ with a few drops of Dark Scarlet Multi-Surface Satin™ paint.  Use stir stick to drizzle tinted glaze into each bezel around skulls.  If a bit gets on the skulls, the spacer beads, or the bezels, it just adds to the ghoulish effect! 
Let Diamond Glaze dry 24 hours. (Normally, Diamond Glaze has a much quicker drying time - but since we are using such a thick application for this project, I wanted to be sure it was completely dry before moving on to assembling the jewelry pieces.)

Create loop at the ends of the wire on opposite ends of the bracelet, add jump rings and use
crimp to seal loops.  Add closure. 

For earrings, remove the jewelry wire from the two bezels.  Insert straight pins through the space left from the wire, add a black bead to the base, a small smoky grey bead to the top and then a red glass seed bead.  Add wire earring hooks.


Sunday, July 24, 2016

Seahorses Beneath the Sea ATC's by Cindi McGee

Seahorse ATC's made by Cindi McGee with Makin's Clay® & Gel Press®
Designer Cindi McGee recently shared these mixed-media ATC's with a "beneath the sea" theme.  Cindi used Makin's Clay® and the Makin's Professional® Ultimate Clay Extruder™ to create the seaweed for her cards.   For more information visit her blog.

Contact us

Name

Email *

Message *