This time I upcycled an empty container with Makin's Clay® and some molds. I was after a vintage look like this tin has been around for
centuries.
Supply List:
Makin's Clay® any
color works, I happend to have some brown
Makin's® Push Molds - Floral, Borders
Tacky glue
Acrylic paint in metallic, silver, green and blue, black
plain acrylic paint for patina
Metalic wax
Tools

Silicon mold with frame and angel
Empty metal container about 4 inches
Instructions:
I sanded my tin to have a better adhesion for the Makin's
Clay® and also added some Tacky Glue when I applied the embellishments.
I started with the borders push mold and made some bands around the bottom and the
top. I took them out carefully and attached them when they were still fresh.
I had to make several of the same borders and put them together. How many times depends a bit on the size of the container. And of course they didn't fit perfectly, so I had to cut one piece at the end.
After adding the frame and the angel, I made some tiny
embellishment with the floral push mold.
I didn't fill the whole flower, just the center of the
flower, this gives tiny little buds.
Next, I had to let it dry completely, before I could go over it with some Gesso. I didn't cover up completely as I was going for a more random
look.
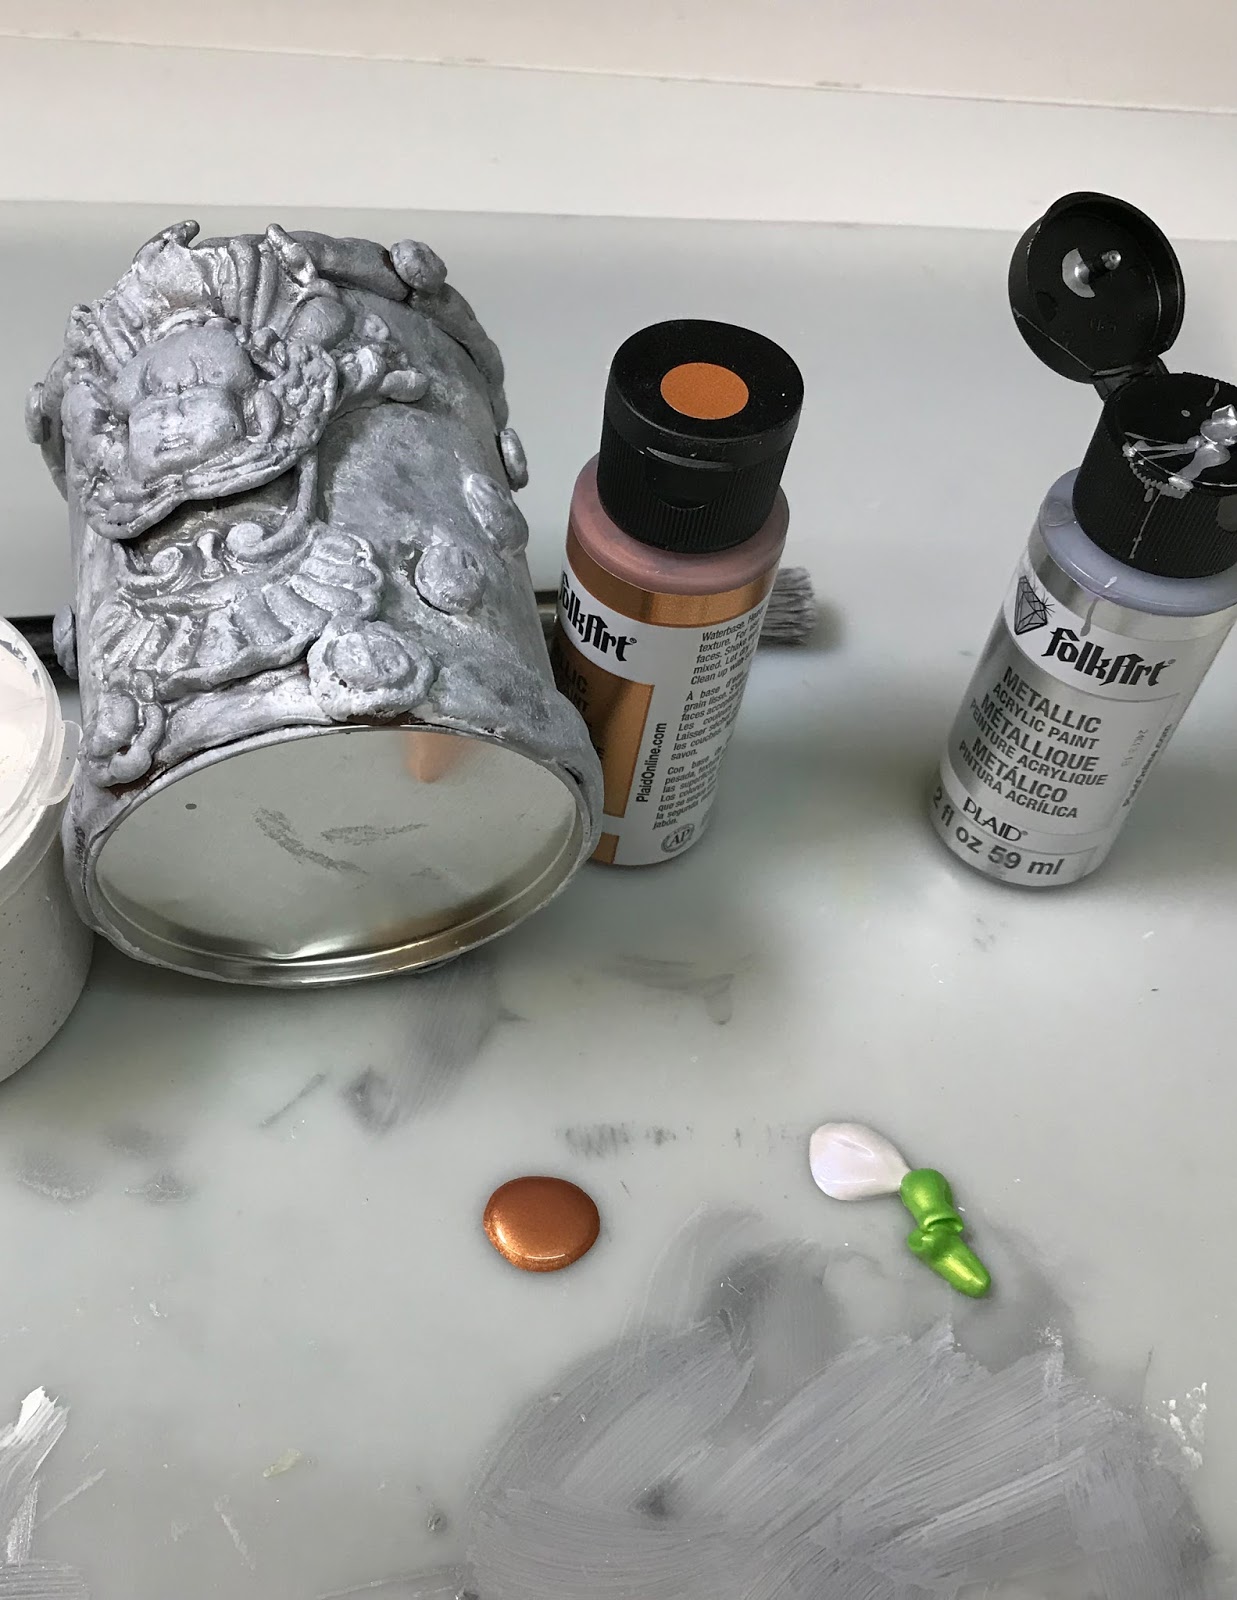
When the gesso was dry I covered everything with some silver
metallic paint.

To bring up the relief a bit better I applied first some
black paint and then wiped it off again with a wet wipe while the paint is
still a little bit wet, which left the black in the crevices.


I also added in some random spots other colors of metallic
paint and as a final step I added some metallic waxes, again applying it and
then removing a part again.
I thing I also like to do is apply heat to the acrylic
paint until it bubbles, this adds to the vintage character of any piece. Just
be careful and move the heattool around so you don't accidently set the
anything on fire or make it all black.
The really fun part was to buy some spring flowers for the
little container, but you could also store for exemple your pencils or what
not. I leave it up to you, just have fun working with Makin's Clay®.


 Silicon mold with frame and angel




 I also added in some random spots other colors of metallic
paint and as a final step I added some metallic waxes, again applying it and
then removing a part again.
I also added in some random spots other colors of metallic
paint and as a final step I added some metallic waxes, again applying it and
then removing a part again.


 Use molding paste with a stencil to add details and dimension to the mirror. Allow to dry completely.


 Design Team Member Irit Shalom recently shared these festive holiday cards. Irit created her dimensional embellishments with Makin's Clay®. She used the Makin's® Christmas Nature push mold to make her poinsettias.


