Pages - Menu

Search This Blog

Showing posts with label sea shells. Show all posts

Tuesday, September 3, 2019

Mermaid Altered Bottle

Mermaid Altered Bottle by Steph Ackerman

Hi everyone, Steph here today with another altered bottle.  I must say I have been having so much fun incorporating Makin's Clay® products on my bottles.  Makin's Clay® is a fantastic medium to use on glass.
Makin'sⓇ Texture Sheets
Burlap
Prima Metallique Paints and Art Stones
​Fireworks! Shimmery Craft Spray Inks
Ranger Metal Embellishment

Instructions:

​Originally, I placed white clay around the bottle, then used the texture sheets randomly around the bottle for texture.  Then I painted assorted colors of acrylic paint.


But then I realized I wanted to go in a different direction and painted white gesso over the entire piece.  The gesso covered the paint, but still allowed the texture to show.


Once dry, I painted the entire bottle with Prima Mermaid Tears for a pretty light blue effect.  Next, I wrapped burlap partially around the bottle and glued mesh on top.  Art Stones in a variety of sizes were glued next on the mesh and allowed to dry.

Using the sea shell mold, I created an assortment of shells.  I must say this is one of my favorite molds and I use it quite often. 


​For color, I inked the shells, then spritzed them with several colors of Fireworks! Shimmery Craft Sprays before adhering them about the mesh.   I spritzed the bottle with several colors of Fireworks! Shimmery Craft Spray Inks, heat setting each layer so the colors would stay true.


​ Finally, I added chain to a metal charm and placed in amongst the sea shells.


​ I added more color as I felt necessary to finish my Mermaid Bottle.

​ What do you think?

​ Thanks for stopping by.

Steph

Monday, August 12, 2019

Faux Gilded Polymer Clay Seashells

Faux Gilded Seashells by Cynthia Gougian
Materials List:
·     Makin’s Clay® 60G White, Brown
·     Makin’s® Push Mold Seashells
·     Wire Ferrule, Cocktail Straw, or Toothpick
·     400 grit sandpaper 
·     Gold Craft Paint
·     Water Based Glossy Sealer/Varnish
·     8 mm Jump Rings
·     4 mm Jump Rings
·     Chain Nose Pliers, and Flat Nose Pliers
·     Necklace Cord, or Chain
·     Earwires

Instructions:
Step 1:  Begin with a 1 ½” ball of white clay, and a ¾ “ball of brown clay. 
Step 2:  Roll the ball into logs of approximately the same length.
Step 3:  Twist the logs together. 
Step 4:  Fold the twisted log and half and twist it again.


Step 5:  Roll the log out again.  
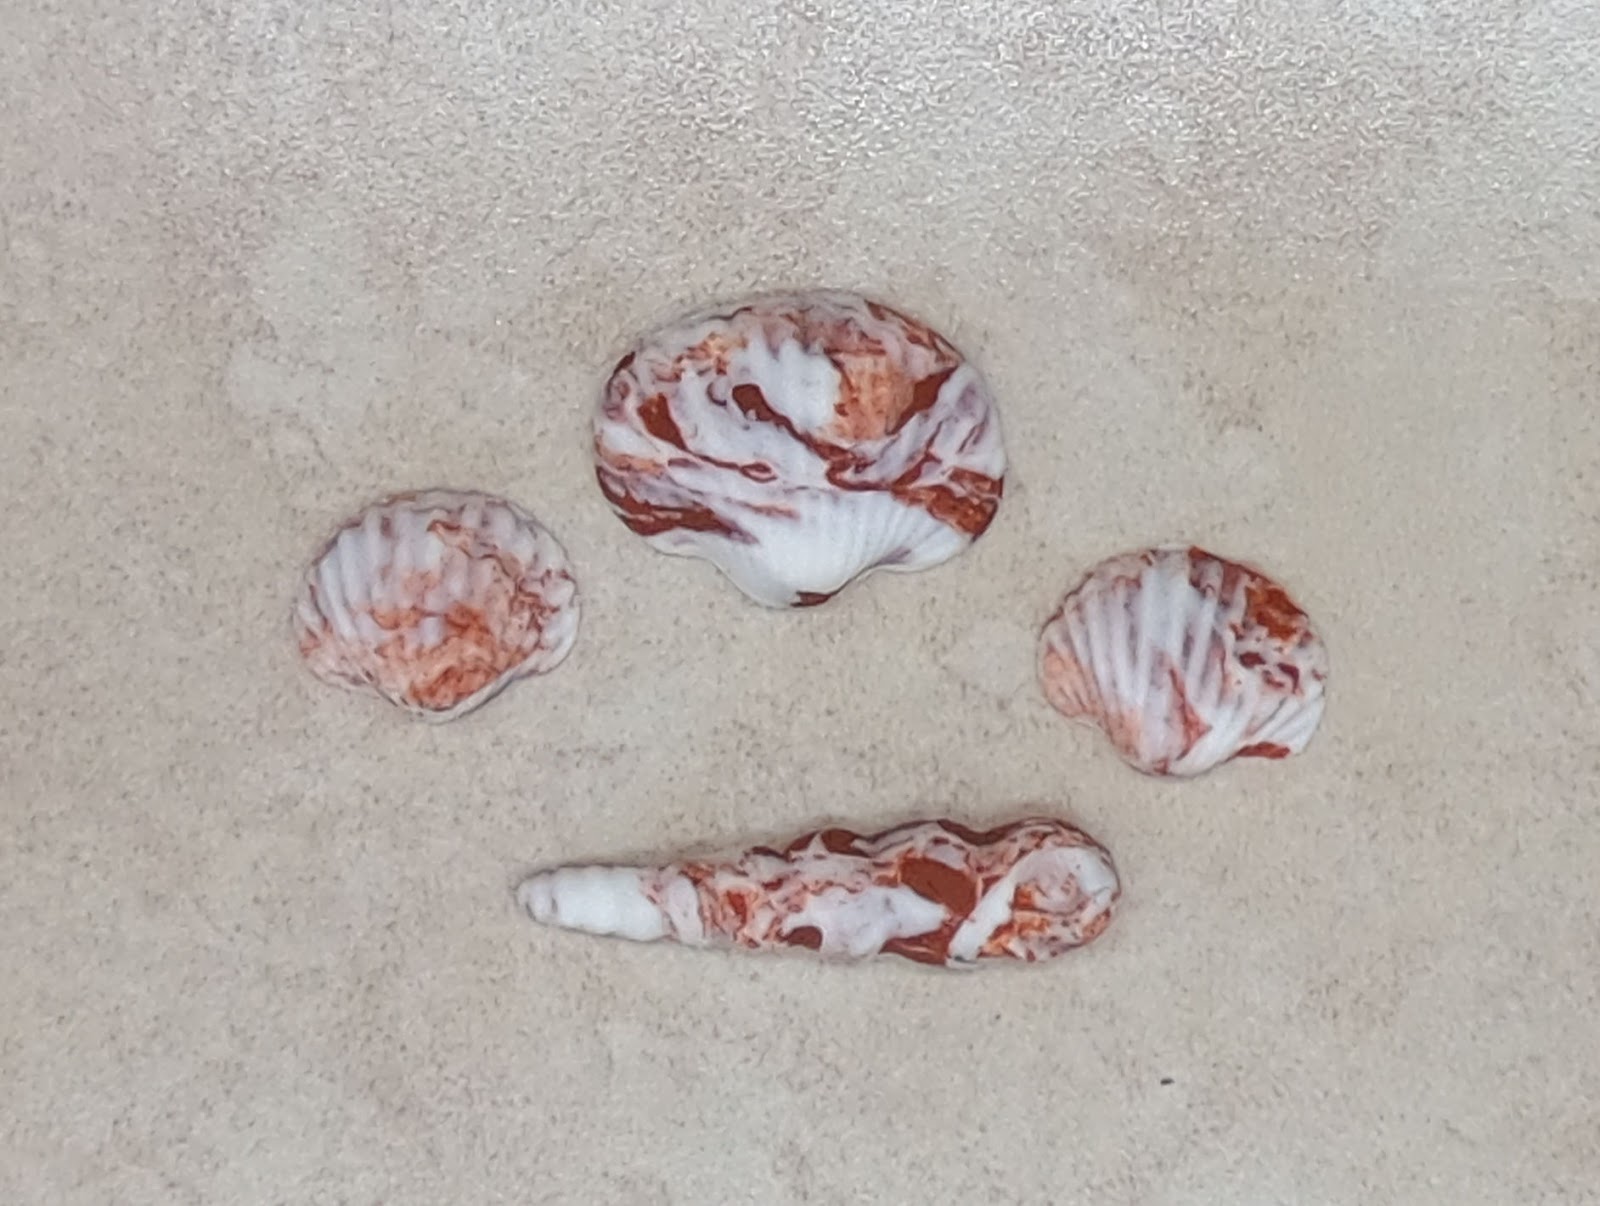
Step 6:  Repeat Steps 4-5, until the clay becomes marbled. 

Step 7:  Dust the seashell mold with cornstarch or powder.  
Step 8:  Place a ball of the marbled clay into the mold.  Press it into the mold firmly. 
Step 9:  Turn the mold over to make sure there are no air bubbles, or gaps between the clay and the mold. 
Step 10:  Repeat this process to make smaller shells for earrings. Or, you can make several different types of shells. 


Step 11:  Use a wire ferrule, a cocktail straw, or a toothpick to create a hole at the top of the shell. 
Step 12:  Allow the shells to dry thoroughly. The shells are thick. So, drying will take at least 24 hours, more if you are in a humid environment. 
Step 13:  When the shells are thoroughly dry, sand the bottoms smooth with 400 grit sandpaper.  


Step 14:  Paint the bottoms of the shells with gold craft paint. 
Step 15:  When the backs of the shells have dried. Paint the sides of the shells with the gold paint.     
Step 16:  Add more gold stripes.  Be careful not to cover up too much of the shells.  Don’t try to create perfect stripes.  Irregular stripes look more authentic.    
Step 17:  When the gold paint has thoroughly dried, seal the shells with a water-based gloss varnish of your choice.  Apply at least two coats, allowing the sealer to dry thoroughly between coats. 


Step 18:  To create a necklace, place an 8 mm jump ring through the hole at the top of the shell. 
Step 19:  Close the jump ring with chain nose and flat nose pliers. 
Step 20:  String a necklace cord or chain through the jump ring. 


Step 21:  To create an earring, once again, place an 8 mm jump ring through the hole in the top of a smaller shell, and close it with pliers. 
Step 22:  Then, place a 4 mm jump ring through the 8 mm jump ring and close it. 
Step 23:  Place an ear wire through the 4 mm jump ring. 


Tuesday, August 6, 2019

Summer Cards & Gift Bag

Summer Cards & Gift Bag by Step Ackerman
We are in the middle of summer.  Kids may be heading to camp.  Friends and/or family may be leaving for vacation. Why not send everyone off in style with summer themed cards and coordinating gift bag. Steph Ackerman here to show you how you can create embellishments with Makin's ClayⓇ and incorporate those decorative elements in your projects.


​ Supplies:

Makin's ClayⓇ - White
Makin'sⓇ Sea Shells Push Mold
​Imagine Crafts Ink
​Just For Fun Rubber Stamps
​Crafters Companion dies
Cardstock
Pattern paper
Instructions:
​Start by creating sea shells using white clay and the Sea Shells Push Mold.  Since the clay needs minimal conditioning, you can begin creating the shells immediately.  Pull off  pieces of clay and push into the molds.  Remove any excess clay and use to create additional shells.  The shells easily pop out of the molds.

I used the entire package of white clay to create an assortment of shells.  Look at all the details on those shells.  You can use them immediately or wait until they have dried.


​Using a summer pallet, die cut the letters and adhere the panels together.

Create cards from orange cardstock and place a layer of pattern paper on top.  Wrap the die cut letter panels with ribbons then adhere the panels to the card.


​Ink the sea shells with gold ink and adhere by the ribbon.  Stamp and emboss the sentiments and mat with cardstock.  Then add the sentiments to each card.  Place an additional sea shell to the corners of each sentiment.


Next, create the gift bag using the same colors.  Stamp and color the beach scene with Copic Markers and add graduating sizes of cardstock using the same summer pallet.


​ Finish by adding several additional shells to the corner of the beach scene.

Add items that the recipient will enjoy receiving.

​Thanks for stopping by.

Steph


Sunday, April 28, 2019

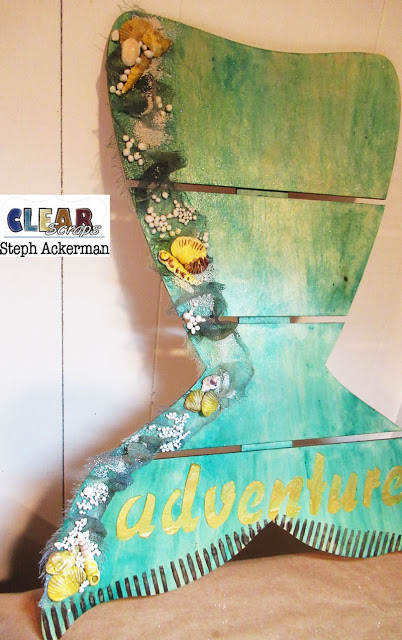
Enchanted Under the Sea Mermaid "Fairy" Door


Design Team Member Naomi Scarparo recently shared how she created this amazing "under the sea" themed fairy door!  Naomi used Makin's® Wood Grain Texture Sheet and the Makin's® Seashells Push Mold as part of her fabulous design! 

Friday, July 13, 2018

Red Starfish Polymer Clay Pendant


Cindi McGee recently shared this summery red starfish pendant.  Cindi used her favorite Makin's® Sea Shells Push Mold to make her starfish centerpiece for this pendant.


Monday, June 25, 2018

Beach Girl Greeting Card


Design Team Member Steph Ackerman recently shared this cute handmade greeting card with Makin's Clay® seashell accents.  Steph used the Makin's® Sea Shells push mold to make her dimensional embellishments.  Makin's Clay® is perfect for paper crafts as it is lightweight, flexible, and acid free when dry. 

Contact us

Name

Email *

Message *