 |
| Faux Gilded Seashells by Cynthia Gougian |
Materials List:
· Makin’s® Push Mold Seashells
· Wire Ferrule, Cocktail Straw, or Toothpick
· 400 grit sandpaper
· Gold Craft Paint
· Water Based Glossy Sealer/Varnish
· 8 mm Jump Rings
· 4 mm Jump Rings
· Chain Nose Pliers, and Flat Nose Pliers
· Necklace Cord, or Chain
· Earwires
Instructions:
Step 1: Begin with a 1 ½” ball of white clay, and a ¾ “ball of brown clay.
Step 2: Roll the ball into logs of approximately the same length.
Step 3: Twist the logs together.
Step 4: Fold the twisted log and half and twist it again.


Step 5: Roll the log out again.
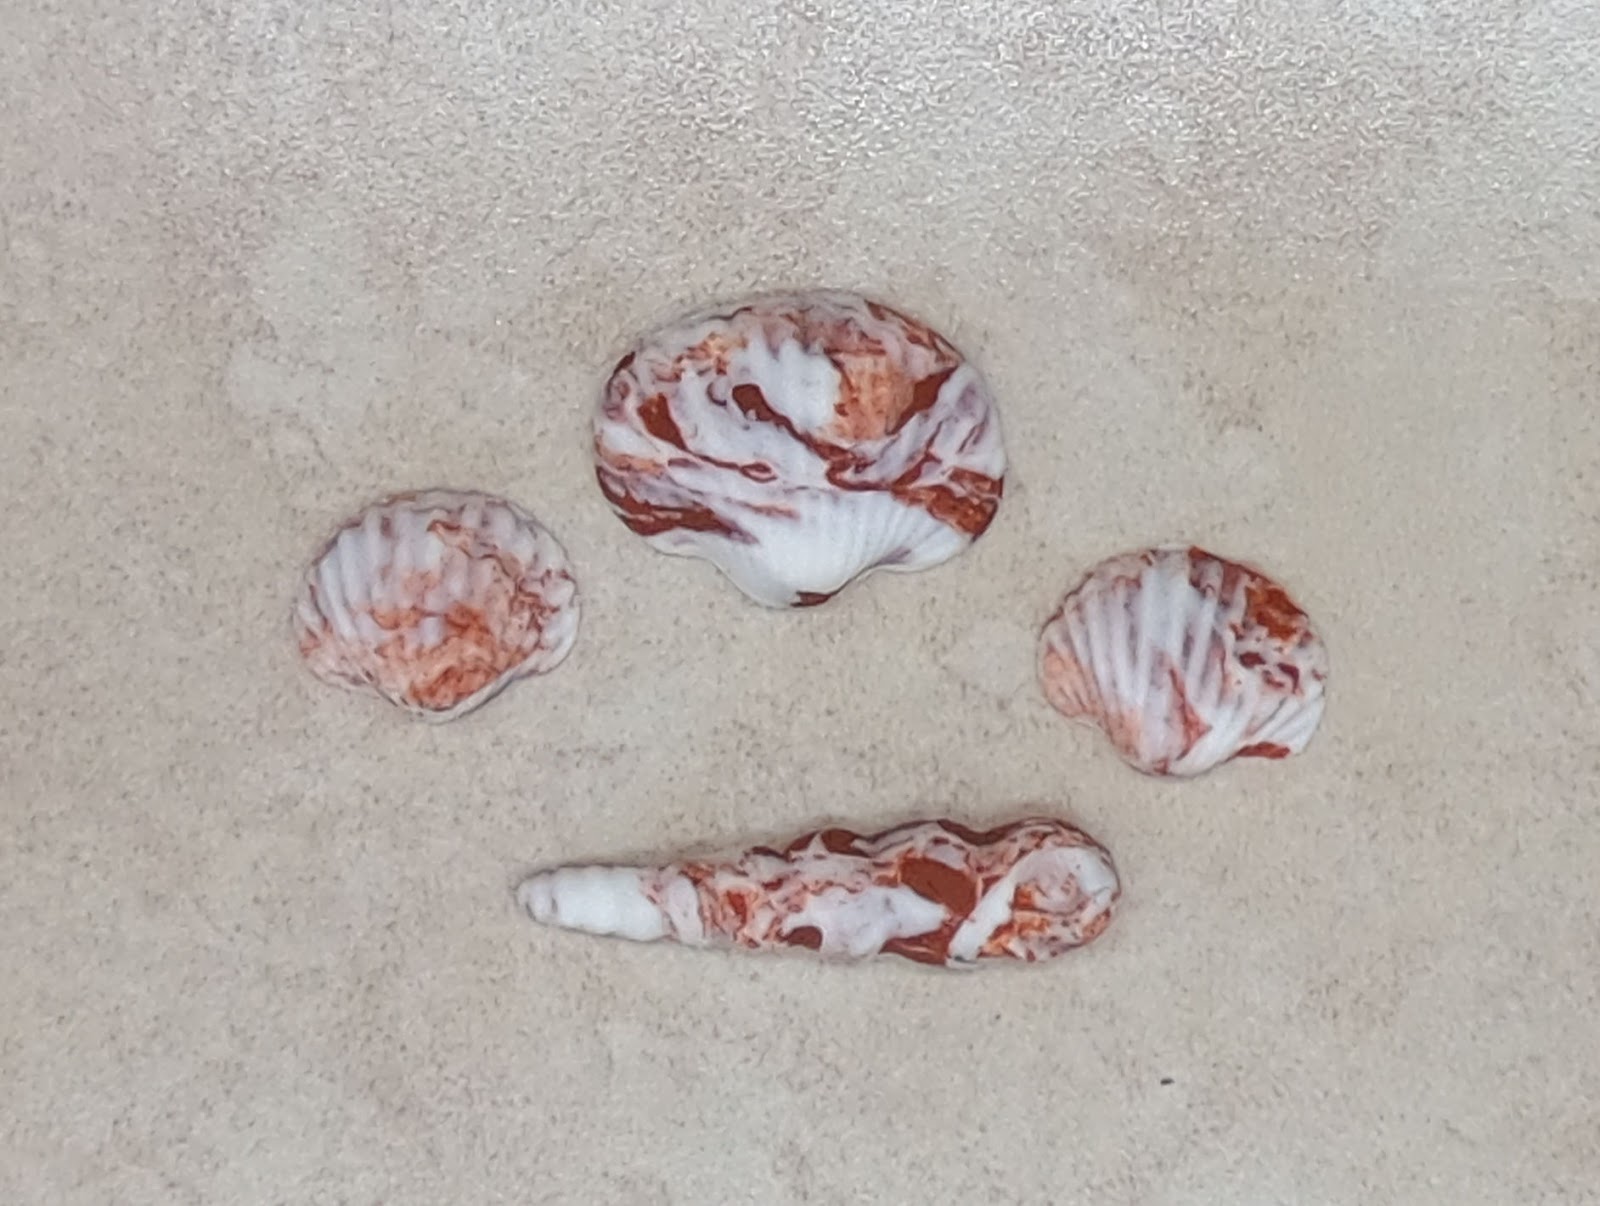
Step 6: Repeat Steps 4-5, until the clay becomes marbled.


Step 7: Dust the seashell mold with cornstarch or powder.
Step 8: Place a ball of the marbled clay into the mold. Press it into the mold firmly.
Step 9: Turn the mold over to make sure there are no air bubbles, or gaps between the clay and the mold.
Step 10: Repeat this process to make smaller shells for earrings. Or, you can make several different types of shells.


Step 11: Use a wire ferrule, a cocktail straw, or a toothpick to create a hole at the top of the shell.
Step 12: Allow the shells to dry thoroughly. The shells are thick. So, drying will take at least 24 hours, more if you are in a humid environment.
Step 13: When the shells are thoroughly dry, sand the bottoms smooth with 400 grit sandpaper.


Step 14: Paint the bottoms of the shells with gold craft paint.
Step 15: When the backs of the shells have dried. Paint the sides of the shells with the gold paint.
Step 16: Add more gold stripes. Be careful not to cover up too much of the shells. Don’t try to create perfect stripes. Irregular stripes look more authentic.
Step 17: When the gold paint has thoroughly dried, seal the shells with a water-based gloss varnish of your choice. Apply at least two coats, allowing the sealer to dry thoroughly between coats.


Step 18: To create a necklace, place an 8 mm jump ring through the hole at the top of the shell.
Step 19: Close the jump ring with chain nose and flat nose pliers.
Step 20: String a necklace cord or chain through the jump ring.


Step 21: To create an earring, once again, place an 8 mm jump ring through the hole in the top of a smaller shell, and close it with pliers.
Step 22: Then, place a 4 mm jump ring through the 8 mm jump ring and close it.
Step 23: Place an ear wire through the 4 mm jump ring.


1 comment:
ABSOLUTELY BEAUTIFUL!
Post a Comment