 |
| Baby Frame for Oliver - by Panarili |
Tools and Materials
Makin's Clay® white
Makin's® texture sheet Dots
Makin's® push molds Baby
Makin's Professional® cutting mat
CreateAlong.com tag cutter
Cutter
Roller
Cookie letter stamps
Pasta-machine
Eye shadows
Chalk pastels (blue, pink, light orange, yellow and red)
Markers (black, blue)
Soft paint brush
Tacky glue
Two sided puffy tape
Glass from a photo frame (can be of plastic as well)
Scrapbook paper
Plastic bag or foil
Nail pile
Prepare the glass from a regular photo frame. Mine is actually not glass but plastic, but it is also fine as we are working with Makin's Clay®.
Open white clay and cut the amount needed, in my case it is about half a package, and place the rest in a zip-lock bag with a wet paper towel or baby wipe. Run the clay through the thickest setting of the pasta machine, that makes about 2mm thickness. Make 2 appr. 4cm wide stripes. Mine are about 15 cm long.


Place the stripes on the Makin's Professional® cutting mat and cut them even. Place the glass from the frame over the stripes. The stripes edges should be wider than the glass about 1 cm on each side.
Then add horizontal stripes. Fresh clay will stick to fresh clay, if your clay has begun to dry brush some water in the places the stripes will touch.
Place the Dot Makin's ® texture sheet over clay and pres gently with fingers everywhere.
Use the roller to make the texture even.
Remove the texture sheet.


Now add some pearl accent using eye shadows (chalks or mica/pigment powders would also work, as would pan pastels). I do it either with a soft brush or my finger.
Take some more white Makin's Clay® out of the bag, and leave the rest in the zip-lock bag with a wet tissue. We will be colouring it with chalk pastels. We need flesh colour, so make some chalk powder from pink and light orange. For the blue add some blue chalk pastel powder to the white clay.


It is time to make embellishments. We will need Makin's® Baby push mold. Let us make the pacifier first, the rest are similar to make. First, we use a small amount of the flesh colour we have mixed and place it in the push mold exactly, where it will be, once we are finished. Makin's® push molds are clear, so you will see where you put it.
Then add some blue. And finally, make a small snake and add the handle. Press well and then take it out.
For the bear I used the blue clay we have made for the whole toy. Make two small dots, where the eyes are and place white clay balls in there. Then I colour the eyes and the nose with a black marker and add some shadowing with blue chalk pastel.
I also made two 2 baby bottles, some buttons, and a duck.


Now we will make a baby name tag. Take some white clay out of the bag and roll it out 1mm thick. Prepare the letters we need, in my case it is Oliver. Stamp it.
Cover the clay with a plastic bag or plastic wrap and cut a name tag with a CreateAlong.com cutter.
Take the plastic and the excess clay away. Make the edges smooth with your finger. Add some shading with a blue chalk pastel on the edges, Then make dots with a blue marker and colour the letters with a blue marker as well.


Let it all dry. 24 hours was not enough for the frame, and I recommend putting something like a book over it for the frame to remain flat. I let mine dry for another 24 hours. To make the edges of the embellishments nice and smooth, I used a nail pile
These are all my dried embellishments.

Once completely dried, I put some tacky glue on the back side of the frame.
Place it on scrapbook paper and cut out the frame.
Place the glass/plastic from the frame on the back side in the middle.
Stick the two-sided puffy tape on the edges that are not covered by the glass from the frame – from both sides and on the bottom, leaving the upper side without the tape.
My tape is rather wide, so I cut it off.


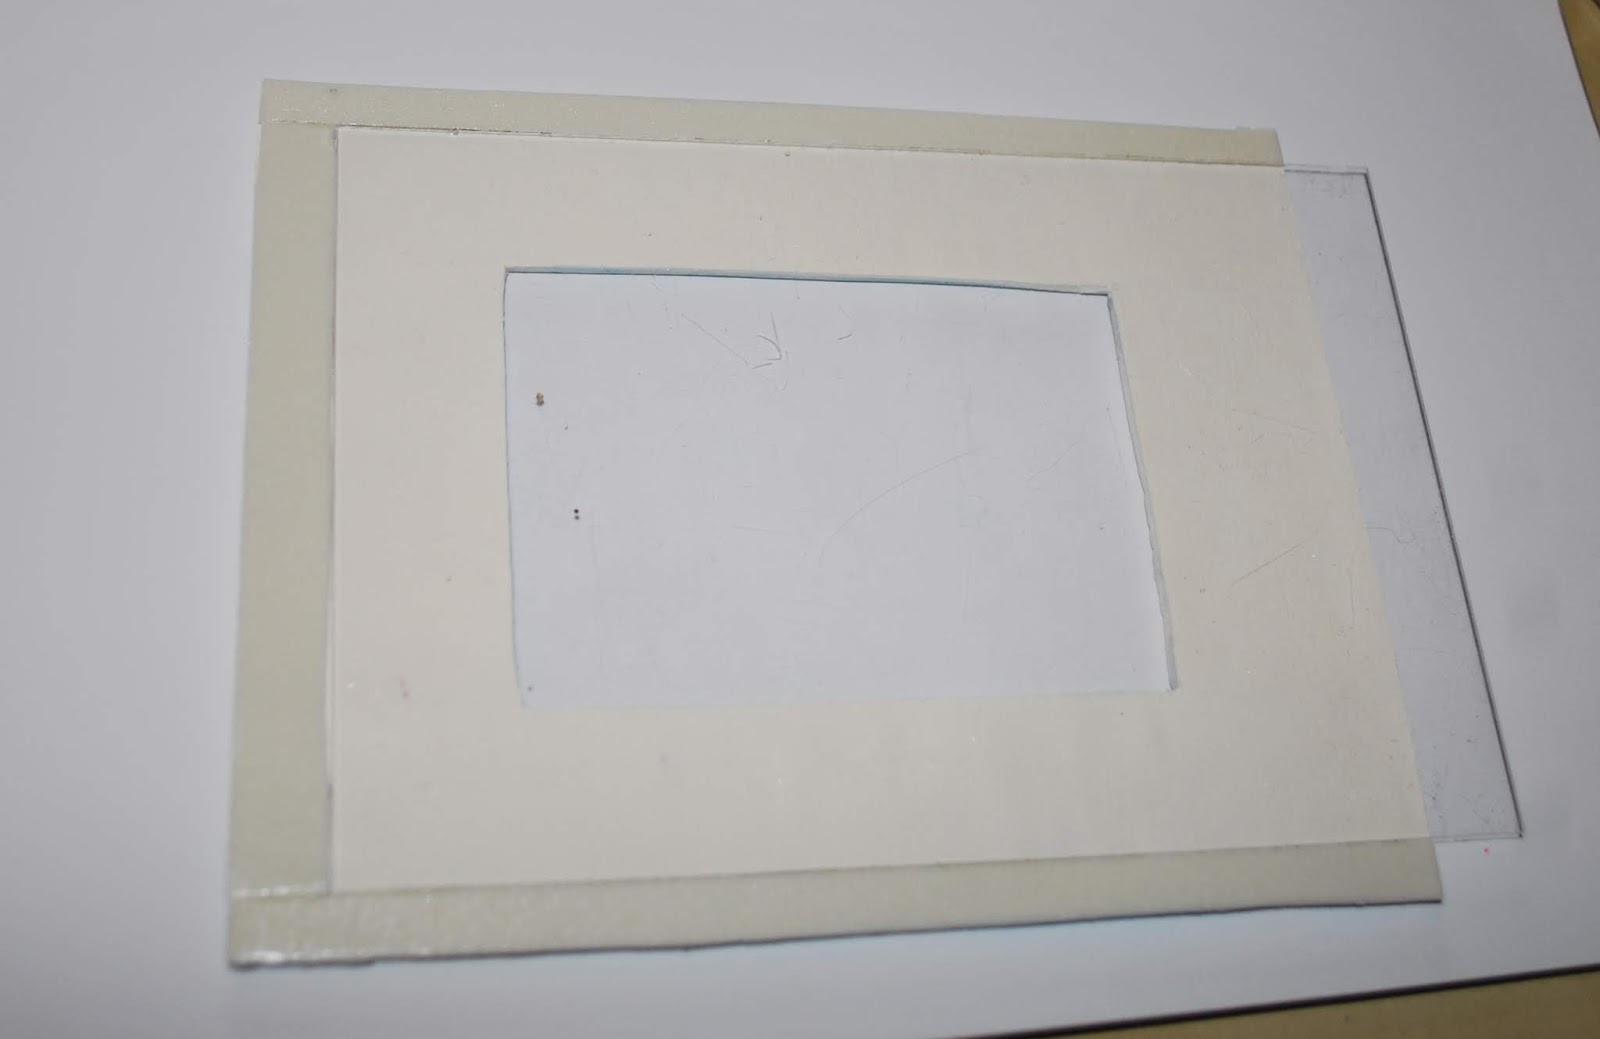
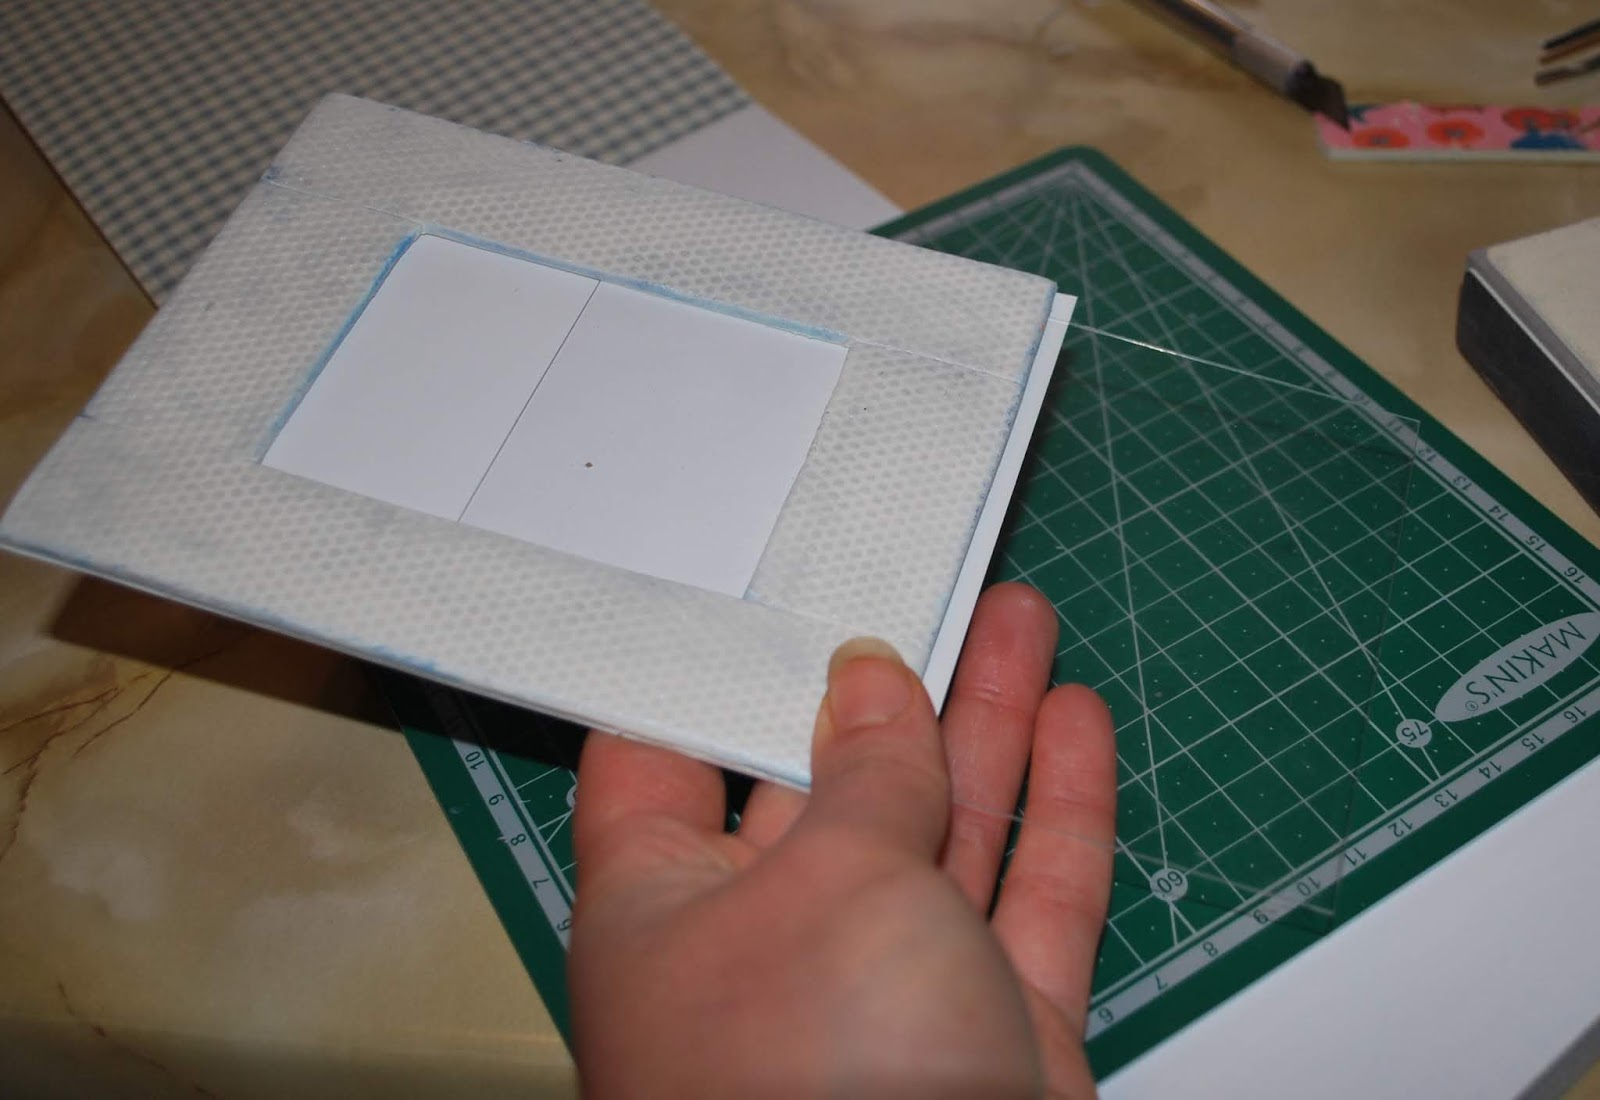 Cut out a rectangle the same size our frame is from a scrapbook paper and attach it from the back. The two sided puffy take will hold it together well and leave the space for the picture and the glass if wished.
Add the embellishments - adhere with tacky glue. And add the most important embellishment - a picture of Oliver!!!!
PANARILI


