 |
"The Golden Girl" Altered Bust
Designed by Lucy Reese |
SUPPLIES:
Ceramic Bust
Makin's Clay® - White or any light color - "leftover/scrap" clay is fine for this project
Makin's® Professional Cutting Mat
Makin's® Professional™ Ultimate Clay Extruder™ - small hole disc #7
Makin's® Professional™ Clay Tool Kit
Makin's Clay® Lg. Texture Sheet - Floral
Makin's Clay® Push Mold- Leaves & Floral
Martha Stewart Mold- Butterflies & Buttons
Heavy Gesso
Art Alchemy Paints- Steampunk Copper, Pink Blush, & Vintage Rose
Clear drying adhesive
INSTRUCTIONS:

1. Begin by giving the bust a coat of heavy gesso.
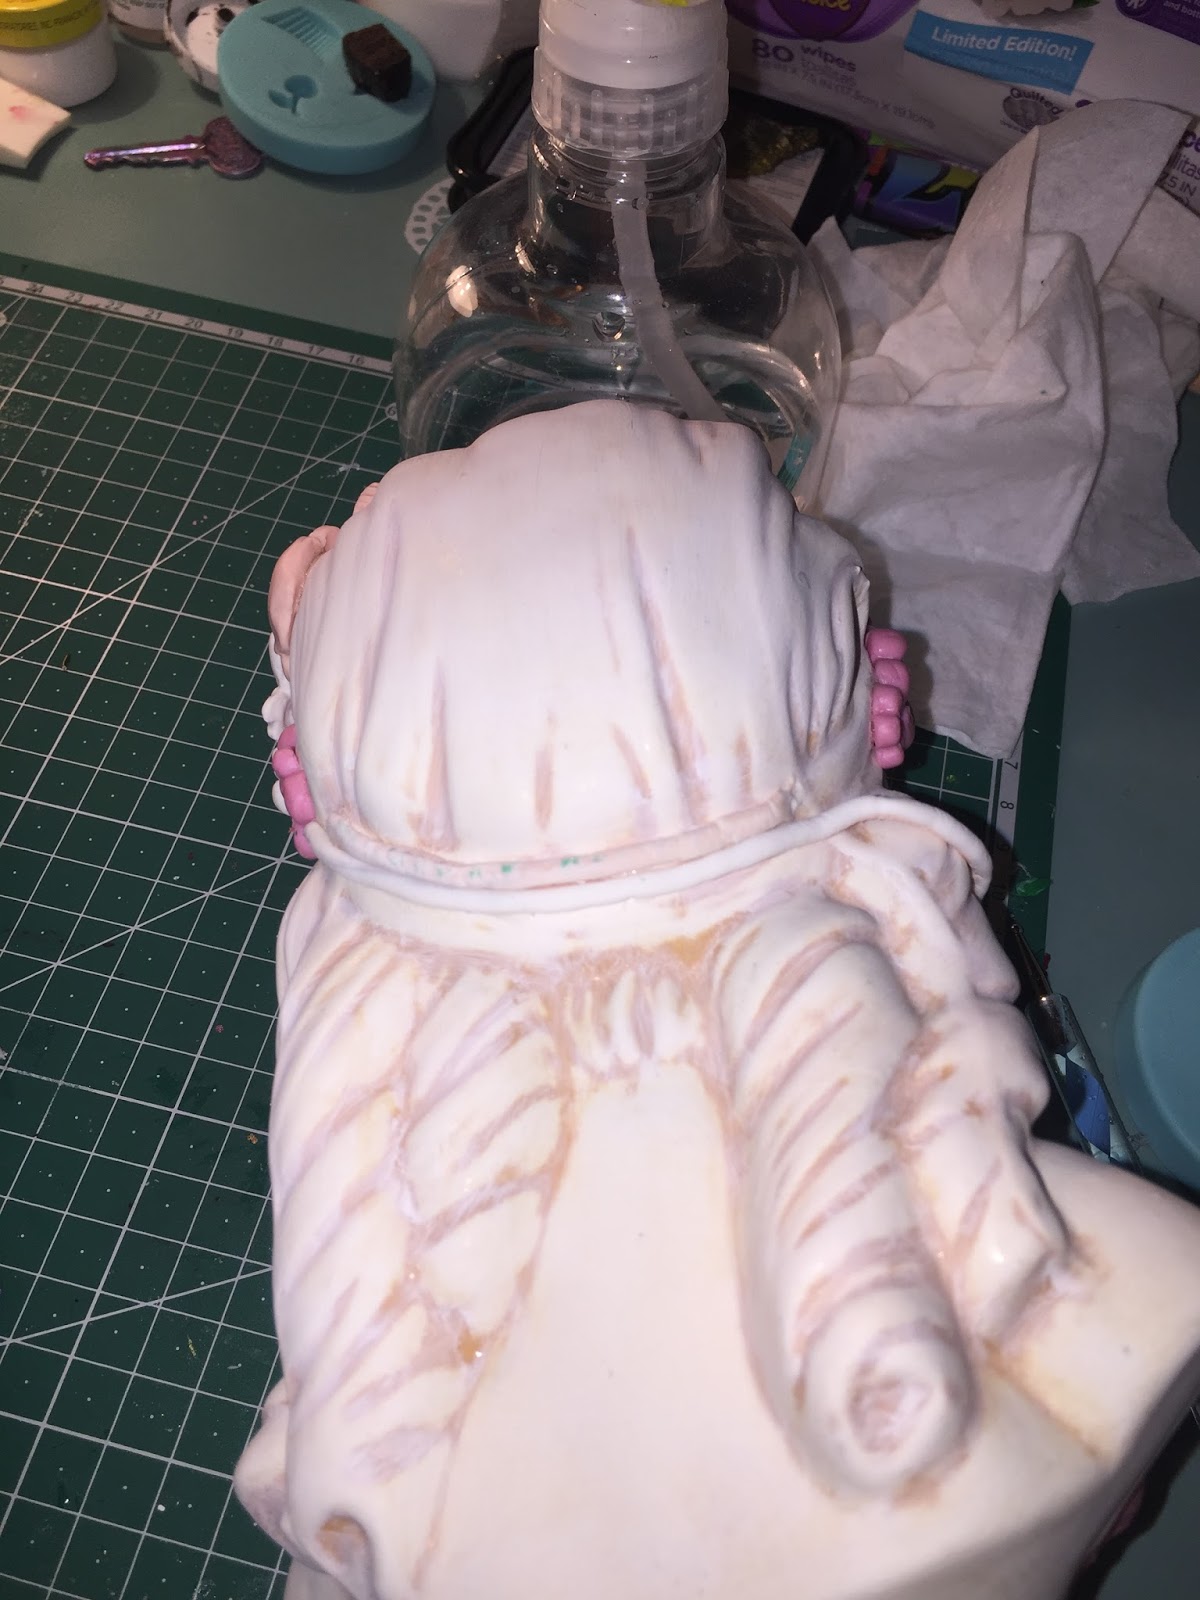
2. Add Makin's Clay® at her bust line to build a dress, then impress with the the Floral texture sheet for added design.
3. Now grab all your molds a build her a beautiful headpiece with Makin's Clay® molded elements, mixing and layering your assorted flowers & butterflies. If you mount your elements while the clay is still fresh, additional adhesive is not needed as fresh clay will stick to fresh clay without additional adhesive. Applying the pieces while the clay is fresh also allows you to more easily mold the different flowers & butterflies over and around each other, lift the wings of your butterflies and petals of some of your flowers or dimension, etc.
4. To add even more interest to the back of her head, use the Ultimate Clay Extruder™and multi-hole disc #7 to extrude clay, apply a touch of adhesive and mount extruded strands around the back of the headband.
5. As a final accent to the front of the bust, make a necklace by using the button mold to form a pendant and your extruded clay strands to form the chain. Mount with a touch of adhesive.
6. After all the clay has dried (approximately 24 hours under normal atmospheric conditions), give her another coat of gesso and cover the entire piece in the Steampunk Copper paint. At this point you can leave her as is or give her headpiece and necklace some highlights with the other paints as I did here as finishing touches.
I hope you all enjoyed this project. I must give a big shout out to the creative ladies at Polymer Clay T.V for my inspiration on this piece. Remember you can always find me at tecniquefreak.wordpress.com or LReneeDesigns on Instagram. I would love to hear from you!
~Lucy


 Cindi McGee is sharing the instructions for this "Abeeille" mixed-media canvas today on her blog. Cindi used Makin's Clay® and our Honey Comb texture sheet to create the mat beneath her main bee image, and created a molded Makin's Clay® bee accent for her flowers.


 2) Glue the little dried clay cubes on a sheet of square paper in the shape of a "Creeper" face. Once the clay has dried for 24 hours, sand the top to help level it out and make it a more uniform surface.
  3) Use the clay roller to roll out a section of Green Makin's Clay® and cut it to squares about 1/4" bigger on all sides than the Creeper faces, cut smalls squares from each corner, and fold the edges up on the side of the Creeper faces to make a smooth edge. Use 3-in-1 Adhesive to glue in place on bottom and left and right side. Insert loop of string on the top edge, add key ring, and then glue side in place.
  4) To seal the top and fill in some gaps, pour a generous amount of 3-in-1 Adhesive to give a resin feel to the top of the fob. Let dry over night.
 Design Team Member Carole Monahan created this very unique "Lady of the Lost" figure with a combination of oven bake polymer clay an Makin's Clay®. The unique flexible, lightweight nature of Makin's Clay® when dry was a perfect choice for Carole to make the dress for her doll.


 Cut two small pieces of wire for antennas. Roll out two small balls if black clay to put on the ends of wire for the tops of the antennas. Add a touch of 3-in-1 and mount balls to top of wires, then add a touch of 3-in-1 and insert antennas into the head of the bee while the clay is still fresh.


