
Mermaid Display Frame
Designed by Irit Shalom
Materials:
Makin's Clay® - White
Makin's® Roller & Cutter Set
Makin's® Cutting Mat
Makin's® Texure Set E - Curly Beard
Makin's® Sea Shells Push Mold
Tattered Angels Glimmer Glam
Tattered Angels High Impact Paints
Beacon 3-in-1 Adhesive
Pearl beads
Instructions:
 1. Roll the whole package of White Makin's Clay® with roller from the Roller and Cutter set over the Large Cutting Mat.
  2. When the clay is flattened to the size that fits the art piece to be framed, use ruler and Clay Cutter to cut 4 equal pieces that will make the frame.
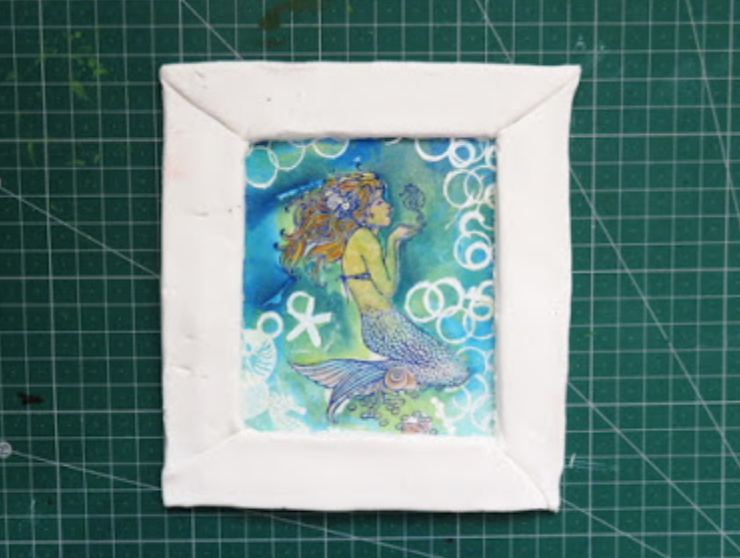 3. Arrange all 4 cut pieces to make a kind of a frame over the art piece. Don't try to make it pretty and straight. We will do this step later.
 4. Make the waves texture using roller over the Curly Beard texture sheet from Texture Sheet Set E. Don't try to make straight lines of your frame yet. It will be done during the next step.
 5. Now take you cutter again and cut the left overs from the outside and inside the frame as shown.
  6. While your frame is drying make sea shells and other sea creatures with Sea Shells Push Mold and white clay. Let dry 24 hours.
 7. Paint your dry clay shells with a mix of Tattered Angels Glimmer Glam (this is a glittery watery kind of a paint and leaves a lot of surface non painted, but that was what I wanted). Let the paint dry.
 8. Paint the textured frame with a mix of Tattered Angels High Impact paints and a bit of Glimmer Glam and let it dry.
 9. Arrange and mount the painted clay shells over the frame corner and add a few pearl beads around and inside the frame using Beacon 3-in-1 Adhesive.
And this is how my finished project looks!
Hope you enjoyed my small clay tutorial and see you again next month!


2 comments:
Love everything about it. Especially, how painterly she is. Great job.
Nice Irit!
Post a Comment