 |
| Sea Turtle Polymer Clay Pendant by Cindi McGee |
Materials:
Makin’s Clay® - Olive, Grape Leaf, Neon Green
Makin’s Professional®
- Ultimate Clay Machine®
- Cutting Mat
Makin’s®
- Clay Roller
- Texture Sheet Set A - Cobblestone
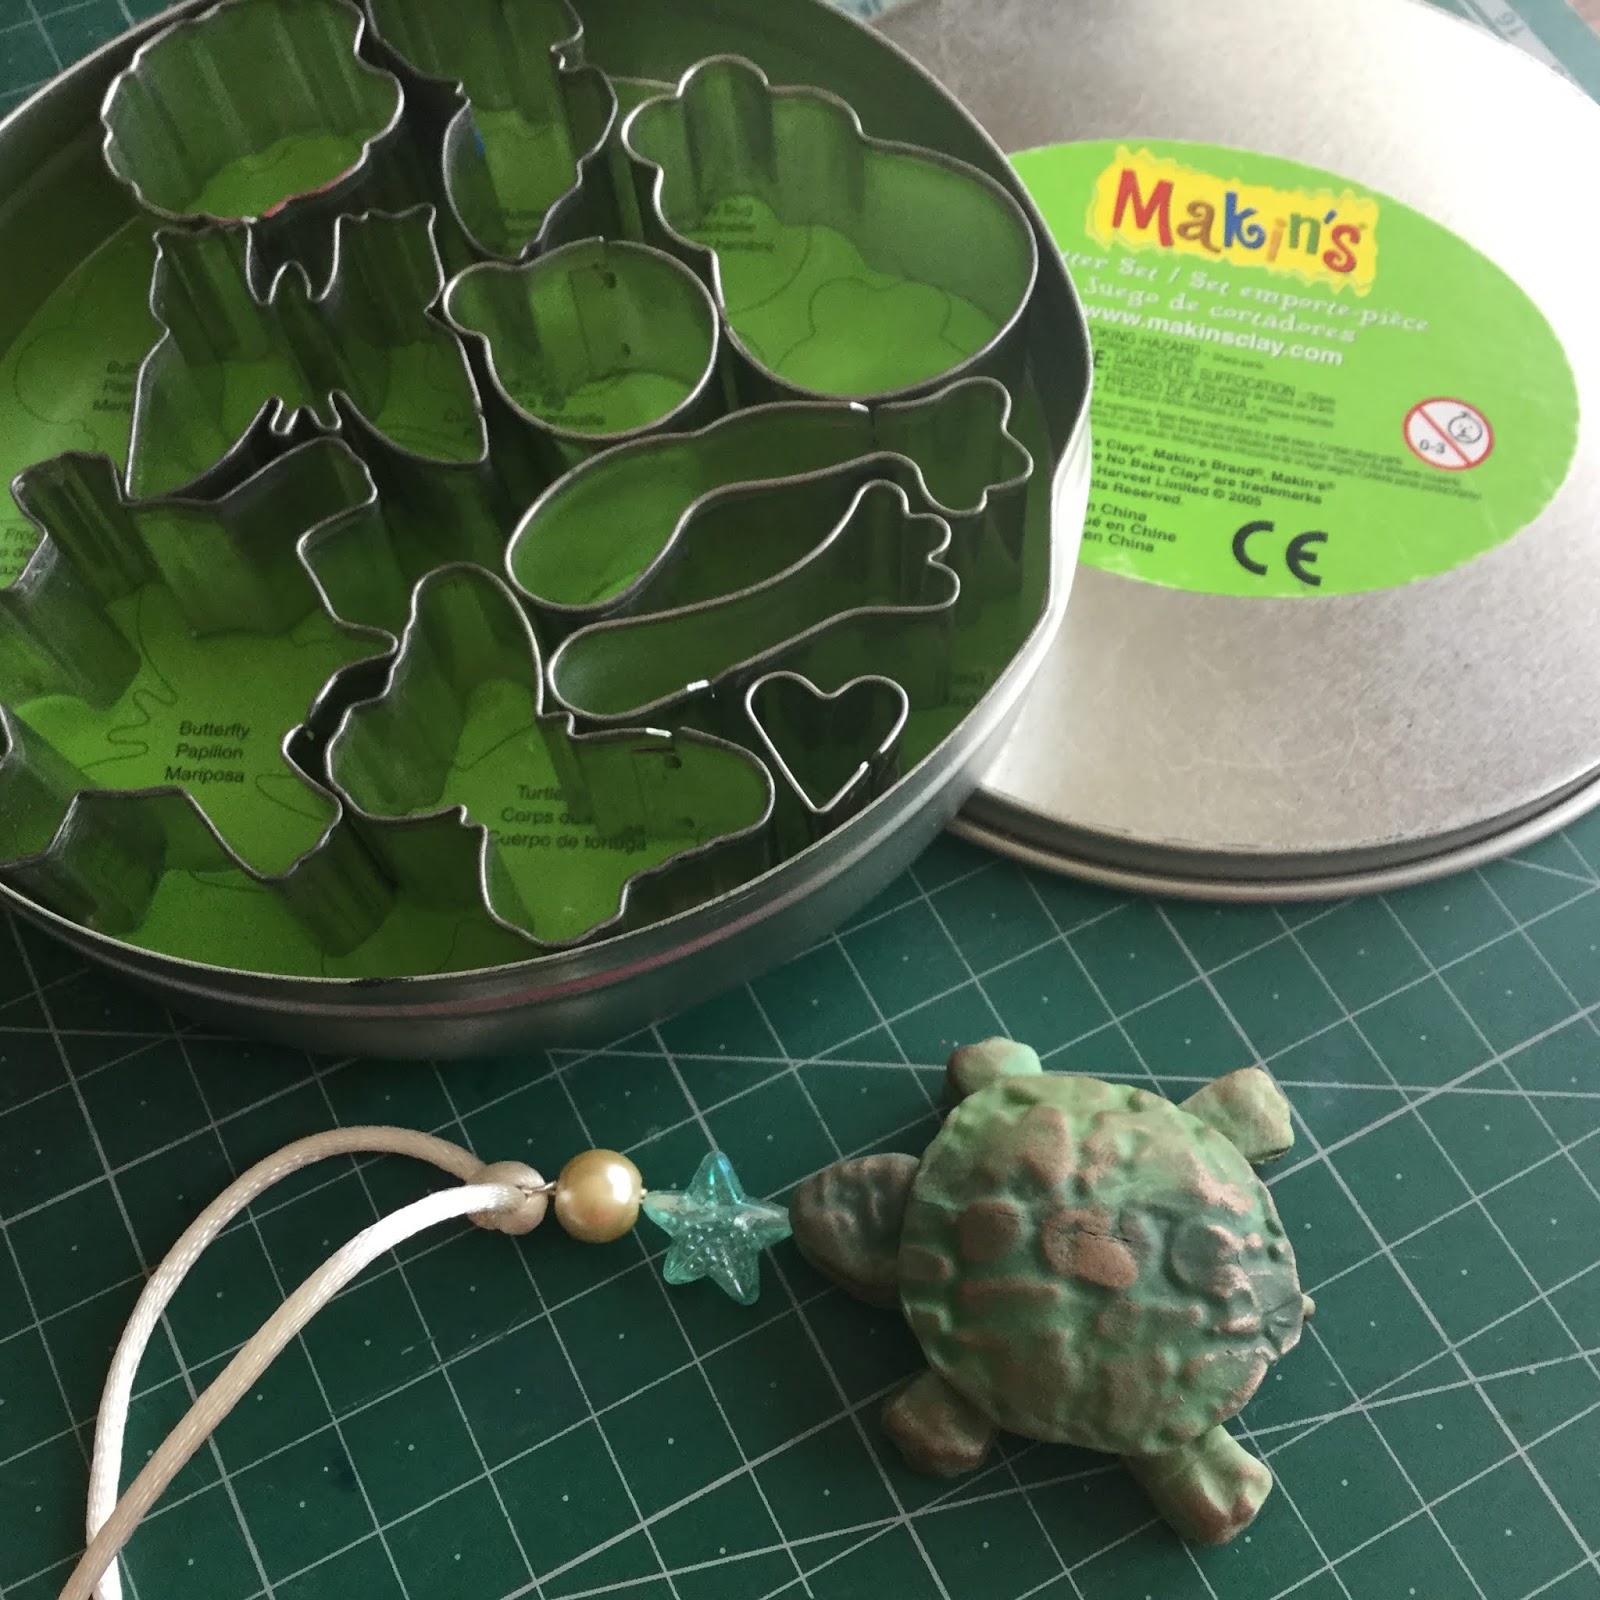
- Clay Cutter Set - Bugs
Eye pin
Pearl
Decorative bead (I used a starfish shape)
Satin cording
DecoArt® Metallic Lustre - Iced Expresso
Beacon® 3-in-1 Adhesive
Instructions:
Begin by making a blend of the three shades of green clay. I cut pieces approximately 2 1/2”, and 1/4” wide of each color. Align them as shown with Grape Leaf in center, then Neon Green on each side, then Olive on the outsides.
Roll with the clay roller to begin to flatten and create a sheet.


You can continue to roll with the hand roller at this point, but I find it quicker to use the Ultimate Clay Machine®. Roll the sheet through on setting #1. Fold in half so ends of “stripes” are touching and roll again. Continue until the shades begin to blend. I pushed the outer edges inward each time to prevent a wide strip instead of a longer strip from forming. I did not want to create a true, finished Skinner Blend, so I stopped blending when I got the effect I desired to mimic the shades of a sea turtle’s shell. My finished “sheet” is a little less than 1/4” thick.


 Select the area you want to use for the shell and use the turtle clay cutter to cut out.
  Trim legs and head from around shell. Place the The cobble stone texture sheet, with the texture facing upward (you want the raised texture, not the inset texture) and roll with the clay roller to transfer the texture. Apply enough pressure to begin to flatten the shell and cause it to expand a bit so it will extend beyond the body and over the legs a bit. I did not want a perfect circle, as real turtle shells are not round and do not have perfectly smooth edges...

Roll the scraps from the head and legs to create a small ball about 1/4” in diameter. Flatten slightly. Place the shell over the flattened ball and use the palm of your hand to gently press to adhere the two pieces together (fresh clay will stick to fresh clay, if needed moisten slightly with water or add adhesive). Using the palm of your hand ensure the shell remains in a rounded shape. I allowed the edges of my shell to extend beyond the mound in the center.


Carefully re-blend the remaining clay and roll again to a little less than 1/4” thick. Place the texture sheet over the clay with the texture facing upwards and roll to transfer texture to clay.
Use turtle cutter to cut out a second turtle from textured clay.


Re-blend scraps and roll out again, cut third turtle.
Add pearl and decorative bead to eye pin. Apply an even coat of 3-in-1 Adhesive over entire surface of last turtle cut. Place eye pin over head of turtle so that the beads extend out from the head. Place the textured turtle over the top and gently press with your fingers to adhere the two layers together everywhere.


 Use fingertips to apply a very light touch of Iced Expresso Metallic Lustre. This highlights the texture and gives the mottled effect much like real sea turtles have on their skin and shells.
Let dry 24 hours.
Add satin cording and closure.
No comments:
Post a Comment