 |
Driftwood Doll Angel by Bea Grob |
At the moment I'm very much into Dolls and Driftwood. So
I'm introducing here my Driftwood Doll Angel. I'm pretty sure you can come up with something that pleases you. So why don't you give it a try?
Supplies:
Makin's Clay® Natural (I used approx. 120 gr)
Makin's® Clay Tools
Makin's Professional®
- Ultimate Clay Machine®
- Cutting Mat
Some old laces
Micapowders in different colors
Driftwood, or some other item to
put a stick in
Wire from the hardware store about
20 Gauge
Some tulle for the wings
I began by drilling a hole for the stick.
Next, I used some clay to make
first a ball about 1 inch size and I shaped the ball in form as you can see in
the picture.


I connected all the parts
together and let it dry overnight.
The next day, I rolled out the
clay on the thickest setting of the clay machine. Thanks to the non-stick rollers, it works like a charm.


Next, I layed the lace on top of
the clay and pressed it in by rolling with the roller several times. I wanted the fibre to be
on the same height as the clay. Now comes the fun part, grab some Mica Powders
in the colors you like and apply them with a stipple brush.
At the end, I go over it with some
paper towel, to wipe off any excess.
Now you can lift your lace carefully from the clay to reveal the pattern.


I did a test wrap and decided I
had to tear a bit. Then, I used some of
the leftover to make two small balls which I added on the backside of the
patterned clay before I wrap the whole “fabric” around.
Now it it time to make some wings.
I used wire and some tulle.
First, I drew a wing shape and
then I cut 2 pieces of wire - one for each wing. I usually work on both wings at
the same time. For me it's easier to give them somewhat the same form and size.
I start by bending a curve and
check it on my drawing.
Using a dowel helped me shape the
round forms and a plier to give me the sharp corners.


When I'm happy with the shape, I
twist them together just twice, we don't want a bulk where they connect. I also
make sure that they are as flat as possible for the next step.
To apply the tulle, I use some
fabric stiffener, encasing the wire from both sides.
Don't leave it
somewhere lying around on any surface, you have to put it upright to dry (ask
me how I know, the first set I had to scrape it from the surface
and had to start over again... lol)


Time to pierce the lady/dress. I made a hole to put in the wings.
To insert the wings I twisted them together and added a dab of glue to the end. Make sure that you make the
hole long enough, but don't poke through.

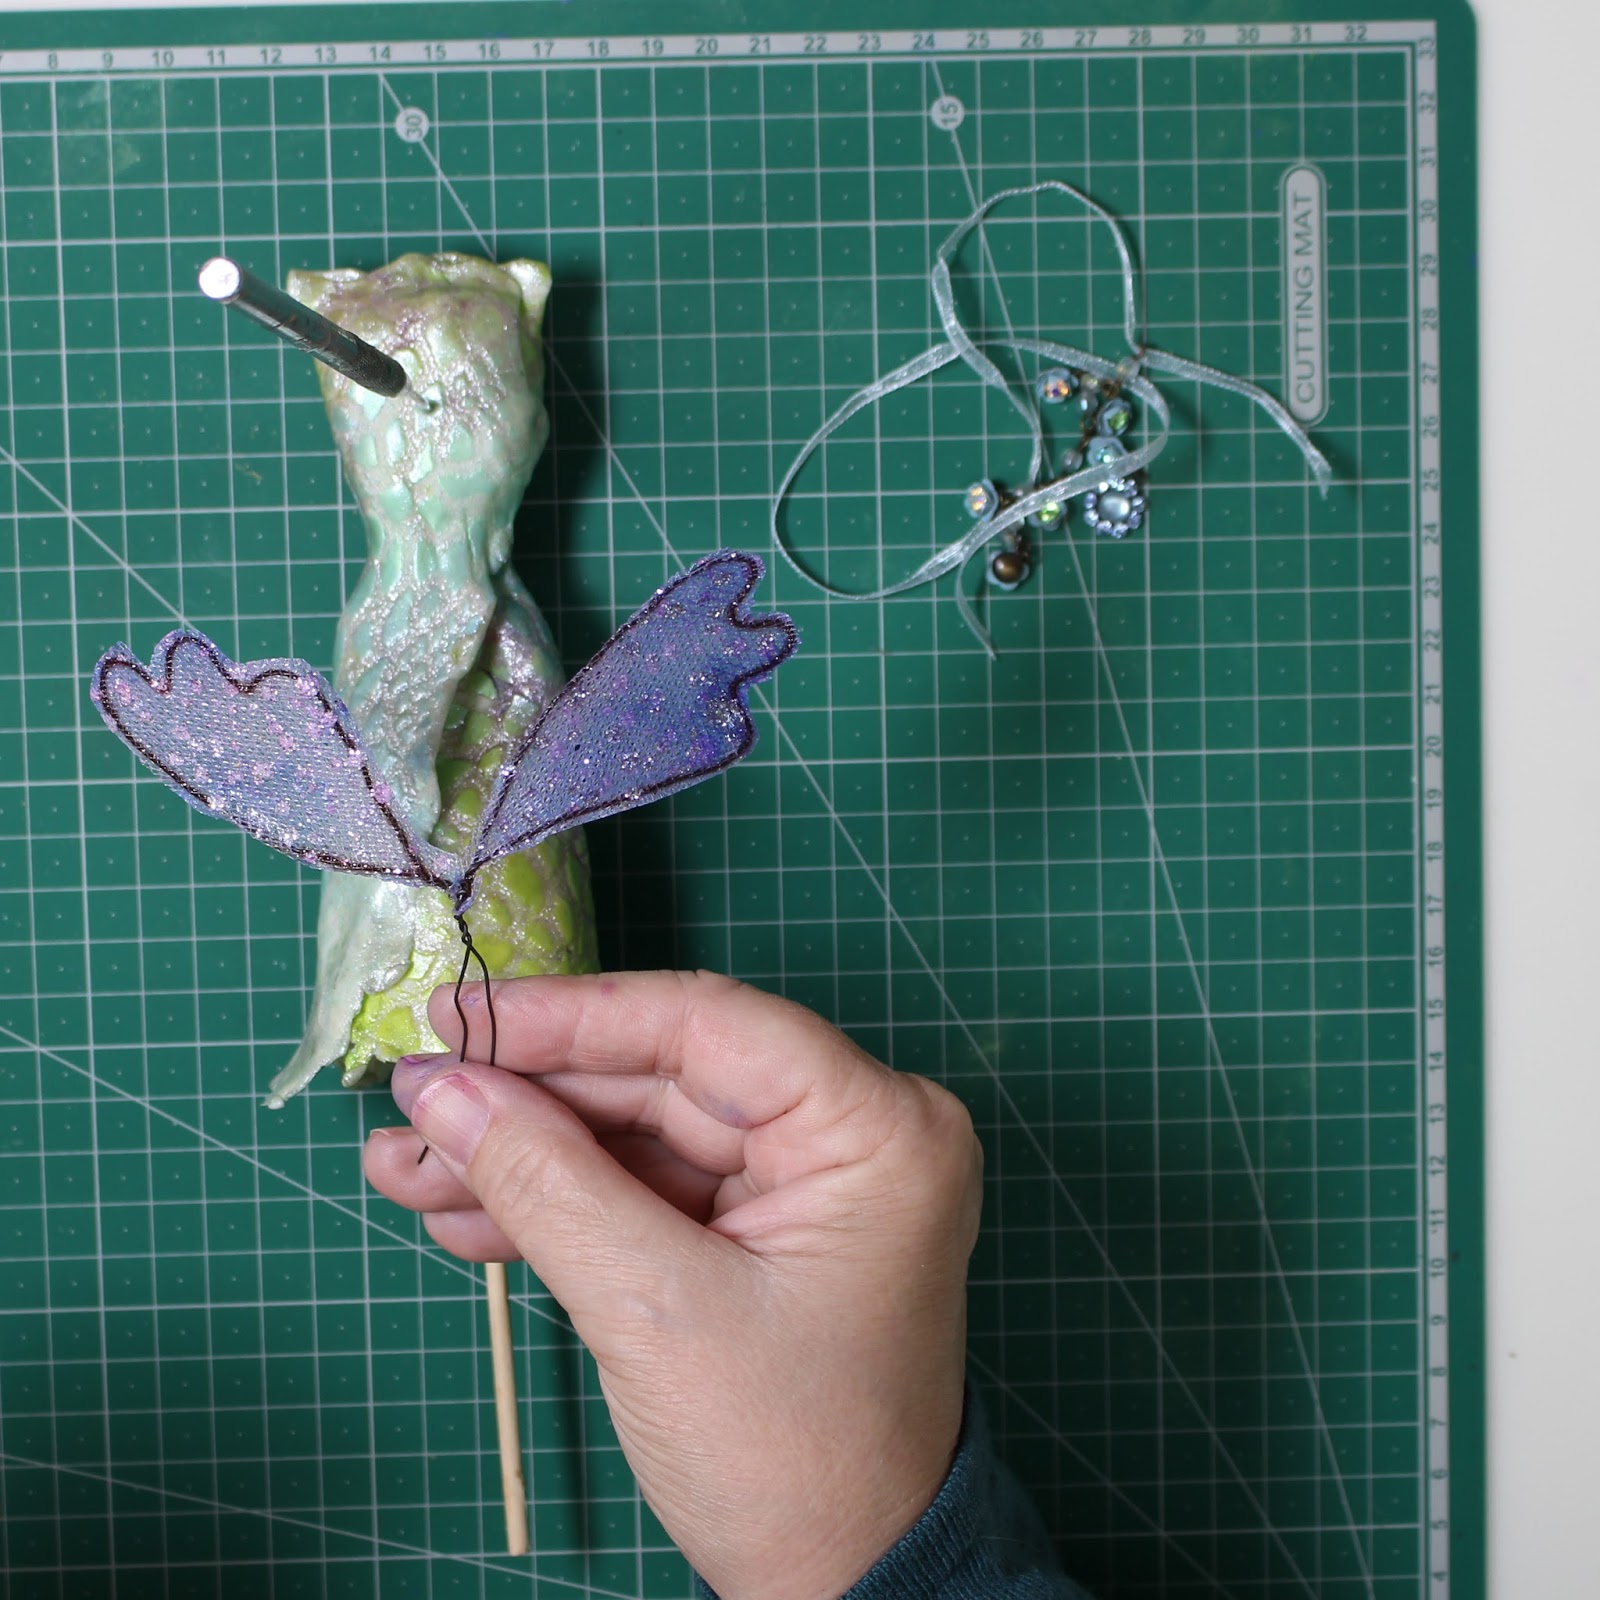

I then sealed the Micapowder
with a varnish, I used one that had some Mica in it, but a plain one would
have worked too. Next, I also added some bling, from a piece of broken jewelry,
just for fun.
Now have fun making your own
sculpture, it's really easy with Makin's Clay®.
No comments:
Post a Comment