
Hi everyone, Steph Ackerman here with a new project for Makin's Clay®.
With Spring finally in the air, I'm thinking of butterflies and flowers. I found this floral hanger that I thought could be used to hold hats, head bands, hair bows or even jewelry.
Supplies:
Makin's Clay® - White, Red
Makin's ProfessionalⓇ
Makin'sⓇ
Beacon Adhesives - 3-in-1
Prima Metallic Paint
Mod Podge Mold
Floral Hanger
Instructions:
 Paint the floral hanger with Prima metallic paint and put aside to dry.
Mix both red and white clays together until you achieve a nice marble effect.
Use the Ultimate Clay Machine® to create a nice thin layer of clay. Start on setting #1 and move the settings until you get the thickness you desire.
I stopped at setting #5. Look at that gorgeous sheet of clay!


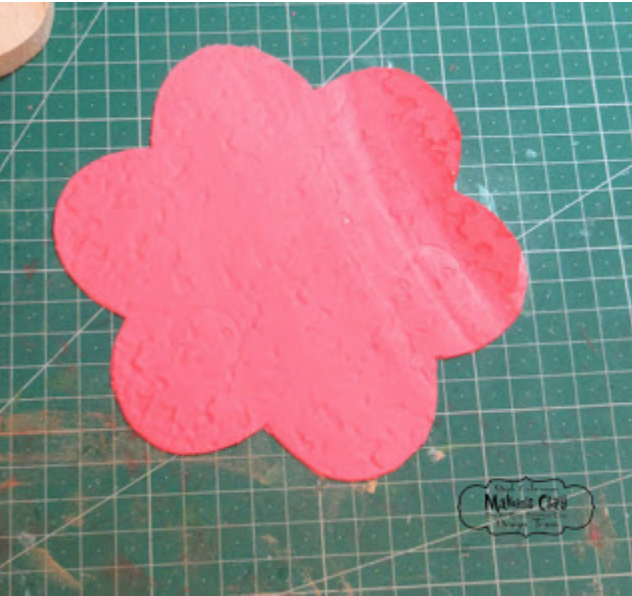
 Next, place the texture sheet over the clay and use the roller to impress the design into the clay. The harder you press, the more detail is impressed into the clay.
Place the floral hanger over the clay and use the chisel to cut the clay to fit.
Because I was working with damp clay, there are no tears in the clay when cutting with the chisel.

 Use Beacon Adhesives to adhere the clay to the hanger. Allow to dry then use the chisel to cut a hole in the clay and reinsert the hanger.
Use a mold to create butterflies from the remaining red and white clays.
Add assorted flowers and buttons to the left side. Then place butterflies on top of them for a 3 dimensional effect. Since I had some extra butterflies, I added them along the right side.

Thanks for stopping by.
No comments:
Post a Comment