 |
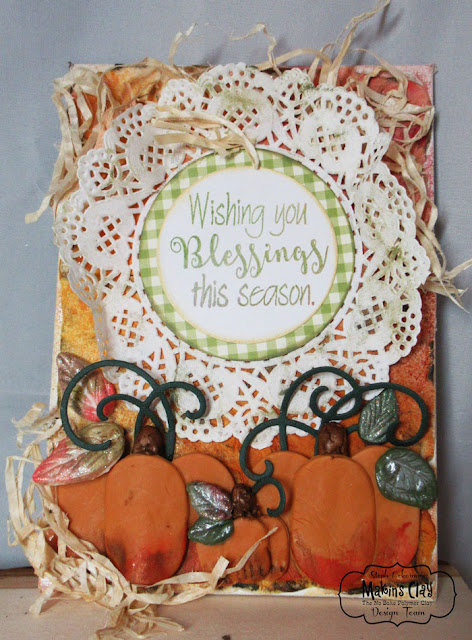
| Blessings Canvas Panel by Steph Ackerman |
Makin'sⓇ Clay - Persimmon, White, Green
Makin's ProfessionalⓇ
Makin'sⓇ
Beacon Adhesives - 3-in-1
Joy Clair stamps - Fall Leaves
Tattered Angels spray inks, paints
Memento Inks
Spellbinders dies
Raffia
Doily
Canvas Panel
Instructions:
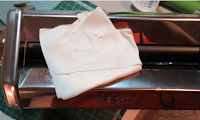 Roll white clay in the clay machine on setting #1. Reduce the setting on each pass until you have the
 thickness you need for your project.
 I wanted to add texture to a canvas panel, so I placed the clay on the canvas panel. Then I used the roller to roll out the clay so it fit the panel.
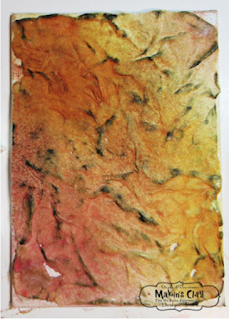 Using assorted Tattered Angels spray inks, I added color to the background. Once it dried, I inked over the textured background.
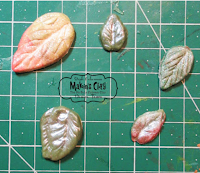 Using left over white and green clays, I created assorted sized leaves using the Leaves push mold. To simulate the colors of all, I inked the leaves with a variety of colors. Next, I poured on embossing powder and heat set quickly for a shiny effect.
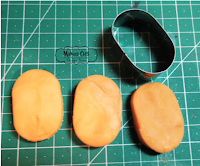 Roll out light adobe clay and use oval clay cutters to cut 6 large ovals and 3 small ovals. Adhere 3 pieces together to create each pumpkin. While still wet, clay will adhere to clay. But if you need to you can add adhesive.
 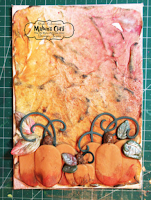 Add the larger pumpkins to the canvas then paint the bottom edges. Add the small pumpkin on top of the larger ones. Place die cut swirls behind the pumpkins and scatter the clay leaves. Roll up some little scraps of clay to create the pumpkin stems then paint them brown. Glue the stem behind the pumpkins.
Stamp the phrase on white cardstock using green ink. Die cut and add to pattern paper then place on top of a doily. Adhere to the canvas.
Glue raffia to the lower left corner surrounding the pumpkin.
Glue raffia to the top of the panel pulling the doily forward creating a 3 dimensional effect.
Thanks for stopping by.


No comments:
Post a Comment