Pages - Menu

Search This Blog

Monday, December 12, 2016

Steampunk Switchplate Cover


 SWITCH IT UP by Patricia Krauchune 

This month Makin's Clay® challenged it's Design Team members to select a Pin from our Tutorials & Techniques Board or our Polymer Clay Inspiration Projects Board and create a project using Makin's Clay® based upon the chosen pin.

Here's my Makin's Clay® version of a Steampunk switch plate cover.   I was inspired by this idea from our Tutorials & Techniques Board - but wanted to give it the twist of designing it in Steampunk style! Let's switch it up!

https://www.pinterest.com/pin/501588477227821669/

Supply List: 

Makin's Clay® - White
Large Plastic Switch Plate Cover 
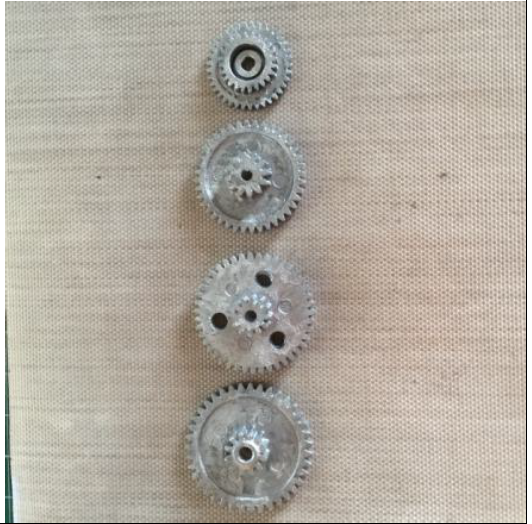
4 Plastic Gears 
Old Fuse/Level Glass Bubble 
Copper Wire 
Martha Stewart Crafts™ Copper Paint 
DecoArt® Dazzling Metallics® Gold Paint
Precious Metals™ Leafing Finish - Copper/Platinum 
Krazy® Glue 
Beacon Adhesives 

  • Tacky Glue™
  • Fast Finish Decoupage™
  • Quick Grip™

Lisa Pavelka Poly Bonder™

Recommended Makin's® Tools: 

Makin's Professional®
  • Ultimate Clay Extruder® - Disc Set C - #3
  • Ultimate Clay Machine®
Makin's® - 
  • Cutting Mat
  • Texture Sheet Set G - Diamond Tread Pattern

Instructions: 

Paint the (4) plastic gears using FolkArt® Silver Paint. Set aside to dry overnight. 


Using the Ultimate Clay Extruder® equipped with Discs Set C # 3 disc, extrude some white clay about 12 inches long. Next form 3 loops in the extruded piece of clay to form a "pipe". Glue the loops down with the Lisa Pavelka Poly Bonder™ to insure the loops stay in place. Now paint your "piping" Copper using Martha Stewart Crafts™ Paint. 


Roll out some white clay using the Ultimate Clay Machine® on the number 1 setting. Spread some Beacon's™ Tacky Glue onto the top of the switch cover then place the rolled out clay on top.


Press the clay onto the cover and trim along the sides and trim the holes for the screws and switch.  Next you want to firmly press the Diamond Tread Texture Sheet onto the clay. 

Push the "piping" and gears temporarily in place. Do the same with the level glass bubble and fuse. Let dry 24 hours. 


I made a drying stand so air can circulate around my piece. This makes for a more even drying of the piece. 


Remove all the components and paint the cover gold using the DecoArt® Metallics®. When the paint is dry, glue the components back in place using Krazy® Glue. Using some copper wire, make some "U" shaped anchors to insure the pieces stay in place. I anchored the fuse, level glass bubble and "piping" with the copper wire "U" anchors with a dab of Krazy® Glue on the ends of the wires. 


OPTIONAL: I made a little oval emblem from some leftover dried clay and glued a paper label with the word "POWER". I also smeared some Precious Metals™ Leafing in copper and platinum on the cover to give an aged look. The piece was then sealed with Beacon Fast Finish Decoupage. 

No comments:

Contact us

Name

Email *

Message *