 |
| Polymer Clay Axolotl Sculpture by Patricia Roberts-Thompson |
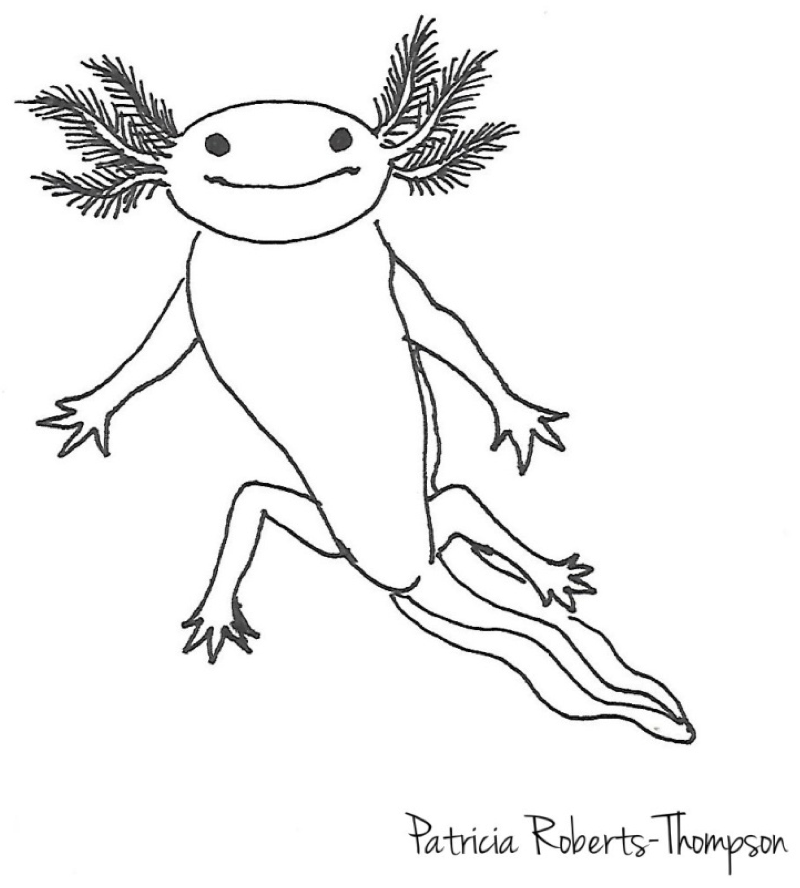
Before you Axolotl of questions, let me
tell you a little bit about these cute creatures. Axolotls are an aquatic
Salamander, native to Mexico, and on the Threatened List in the wild.
Scientists have studied them extensively because they have the ability to
regenerate lost limbs. They have become a popular aquarium pet for the skilled
hobbyist. Axolotls come in a few different colors – brown/tan speckled version,
Albino, which is a golden color, Grey, black and a Leucistic, which is the pale
pink variety I have chosen to portray.
Materials:
120g White Makin’s
Clay® Pinch of red clay, or white clay
tinted with red acrylic paint
Makin’s® Push
Molds, 39003 Sea Shells
Makin's Professional® Ultimate Clay Machine®
Small glass eyes, or seedbeds or small
black balls of clay
White glue
Clay roller, clay blade, scissors,
brushes, ball tool
Tin or paper mache box to attach your Axolotl on
Baby wipes, ziplock bags
Acrylic paints, CraftSmart - Hunter Green, Lush Foliage Green, Folk Art
Brushed Metal – Pearl Gold
Lumiere paints – Pearl white, Halo Pink
Gold
American DuraClear Gloss varnish
Directions:
 Fig 1: Take 60g white Makin’s Clay® and form into two balls, one for the body and one reserved
for the legs and gills. Tear off a small bit from the smaller ball and use it
to mold two or three snails from the sea shell push mold. Place the
smaller ball in a ziplock bag or wrap with a baby wipe until ready to use.
Fig 1: Take 60g white Makin’s Clay® and form into two balls, one for the body and one reserved
for the legs and gills. Tear off a small bit from the smaller ball and use it
to mold two or three snails from the sea shell push mold. Place the
smaller ball in a ziplock bag or wrap with a baby wipe until ready to use.  Fig 2: Using the larger ball, form it into the
head, body and tail. The head is wedged shaped, give him a little belly and
make the tail pretty thin.
Fig 2: Using the larger ball, form it into the
head, body and tail. The head is wedged shaped, give him a little belly and
make the tail pretty thin. Fig 3: Use a ball tool to make the holes for the
eyes. Add a bit of white glue in the holes then place the eyes. I used eyes
that I purchased from Amazon, but you could use small black beads, or even roll
your own small black balls from clay. It would be best to let the clay eyes set
up, as pushing them into the sculpture can distort them.
Fig 3: Use a ball tool to make the holes for the
eyes. Add a bit of white glue in the holes then place the eyes. I used eyes
that I purchased from Amazon, but you could use small black beads, or even roll
your own small black balls from clay. It would be best to let the clay eyes set
up, as pushing them into the sculpture can distort them. Fig 4: Add a curved mouth, Axolotls are known for looking very friendly!
  Fig 5: Using your fingers, pinch a fin that starts just behind his head,
and runs all the way around his tail, stopping just before the hind legs. Make the
fin thin, and work some ripples into it.
Fig 5: Using your fingers, pinch a fin that starts just behind his head,
and runs all the way around his tail, stopping just before the hind legs. Make the
fin thin, and work some ripples into it.
Fig 6: Mix some white clay with a pinch
of red clay, or alternately mix some red paint into the white
clay. Flatten out some strands; you will need six of them. Using a craft blade, cut many tiny lines all along the edges. Turn the gill over and texture the underside, but more lightly. Use some pure white and roll tiny snakes of clay to become the center of the gills. Add water to the clay if it seems to dry to roll into a nice thin snake. Make six gills in total, ranging in size. ( two large, two medium, two small).
Fig 7: Use a ball tool to make three holes on each side of his head (behind his jaw) Add a drop of white glue and pinch the end of the gill before you push it into the hole.
Fig 8: This picture shows the six gills in place.


 Fig 9: Use the white clay to make the
legs. To make the feet, flatten a paddle shape, then, use a craft knife to cut
and remove small triangle pieces. The front legs have four toes, and the back
legs have five toes.
Fig 9: Use the white clay to make the
legs. To make the feet, flatten a paddle shape, then, use a craft knife to cut
and remove small triangle pieces. The front legs have four toes, and the back
legs have five toes.
Fig 10: I made some curved lines on the
belly before attaching the legs. Make a hole for each leg with a ball tool, add
some glue and stick the legs in place. Except for a bit of painting, your Axolotl
is finished. Now we will put him on a container.

 Fig 11: I choose a Gift Card Tin to put
my Axolotl onto. To make the grassy riverbed, I added Hunter Green paint to
some white clay, also Lush Foliage Green and Pearl Gold to more white clay. I
took half of each color, twisted it together to marbleize it, then, ran it
through my Ultimate Clay Machine® to the 4th thickness.
Add it to the container, smoothing it out, then place your Axolotl. You can use
different shades of green and tan clay to get a similar look.
Fig 11: I choose a Gift Card Tin to put
my Axolotl onto. To make the grassy riverbed, I added Hunter Green paint to
some white clay, also Lush Foliage Green and Pearl Gold to more white clay. I
took half of each color, twisted it together to marbleize it, then, ran it
through my Ultimate Clay Machine® to the 4th thickness.
Add it to the container, smoothing it out, then place your Axolotl. You can use
different shades of green and tan clay to get a similar look. |
Fig 12: I thinned the remaining pieces of colored
clay on the 5th thickness, and cut pointed strips from each color.
These pieces, I placed on the container, flowing in the same direction as if
the river currents were moving the grasses. Lastly I used Lumerie Pearl paint
with just a hint of Halo Red-Gold on the Axolotl, and brushed a tiny bit of
Halo Red Gold on his lower belly and also on the snails.

Fig 13: Another view of the Axoltol I sealed it with Americana DuraClear Gloss
varnish for a wet look, after letting him dry for 24 to 36 hours.
Hope you had fun making this adorable
little creature!
2 comments:
Wow. Wow. Love your step by step pictorials! Awesome job. Thanks. Try to check this too
DogsNStuff.net
Nice artwork. I really love this blog. Thanks once again for sharing this kind of article. Try to check this too
Types of Insectst
Post a Comment