 |
| Copper Patina Bowl by Iris Rodriguez |
Hello Makers!
Today I bring you a holy bowl. No not the type that
will save your soul, but can keep your trinkets though. I am referring to my copper
and patina bowl. I used Makin's Clay®: Mini GEO cutters, Roller and Cutter
Set and white clay.
For the surface treatment I used copper metallic paint and Patina Wax used for
home décor and wooden furniture, but work great on clay.
- Makin's
Clay®–
White
- Makin's Professional®
- Cutting Mat
- Ultimate Clay Machine®
- Cutting Mat
- Makin's®–
- Mini Clay Cutters - GEO Set
- Roller and Cutter Set
- DecoArts Metallics-Warm Penny
- Art Minds
Wax-Patina
- Verathane-Matte
Polyutherane for sealing clay
- Imagine-Doodlestix
Silicon Tapered Tip tool
- Bowl
Use the Makin's
Professional® Ultimate Clay
Machine® to roll out a sheet of white clay on setting #1.

Determine desired shape and size. Here I used a bowl
that measured 4 inch diameter as a guide.
Using
the bowl as a guide, cut the clay using the crinkle shape cutter. I wanted that
crinkle shape on the edges. If you want a straight, use the solid cutter in the
Makin's
Clay®
Roller and Cutter Set.


Cut
out the holes using the Makin's Clay® Mini Clay Cutters-GEO set. I used the
diamond looking shape from the set.
Smooth out edges with your fingers and silicone tool.


Place the clay in bowl and let it cure for 24 hours.
The clay will take on the shape of the bowl.
 |
| The bowl after curing for 24 hours. |
Paint the bowl with the copper metallic paint.
Paint the clay with the Art Minds Patina Wax, then
lightly wipe with a dry paper towel.


 This what it will look like after the Patina Wax is
wiped off. The wax is chalky, hard to believe it’s
This what it will look like after the Patina Wax is
wiped off. The wax is chalky, hard to believe it’s 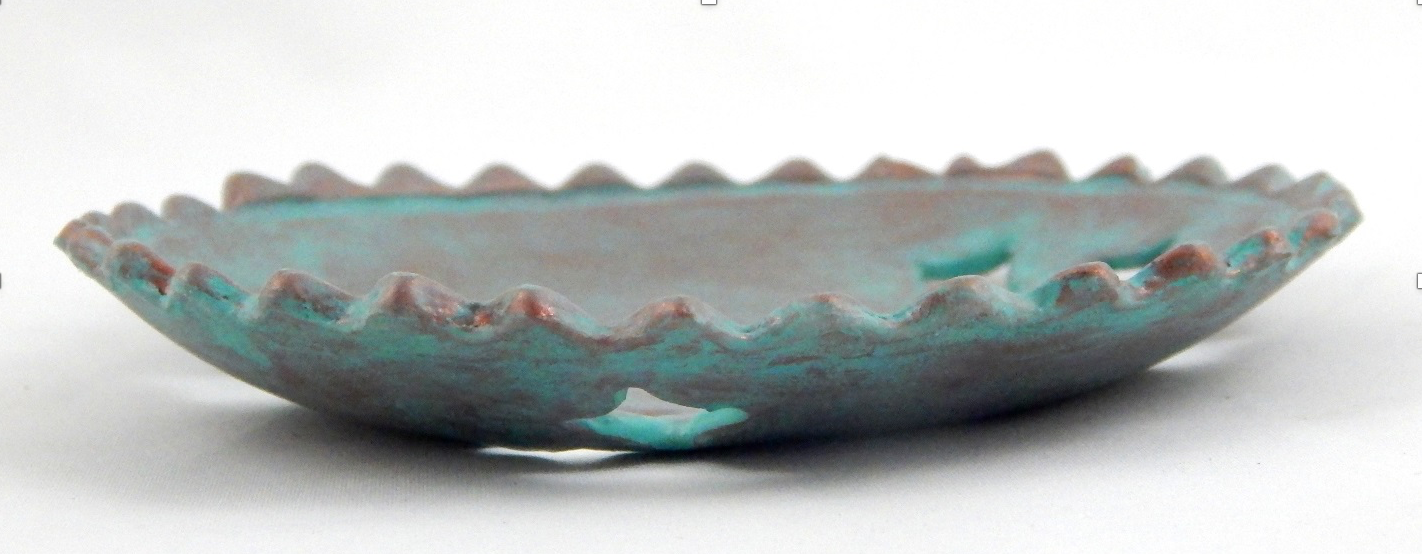
Well this is it for me. I hope you like my bowl and
will give it a try.
No comments:
Post a Comment