Pages - Menu

Search This Blog

Showing posts with label steampunk. Show all posts

Wednesday, July 31, 2019

Framed Steampunk Monogram

Framed Steampunk Monogram by Cindi McGee

I save almost all of my "leftovers" when creating projects with Makin's Clay®.  This Steampunk monogram was created for my good friend Patricia Krauchune.  She is the queen of Steampunk and I wanted to make her something special for her studio.  It is made up entirely of "scraps" of textured and stamped clay from other projects.  Below are the materials you would need to recreate the same variety of textures and images. 

Materials:

Makin's Clay® - Black, Natural, Brown
Makin's® Texture Sheet Sets - A, F, G, and H 
Makin's Professional® Ultimate Clay Machine®
Makin's Professional® Professional Clay Tools 
Makin's Professional® Cutting Mat 
Clock face rubber stamp, other varied Steampunk style rubber stamps 
DecoArt® Metallic Lustre™ - Copper Kettle, Gold Rush, Black Shimmer, Silver Spark, Burnished Brass 
DecoArt® Americana™ Decor® Creme Wax - Golden Brown
Scissors 
Craft knife 
Ruler
Frame with mat board insert 
Silver and black acrylic paints 
Black Staz-On ink pad
Beacon® Tacky Glue
Beacon® 527 Adhesive 


Instructions:

Roll sheets of black, brown clay, and natural Makin's Clay®. I used the Makin's Professional® Ultimate Clay Machine® and rolled to setting #2. Use a variety of the texture sheets to texture the black and brown clay sheets. I also used rubber stamps to add texture to some pieces.  

Use stamps inked with permanent black ink to stamp onto natural clay sheets.  Let all sheets dry 24 hours. 

To "age" the natural sheets, apply brown creme wax and then immediately wipe off excess.  This will stain the natural clay and give it the desired effect. 

Use the assorted DecoArt® Metallic Lustres™ to highlight the textures on the brown and black textured sheets of clay. 

Now you are ready to begin assembling your letter. 

For the base of the monogram, roll black Makin's Clay® with Makin's Professional® Ultimate Clay Machine® to setting #3. 
Using the mat board, determine size of letter you wish to create.  Use craft knife to cut the rolled clay sheets to the appropriate sizes to create the letter.  If desired, trace a letter as a template. 


Use scissors to cut squares, rectangles, and strips from the textured and stamped sheets of dry clay. 
Begin to assemble them in a random fashion, alternating patterns and colors of metallic finish, to fill in the entire area of the base letter. The goal at this point is to create your desired pattern, NOT to permanently mount the pieces to the base letter.   


Once you have them arranged to your liking, add tacky glue to the back of each piece and reassemble. 

Roll an additional sheet of black clay to setting #3 on the Ultimate Clay Machine®.  Place onto cutting mat, use ruler and cutting wheel to cut strips of clay the same width to place between the seams of all the individual tiles.  Apply Black Shimmer Metallic Lustre™ to each strip. Cut them to the required size to create the outlines for the tiles, add tacky glue and mount. 


I created the rivets/screws for the corners of each tile by using a tool to cut small circles from a sheet of black clay. You could also create small balls of clay and flatten them. Each circle was given a "x" on the surface to mimic a screw head. Add Black Shimmer Metallic Lustre to each screw. Use tacky glue to mount them to the corners of each tile. Let dry 24 hours. 


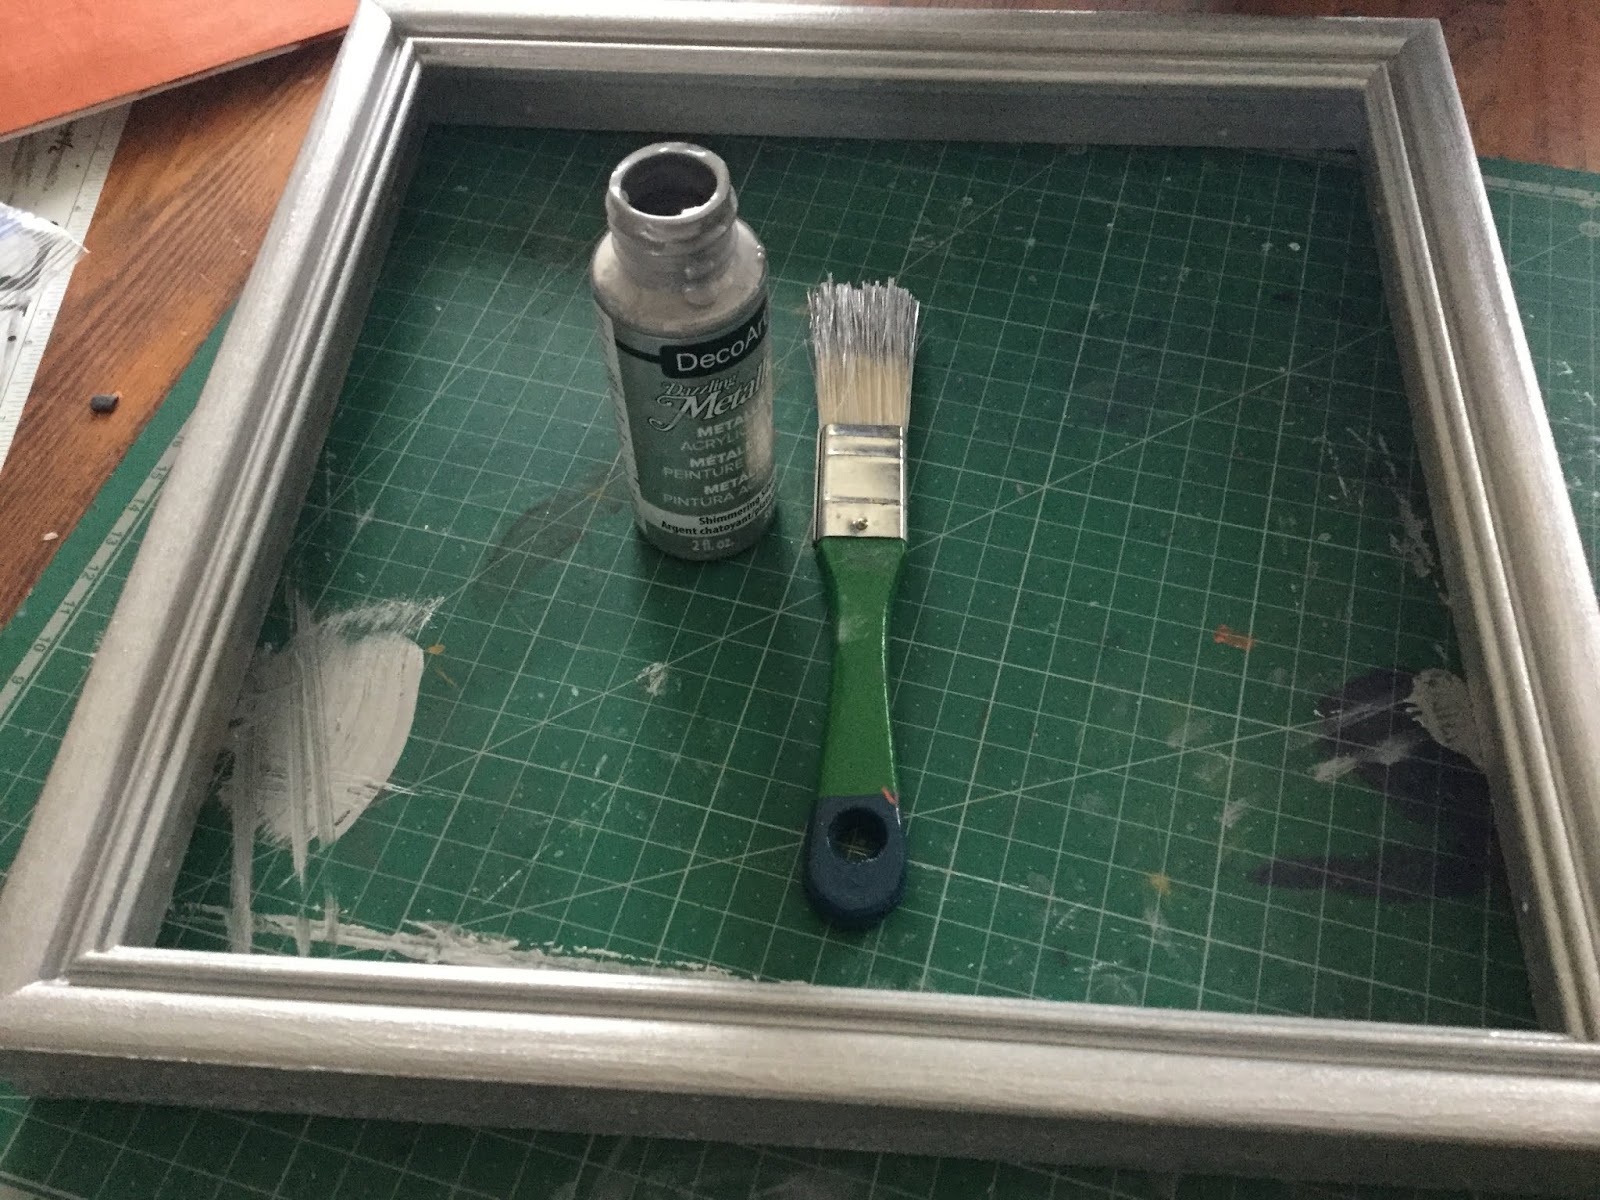
Paint the mat board with metallic copper paint and let dry.  Paint the frame with silver metallic paint and let dry. Use a damp paper towel to apply a light amount of black acrylic paint over the silver frame.  Then use dry paper towel to rub off excess, leaving an aged effect. 


Place the mat board into the frame. Use Beacon 527 or similar strong adhesive to mount the clay letter, centered. Let dry. Add hanging hardware to back of frame. 


Sunday, July 14, 2019

Polymer Clay Vintage Lock & Key Charms


Vintage Lock & Key Charms by Nancy Nickel
Materials Used:
Makin’s Clay® - Black Clay
Makin’s Professional® - 
Cutting Mat - Small
Mold for Key and Lock Charm;
ScraPerfect Best Glue Ever;
Silver Leafing;
Jump Rings;
Scruffy Paint Brush.
Instructions:
1.   Roll black clay into smooth round balls. Store any unused, open clay in an airtight container with a moist towelette or damp paper towel to retrain freshness for later use. Push clay into mold areas. Remove excess clay from back. Allow clay to dry in mold, or remove clay from mold and allow to dry. It works great either way.


2.   Squeeze a small amount of glue onto a scrap paper. Using your finger, dab a little bit of glue onto the charm pieces. Let the glue dry for a while, until it is just a little bit tacky. 

3.   Lay the silver leafing onto the charms, covering all the tacky glue. Rub with your fingers. Then take the scruffy brush and burnish very well, brushing away all the excess leafing.


4.   Add jump rings, and your piece is finished! Now it’s ready to use as an embellishment on any project, or even to add to a chain!


This is such a fun and easy project to make, and I really like the results! The hardest part of the whole job is cleaning up the mess left behind by the silver leafing!

Thursday, June 6, 2019

"Connected" Steampunk Heart Pendant


"Connected"  Steampunk Heart Pendant by Patricia Krauchune


Supplies:

1" screw 
1/4" small screw
2 gears 
Small piece of copper wire
1" piece of chain 
Stack of three gears
2 eyelets 
Small piece of ball chain 
Art -C wax in gold, silver, copper

Materials:

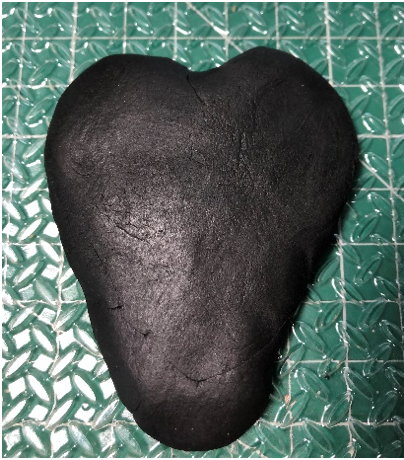
Free form a heart shape from a 1" ball of black Makin's Clay®.

Make a diagonal cut through the heart.

Using the 1" screw, insert the screw through the top of the heart into the bottom piece.


Add a gear at the top part of the heart where the two pieces come together.  Another gear is inserted at the other end of the "seam" but inserted between the two pieces.

Make 2  "U" shapes from the copper wire and use them as "staples" to keep the two halves together.  A small screw was added to the top right side of the heart.  A small 1" piece of chain was attached to the right side uses 2 small copper "U" shapes.

I added a small stack of three gears, and a couple of eyelets with a small piece of ball chain inserted into each eyelet.  I textured the piece using a shell from a black walnut.


After letting the heart dry over night, I finished the piece by coloring it with Art-C wax in silver, copper, and gold.


Tuesday, May 7, 2019

Steampunk Unhinged Heart Pendant

Steampunk Unhinged Heart Pendant by Patricia Krauchune 
I decided that for this year on the Design Team, I am doing a year of hearts. So here is my Unhinged Heart to start off the new year…can you feel the beat?

Supply list:

  • Black Makin’s Clay®   
  • Makin’s® Texture Sheet: Diamond Tread from Set A    
  • 2 Gears / Small Hinge / 3 Eyelets / 3 Brads / 6 Nails    
  • Copper Wire  
  • Small Compass  
  • Art© Wax in Silver, Gold, Copper
Instructions:

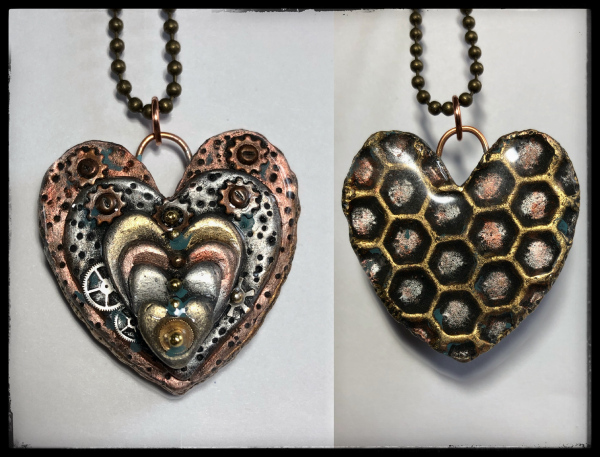
Form a rough heart shape from some Black Makin’s Clay® and place it over the Diamond Tread Texture Sheet.  Cut the heart in half, then insert the small hinge to connect the two pieces.


Next, I added 2 gears to the top half of the heart and a bale I formed from the copper wire. I also added a small screw below the gears.
To the bottom half of the heart, I added a mini compass, 3 eyelets with brads in the middle and 6 small nails to the side. I then poked some holes with an awl to give the front surface more texture.
Let dry overnight.

The heart was then colored with Art© waxes in Silver, Gold and Copper. Add bead chain and closure. 

There you have it, a hinged steampunk heart.

Sunday, March 10, 2019

Geared Heart Pendant

GEARED HEART PENDANT by Patricia Krauchune 
I love using small pieces of left over clay to make a new project.  Nothing goes to waste if you use Makin's Clay®!

Supplies:

Small piece of dried Makin's Clay® (any color)
6 Jump rings
Large, medium and small gear
Watch stem
DecoArt® Extreme Sheen Copper paint
Tin paint, Aged Bronze paint 
Paintbrushes 
Small screw
Patina paint
Drill to make small holes (or similar tool - Makin's Clay® is easily drilled with a pick tool, even after it is dry!)
Craft knife or carving tool
Clay tool to make "carved" lines 
Jewelry pliers 
Bead chain
Krazy® Glue or strong clear drying adhesive such as Beacon 527®
Makin's Professional® Cutting Mat 

Instructions:

Draw a heart shape on a piece of dried clay. 

Carve out the heart shape and refine the edges.

Drill small holes as shown in the picture. 

Attach jump rings to the holes you just drilled.


Texture the heart by carving some lines.

Start layering part by first painting on copper, tin, and then aged bronze metallic paints. 


Stack the three gears starting with the largest and ending with the smallest. Push a watch stem into the holes in the gears and glue to the heart front. 

Add a tiny screw to the base of the heart. 

Lastly, use a little patina paint to age the piece. 

Add bead chain.


Sunday, February 24, 2019

Steampunk "Faucet" Bottle of Hope


Design Team Member Patricia Krauchune recently shared this fun Steampunk style Bottle of Hope made with Makin's Clay®!   

Note - Here is a bit more information about what Bottles of Hope are - Makin's Clay® is proud to have our designers supporting this worthy effort through the creation of Bottles of Hope featuring Makin's Clay®.  

Bottles of Hope are small glass bottles covered with polymer clay and given to cancer patients. They symbolize a wish and a hope for health.  This project was started in 1999 by a Rhode Island cancer survivor and has spread internationally. Bottles are made by artists, students, survivors, seniors and many more who volunteer their time and love.   Learn more about this worthwhile project, see a gallery of many creative bottles and more here on their website. 


Tuesday, February 5, 2019

Hard Hearted Carved Polymer Clay Heart Pendant


Hard Hearted by Patricia Krauchune

I love the fact that there is no waste with Makin’s Clay®. To demonstrate that, I left a package of clay opened for a couple of months to dry out.
 Here’s how I proceeded!
Supplies:
  • Makin's Clay® - White 
  • Makin's Professional® Cutting Mat  
  • Carving knife
  • Linoleum cutter
  • Large gear, Small Gear
  • Clock hands
  • 5 Minute Epoxy 
  • Art C® Wax
  • Small screws
  • Diamond Glaze
  • Bead chain 
  • Jump ring

Instructions:
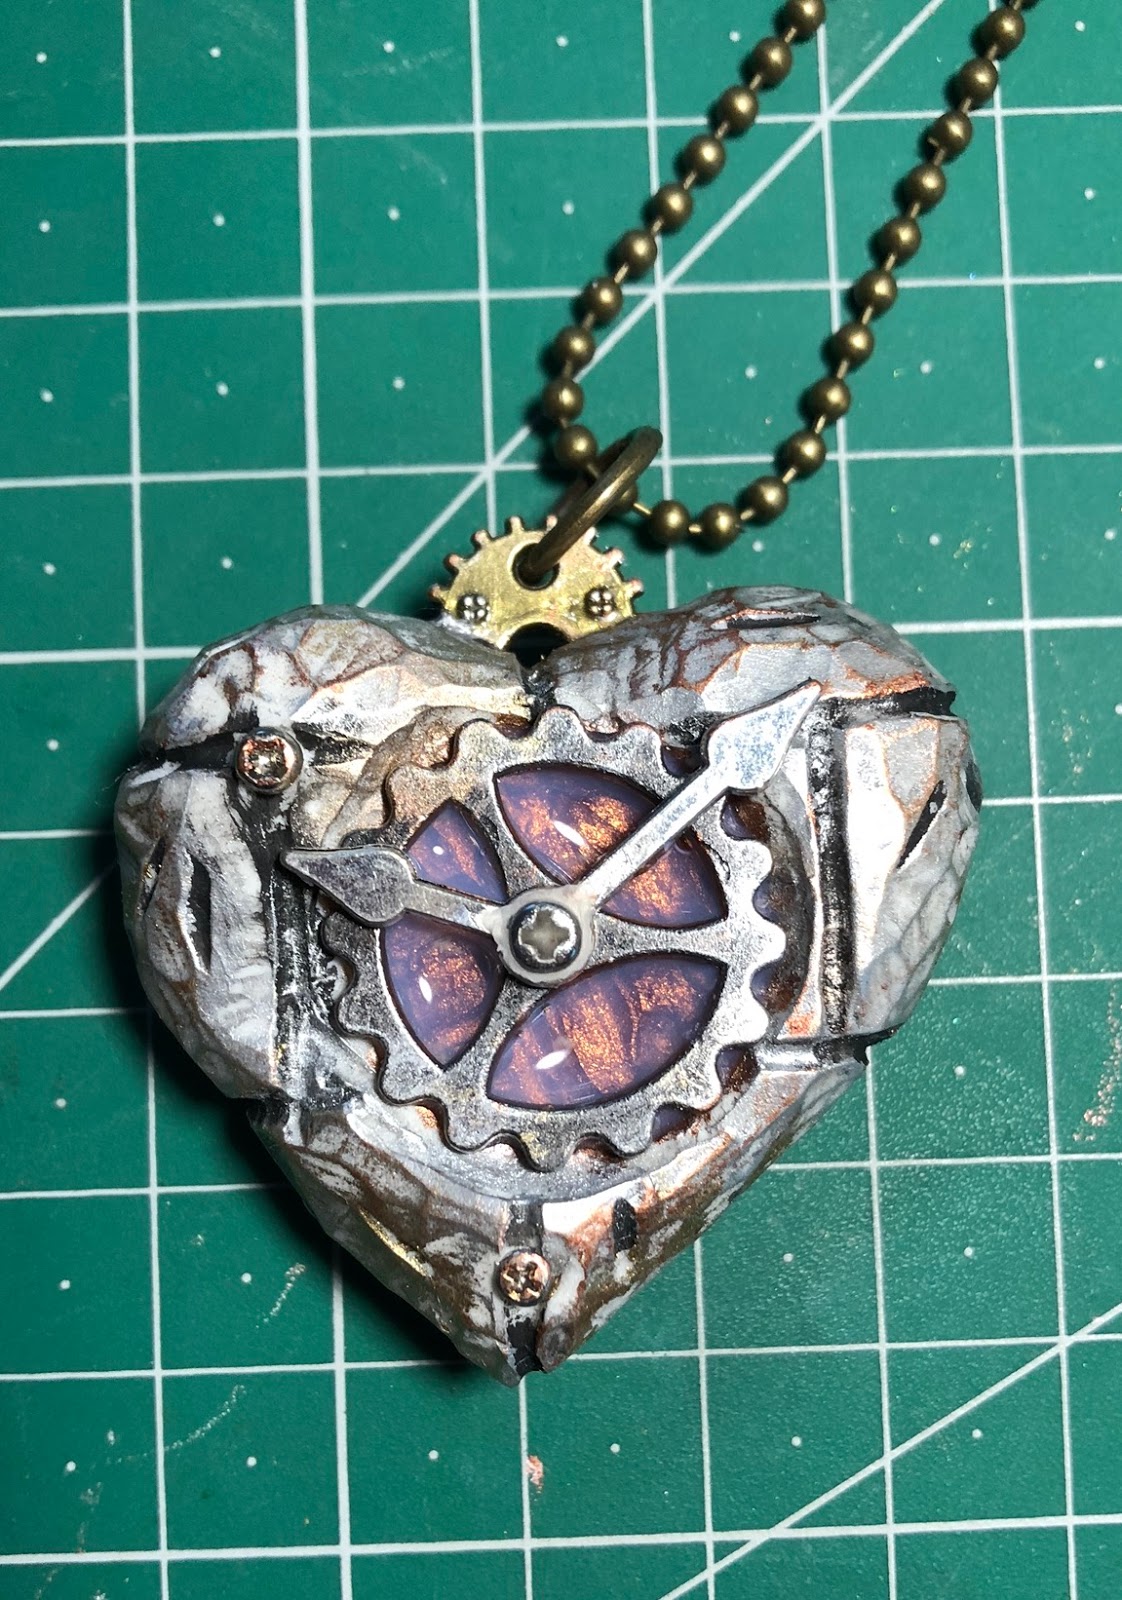
Draw a heart shape onto some totally dried out white clay. Cut out with a scroll saw.
Next, using a sharp knife, round off the edges. HINT: Draw a center line around the middle of the edge and round toward the line.

Draw some lines then use a linoleum cutter to make some grooves.
Hollow out an area for the large gear and place the gear over the opening.

Cut a groove at the top of the heart to hold a small gear that will be the bale.  Epoxy the gear into the groove.
Epoxy a small screw through the hole in the clock hands and gear.  Set aside to cure. 


I also added some small screws to the front and back.

The heart was “antiqued” with Art C® wax.  A bit of Diamond Glad was added to the center of the gear.

A jump ring was added to the top gear and the pendant is hung with a bead chain.

Contact us

Name

Email *

Message *