Pages - Menu

Search This Blog

Showing posts with label heart. Show all posts

Tuesday, September 17, 2019

Clay Heart Canvas


Clay Heart Canvas by Nancy Nickel

Materials Used:
Makin’s Clay® - Black Clay
Makin’s Professional® - 
Cutting Mat
Heart Mold – Stamperia;
Canvas – 5 x 7;
Decorative Paper – 5 x 7;
Cosmic Shimmer Metallic Gilding Polish – Gold;
Scraps of Gold Shimmer Tulle;
Tim Holtz Quote Sticker;
Scrap of Black Chipboard
Instructions:
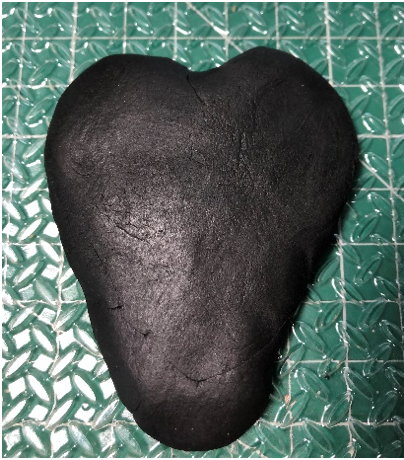
1.   Roll a good size piece of black clay into a smooth oval. Insert clay firmly into the heart mold. Pop heart out of mold, and allow to dry.

2.   When it’s dry, brush the surface of the heart with the gold gilding polish, using the foam applicator. 


3.   Adhere the paper to the front of the canvas.
4.   Swipe some gilding polish on the center of the canvas, as well as along all the outside edges. 
5.   Bunch up the shimmer tulle, and adhere to the center of the canvas.
6.   Adhere the pretty heart in place on the tuft of tulle. TrIm any excess tulle, so that it frames the heart nicely.


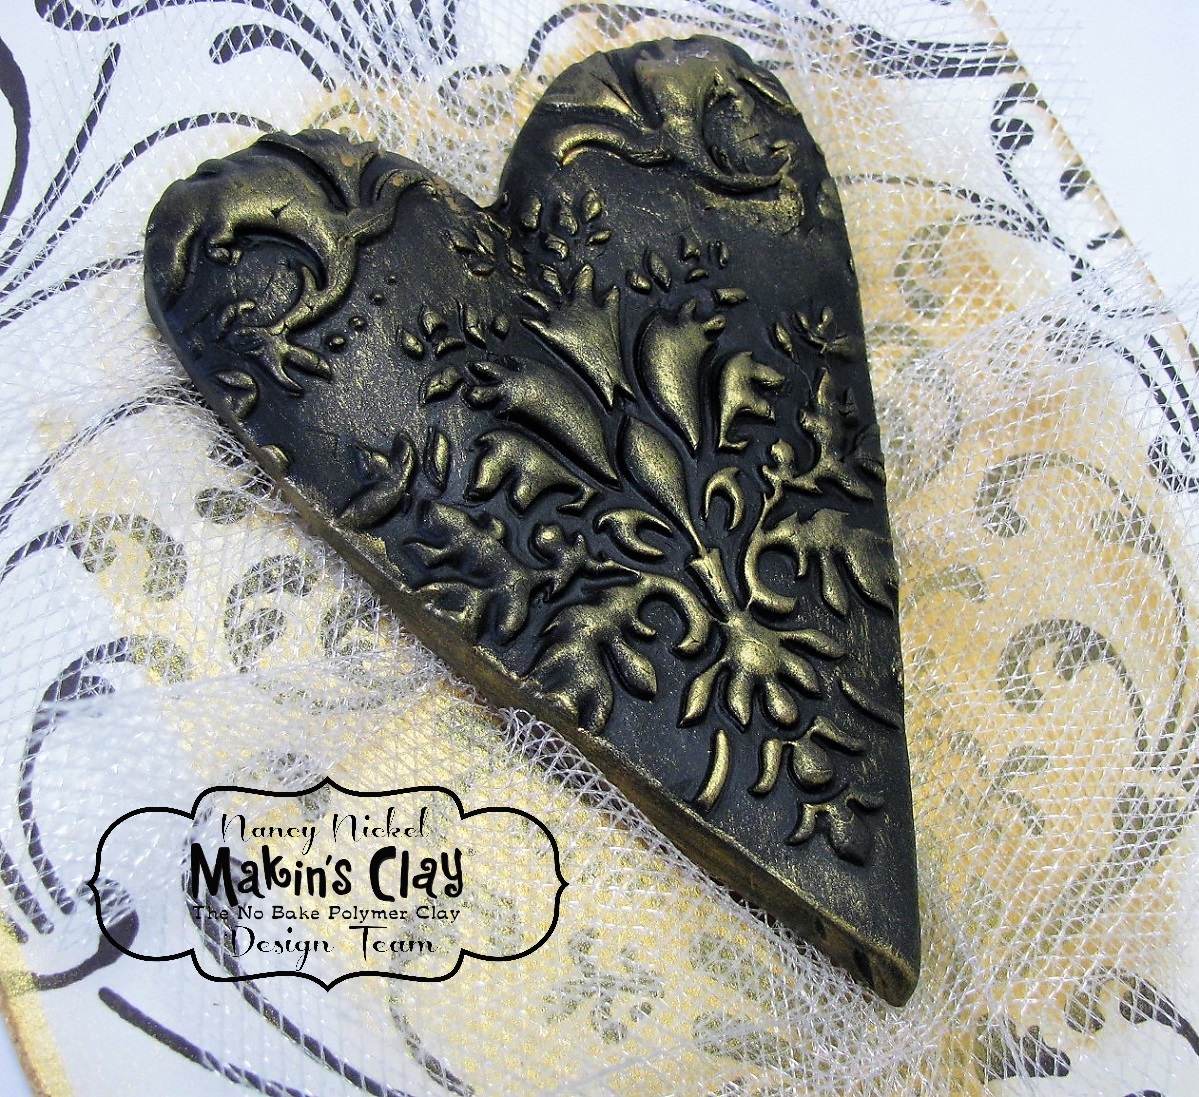
7.   Adhere the quote sticker to the scrap of black chipboard, and adhere in place under the heart.
8.   Pop the canvas in a frame, or display as it is!


Friday, June 28, 2019

Thursday, June 6, 2019

"Connected" Steampunk Heart Pendant


"Connected"  Steampunk Heart Pendant by Patricia Krauchune


Supplies:

1" screw 
1/4" small screw
2 gears 
Small piece of copper wire
1" piece of chain 
Stack of three gears
2 eyelets 
Small piece of ball chain 
Art -C wax in gold, silver, copper

Materials:

Free form a heart shape from a 1" ball of black Makin's Clay®.

Make a diagonal cut through the heart.

Using the 1" screw, insert the screw through the top of the heart into the bottom piece.


Add a gear at the top part of the heart where the two pieces come together.  Another gear is inserted at the other end of the "seam" but inserted between the two pieces.

Make 2  "U" shapes from the copper wire and use them as "staples" to keep the two halves together.  A small screw was added to the top right side of the heart.  A small 1" piece of chain was attached to the right side uses 2 small copper "U" shapes.

I added a small stack of three gears, and a couple of eyelets with a small piece of ball chain inserted into each eyelet.  I textured the piece using a shell from a black walnut.


After letting the heart dry over night, I finished the piece by coloring it with Art-C wax in silver, copper, and gold.


Tuesday, May 7, 2019

Steampunk Unhinged Heart Pendant

Steampunk Unhinged Heart Pendant by Patricia Krauchune 
I decided that for this year on the Design Team, I am doing a year of hearts. So here is my Unhinged Heart to start off the new year…can you feel the beat?

Supply list:

  • Black Makin’s Clay®   
  • Makin’s® Texture Sheet: Diamond Tread from Set A    
  • 2 Gears / Small Hinge / 3 Eyelets / 3 Brads / 6 Nails    
  • Copper Wire  
  • Small Compass  
  • Art© Wax in Silver, Gold, Copper
Instructions:

Form a rough heart shape from some Black Makin’s Clay® and place it over the Diamond Tread Texture Sheet.  Cut the heart in half, then insert the small hinge to connect the two pieces.


Next, I added 2 gears to the top half of the heart and a bale I formed from the copper wire. I also added a small screw below the gears.
To the bottom half of the heart, I added a mini compass, 3 eyelets with brads in the middle and 6 small nails to the side. I then poked some holes with an awl to give the front surface more texture.
Let dry overnight.

The heart was then colored with Art© waxes in Silver, Gold and Copper. Add bead chain and closure. 

There you have it, a hinged steampunk heart.

Friday, March 29, 2019

Faux "Vintage Metal" Heart Pendant


Patricia Krauchune recently shared this pretty heart pendant she made with Makin's Clay® and a custom made mold.  It looks like vintage metal! We love seeing all the unique versions of "hearts" Patricia creates with Makin's Clay®!

Friday, March 15, 2019

Heart Wall Art


Design Team Member Steph Ackerman recently shared this pretty heart wall art.  Steph used Makin's Clay® to create the heart embellishments on her project. Makin's Clay® is the perfect choice for all sorts of mixed-media projects!

Sunday, March 10, 2019

Geared Heart Pendant

GEARED HEART PENDANT by Patricia Krauchune 
I love using small pieces of left over clay to make a new project.  Nothing goes to waste if you use Makin's Clay®!

Supplies:

Small piece of dried Makin's Clay® (any color)
6 Jump rings
Large, medium and small gear
Watch stem
DecoArt® Extreme Sheen Copper paint
Tin paint, Aged Bronze paint 
Paintbrushes 
Small screw
Patina paint
Drill to make small holes (or similar tool - Makin's Clay® is easily drilled with a pick tool, even after it is dry!)
Craft knife or carving tool
Clay tool to make "carved" lines 
Jewelry pliers 
Bead chain
Krazy® Glue or strong clear drying adhesive such as Beacon 527®
Makin's Professional® Cutting Mat 

Instructions:

Draw a heart shape on a piece of dried clay. 

Carve out the heart shape and refine the edges.

Drill small holes as shown in the picture. 

Attach jump rings to the holes you just drilled.


Texture the heart by carving some lines.

Start layering part by first painting on copper, tin, and then aged bronze metallic paints. 


Stack the three gears starting with the largest and ending with the smallest. Push a watch stem into the holes in the gears and glue to the heart front. 

Add a tiny screw to the base of the heart. 

Lastly, use a little patina paint to age the piece. 

Add bead chain.


Tuesday, February 5, 2019

Hard Hearted Carved Polymer Clay Heart Pendant


Hard Hearted by Patricia Krauchune

I love the fact that there is no waste with Makin’s Clay®. To demonstrate that, I left a package of clay opened for a couple of months to dry out.
 Here’s how I proceeded!
Supplies:
  • Makin's Clay® - White 
  • Makin's Professional® Cutting Mat  
  • Carving knife
  • Linoleum cutter
  • Large gear, Small Gear
  • Clock hands
  • 5 Minute Epoxy 
  • Art C® Wax
  • Small screws
  • Diamond Glaze
  • Bead chain 
  • Jump ring

Instructions:
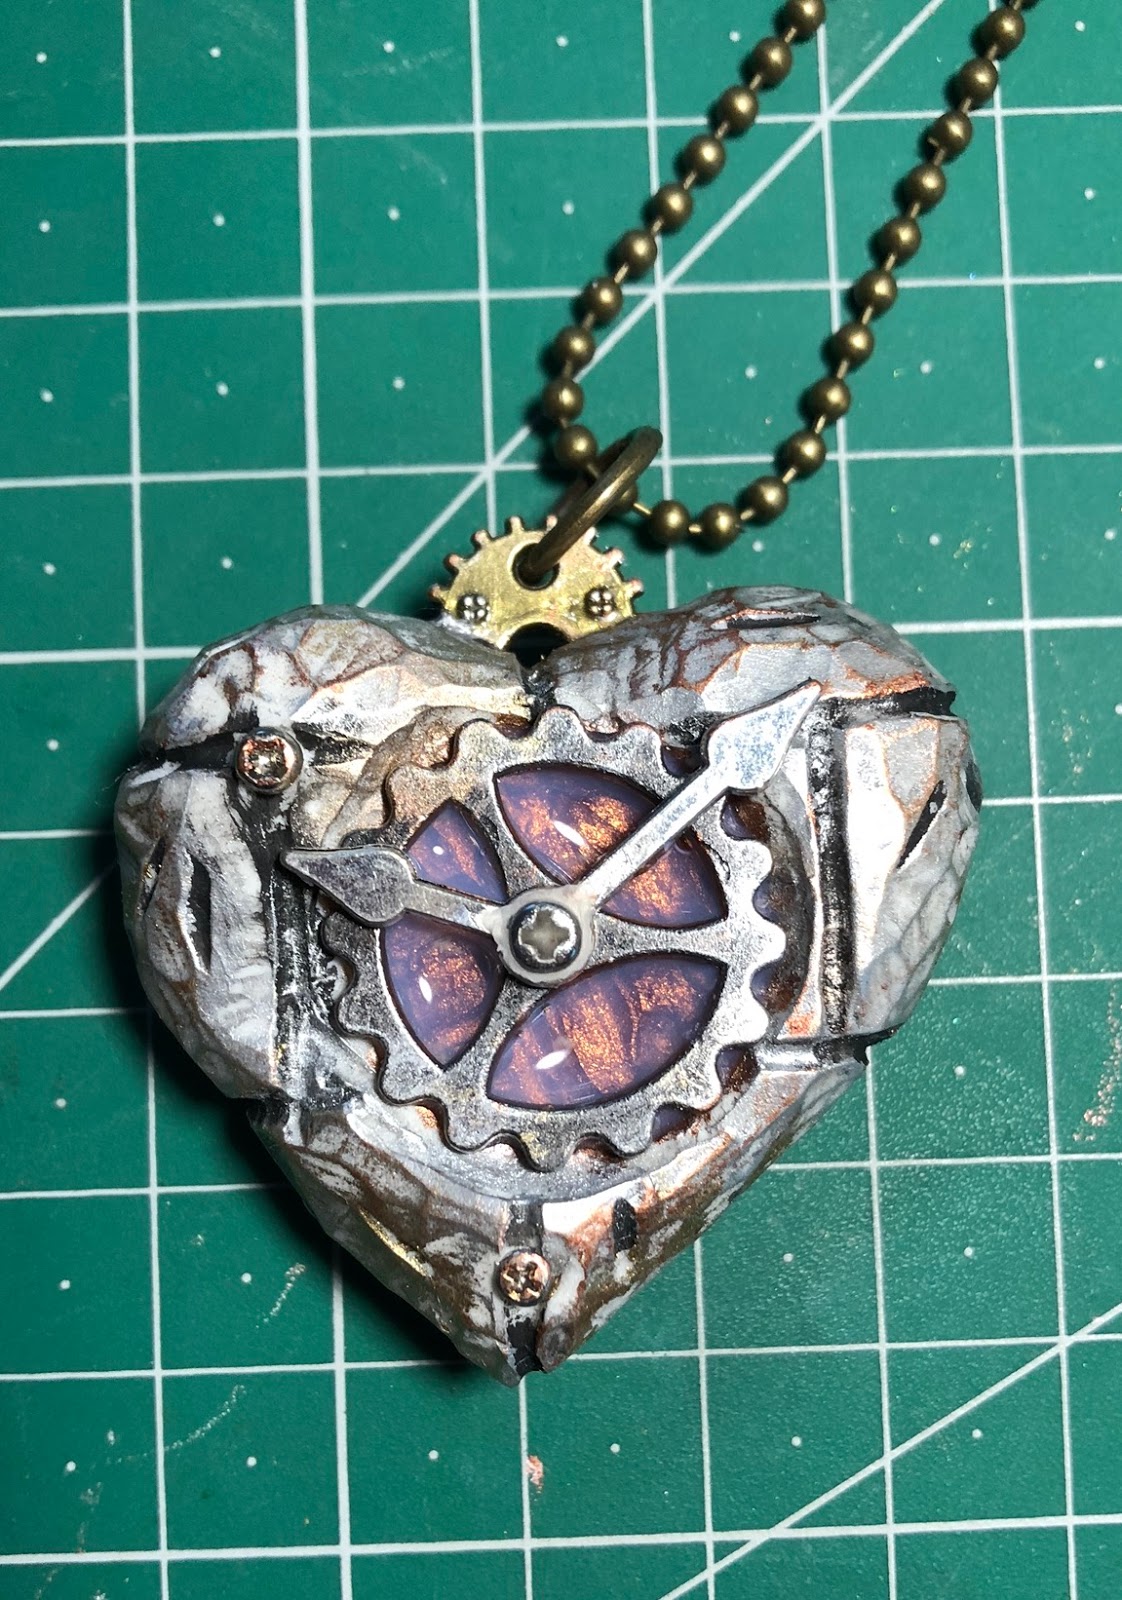
Draw a heart shape onto some totally dried out white clay. Cut out with a scroll saw.
Next, using a sharp knife, round off the edges. HINT: Draw a center line around the middle of the edge and round toward the line.

Draw some lines then use a linoleum cutter to make some grooves.
Hollow out an area for the large gear and place the gear over the opening.

Cut a groove at the top of the heart to hold a small gear that will be the bale.  Epoxy the gear into the groove.
Epoxy a small screw through the hole in the clock hands and gear.  Set aside to cure. 


I also added some small screws to the front and back.

The heart was “antiqued” with Art C® wax.  A bit of Diamond Glad was added to the center of the gear.

A jump ring was added to the top gear and the pendant is hung with a bead chain.

Tuesday, January 22, 2019

Heart Clay Bowl


Design Team Member Iris Rodriguez recently shared this pretty heart bowl just in time for Valentine's Day!  Find her tutorial here.  Iris made her bowl from a stoneware clay, and used the tiny heart from the Makin's® Mini Geo Cutter Set to cut her hearts into the bowl.


Friday, January 18, 2019

Stitched Heart Pendant


Stitched Heart Pendant by Iris Rodriguez 
Valentine’s Day is around the corner. Don’t forget to show some love with this stitched heart pendant. Or make one for yourself. Not only is this heart pendant fun wear, they fuss free to make. Simply adhere two water drop shapes created with Makin's Clay® and the Makins'® Water Drop Cutters.
Materials:
Makin's Clay®– Black
 Makin's®– 
Clay Roller
Water Drop Clay Cutters  
Makin's Professional® Cutting Mat
DecoArt Americana Acrylic Paint-True Red
Glue
24 gauge silver wire
Clay needle tool or awl
Drill bit (optional)
Leather or cotton cord

Instructions:
Roll out a ¼ inch sheet with the roller. Cut two water drop shapes.
Make a heart shape by adhering both pieces on the curved end. Play around with the shapes; offset a little or a lot; you can get different wonky heart shapes. 

Glue both pieces together. 
Keep a little a pressure on the shapes until the glue adheres. Allow the heart to cure for 24 hours.

Using a pastel pencil or other water soluble marking tool, make X’s. At the ends of the X’s is where you will poke a hole. Ensure you have enough clay area to poke a hole.
Poke holes into the ends of X’s. For this you can use a drill bit, needle clay tool, or awl. Ensure that your wire will fit through the holes. It’s wise to use a wooden surface or other tough surface, so that you don’t damage your crafting area, mat or table. Use a paper towel or cloth with a little water and wipe off the X marks.

Paint the heart with acrylic paint, wax or other paints. 

Before the adding the wire, seal the clay with a clay sealer, or other type of sealer or varnish. Wrap the wire into the holes. 
Secure the ends in the back by twisting the ends. Run you fingers, ensure that the ends are not sticking out, if so; bend the wire in towards the clay or tuck under another piece of wire.  At this point you can leave it like this or roll out a thin piece of clay and glue to the back, ensuring to cover the back. Add a hole toward the top of one of the sides of the clay; this is where you’ll on hand the chain. Run a leather or cotton cord through the hole. Add a clasp and you’re done! 


Contact us

Name

Email *

Message *