Pages - Menu

Search This Blog

Showing posts with label mixed-media. Show all posts

Monday, October 28, 2019

Autumn Leaves Photo Frame


Materials:
  • Makin's Clay® white 
  • Makin's Professional® cutting mat
  • Mini leaves cutters
  • Roller
  • Chalk pastels in fall colours
  • White glue
  • Soft paint brushes
  • A blade
  • Plastic bag or foil

Instructions:

This project was born really fast as I had a great helper, my daughter Liza.  I actually,find Makin's Clay® one of the best clays to work with when working with - there are tons of possibilities and it is easy to use.  

1.  Take a piece of white clay out of a package and roll it to a thin layer  (the rest of the clay should be kept in a zip lock with a w et wipe inside.)
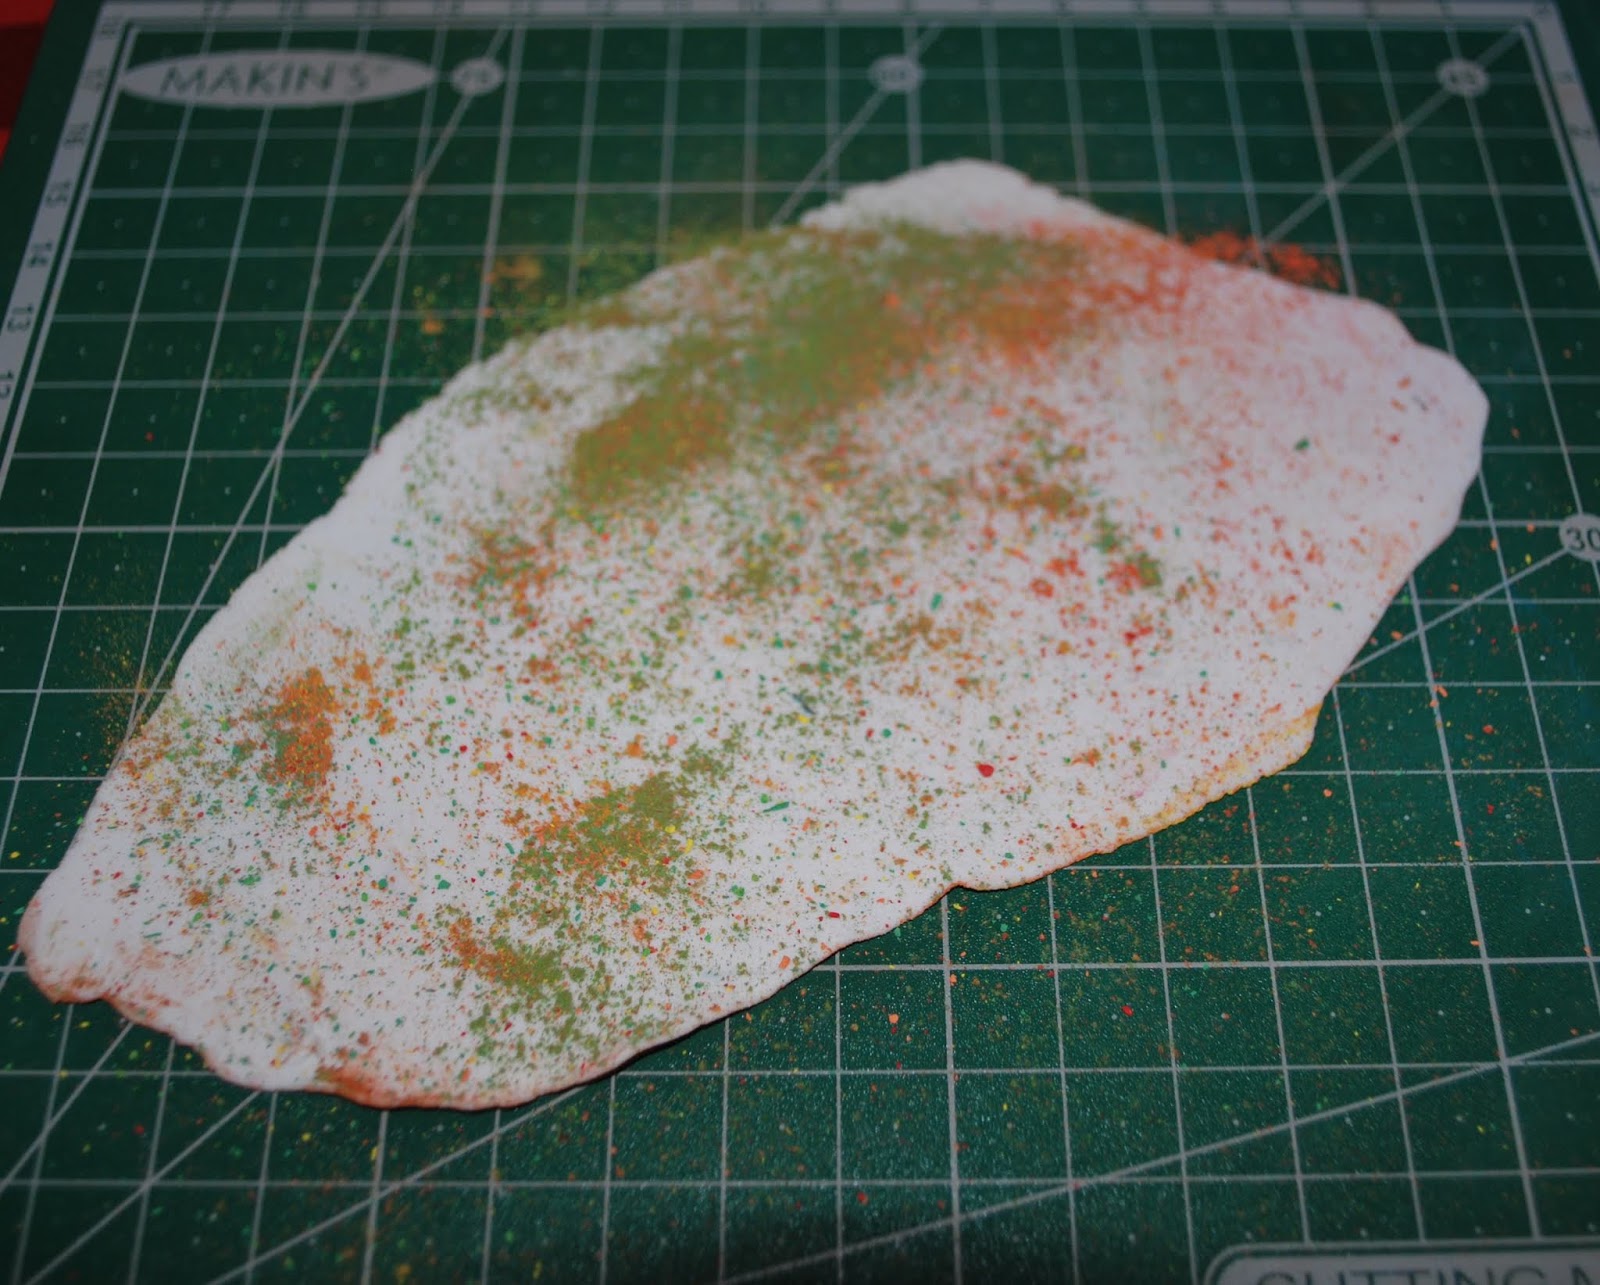
2   Add some chalk dust in autumn shades right on the white sheet. 
3.  We used a blade to make the dust.  
4.  Use a soft brush to spread the chalk powder over the clay.  
5.  Blow the rest.  Keep a sheet so that you collect the colourful dust. 
6.  Put the colouful dust you collected on the other side of the clay sheet. Repeat  steps 4 and 5.


7.  Use mini leaves cutters to cut as many leaves as you wish.

8.  Some leaves will separate well, and some will not, so leave the sheet for 30-50 minutes and then use regular scissors to cut them out. The chalks help the clay dry faster. Let the leaves dry completely for about 20-24 hours.


9.  Meanwhile, let us prepare the picture and the paper frame – I have coloured it with gold acrylic and left some fingerprints, to add some texture. I use double side tape to adhere the pic and the frame.
10. Prepare the cardboard, I glued “knitted” scrap paper on it, and some embellishments.  The main embellishments are the leaves.  For them to be a bit glossy I have used white glue.  Just take each leaf and brush some white glue over from both sides.  Leave to dry for about 30 minutes. (NB! This was my biggest discovery in this project, as I had no clue what to use to make the leaves glossier and had no special mediums).  Attach the leaves chaotically with tacky glue.  


You may use this frame as a frame, or make a page in a scrapbooking album, or make a magnet out of it.  It is up to you! Go and create!!!

Tuesday, October 22, 2019

Thursday, October 3, 2019

BOO! Halloween Wall Panel


BOO! Halloween Wall Panel by Steph Ackerman
​
​Hi everyone, Steph Ackerman here today and I've got a new Spooky project to share for Makin's Clay®.

​Supplies:

​ Makin's Clay® - Black, Brown, White, Earth Tones
​ Makin's ProfessionalⓇ Ultimate Clay MachineⓇ
​ Makin's ProfessionalⓇ Cutting Mat
​ Makin'sⓇ Clay Cutters - Rectangles, Halloween Set
​ Beacon Adhesives - 3-in-1
​ Mod Podge clay mold
​ Memento Fireworks Shimmery Craft Sprays
​ Sizzix dies
​ Burlap Panel
​
Instructions:


​Start by spritzing the panel with assorted colors of Fireworks Inks.  I started with lighter colors then realized I wanted a darker effect so I added a darker blue and gray.
​
Begin by conditioning the white, black and brown clays.  Then place each individually in the clay machine at the highest setting.  Reduce the setting on each pass until you have the thickness you need for your project.
​
​
​
​
As I was creating a Halloween scene, I die cut a haunted house from the black clay.  To be sure the clay did not stick to my die, I place the clay between wax paper and then ran it through my die cut machine.  Although still damp, it die cut beautifully. 
​
Picking up the left over black clay, I mixed it with some white clay and again ran it through the clay machine until I had a mottled effect.  I then die cut the roof of the house and placed it atop the main image. 
​
As the clay was still damp/fresh, no glue was needed to adhere the pieces.​

​
​ 
​
​Next, I die cut 2 trees using another Sizzix die.  Again, I placed the clay between wax paper so it would not stick to the die.                           
Once all my elements were ready, I started creating a spooky scene.  I began by adhering some torn strips of paper across the panel then put the trees in place.  Realizing I wanted fence posts, I used the left over black and white clay and die cut the fences.  I also had left over brown clay so I free hand cut a sign.  Using the small pumpkin cutter, I created several pumpkins, used a craft stick to create texture, then spritzed each with Fireworks Craft Sprays.  They were placed around the sign onto which I added letters spelling BOO.
​
​
​
​Using the ghost clay cutter, I created a number of ghosts that I adhered to the panel.  In the upper corner I created a moon and placed a ghost on top. 
​
​
​
The black cats are standing on the fence and the witch's hat is in the tree.  Yellow clay was added behind the house to simulate light in the windows then the house was adhered to the panel.  Using the remaining black and white clay panel, I used a rectangle cutter to create bricks for a walkway.
​
​
​
​Hoping you have a Happy Halloween!
​
​Thanks for stopping by.
​
​Steph

Tuesday, October 1, 2019

Saturday, September 28, 2019

Sunday, September 22, 2019

Altered Trading Card


Design Team Member Nancy Nickel recently shared this pretty ATC with Makin's Clay® accents.  Makin's Clay® is perfect for paper crafts and mixed-media projects as it is lightweight, flexible, and acid free when dry.  It can be molded, sculpted, and even die cut or used with craft punches when dried.

Friday, September 20, 2019

"Thankful" Autumn Cards


"Thankful" Autumn Cards by Bea Grob

Fall is around the corner, I did spot already some colorful leaves. That and because I need some cards anyway inspired me to make some “faux fall leaves.”  Embellishments from Makin's Clay®are easy to make and once the Makin's Clay® is dry it is acid free, so perfect for going onto cards, scrapbooks and what not.

Supplies

About 40 gr (1 ounce) of white Makin's Clay®
Makin's® Push Mold Leaves SKU 39001
Cutting Matt
Several colors of mica powders

Materials

I started with a rolled ball of clay approximately 1 cm diameter.  Push it into the mold.

Make sure that the backside is flat, by smushing excess clay away from the leave. Continue to make as many leaves as you would like. 

While the clay still is fresh, right after you have made the backside flat, pull the leaves carefully out from the mold. Sometimes it is helpful to bend the mold a bit which can be done, as the mold is flexible. Make a bunch of leaves and make sure that they don't dry. I sprayed mine with a little bit of water, while working on some more leaves. For the next step the Makin's Clay® still needs to be damp.


Grab several colors of mica powders you like. I have chosen greens, golds, copper, yellow. I also added a hot pink. I added them in different spots onto the leaves with a brush. Simply dip into the powders and then dabb it onto the leaves.

I let them dry overnight.


The next day I grabbed some papers, ribbons and card bases to make two cards.

On some craft colored card stock I have printed on my computer the word thankful and then I cut it to size. I mostly always add some black outline with a permanent marker. 

For the card base and the mat I use some glue, but for the word and the leaves I use some foam tape to raise them up a bit.


Now you have some beautiful fall themed cards which would also work well for Thanksgiving day.

Tuesday, September 17, 2019

Clay Heart Canvas


Clay Heart Canvas by Nancy Nickel

Materials Used:
Makin’s Clay® - Black Clay
Makin’s Professional® - 
Cutting Mat
Heart Mold – Stamperia;
Canvas – 5 x 7;
Decorative Paper – 5 x 7;
Cosmic Shimmer Metallic Gilding Polish – Gold;
Scraps of Gold Shimmer Tulle;
Tim Holtz Quote Sticker;
Scrap of Black Chipboard
Instructions:
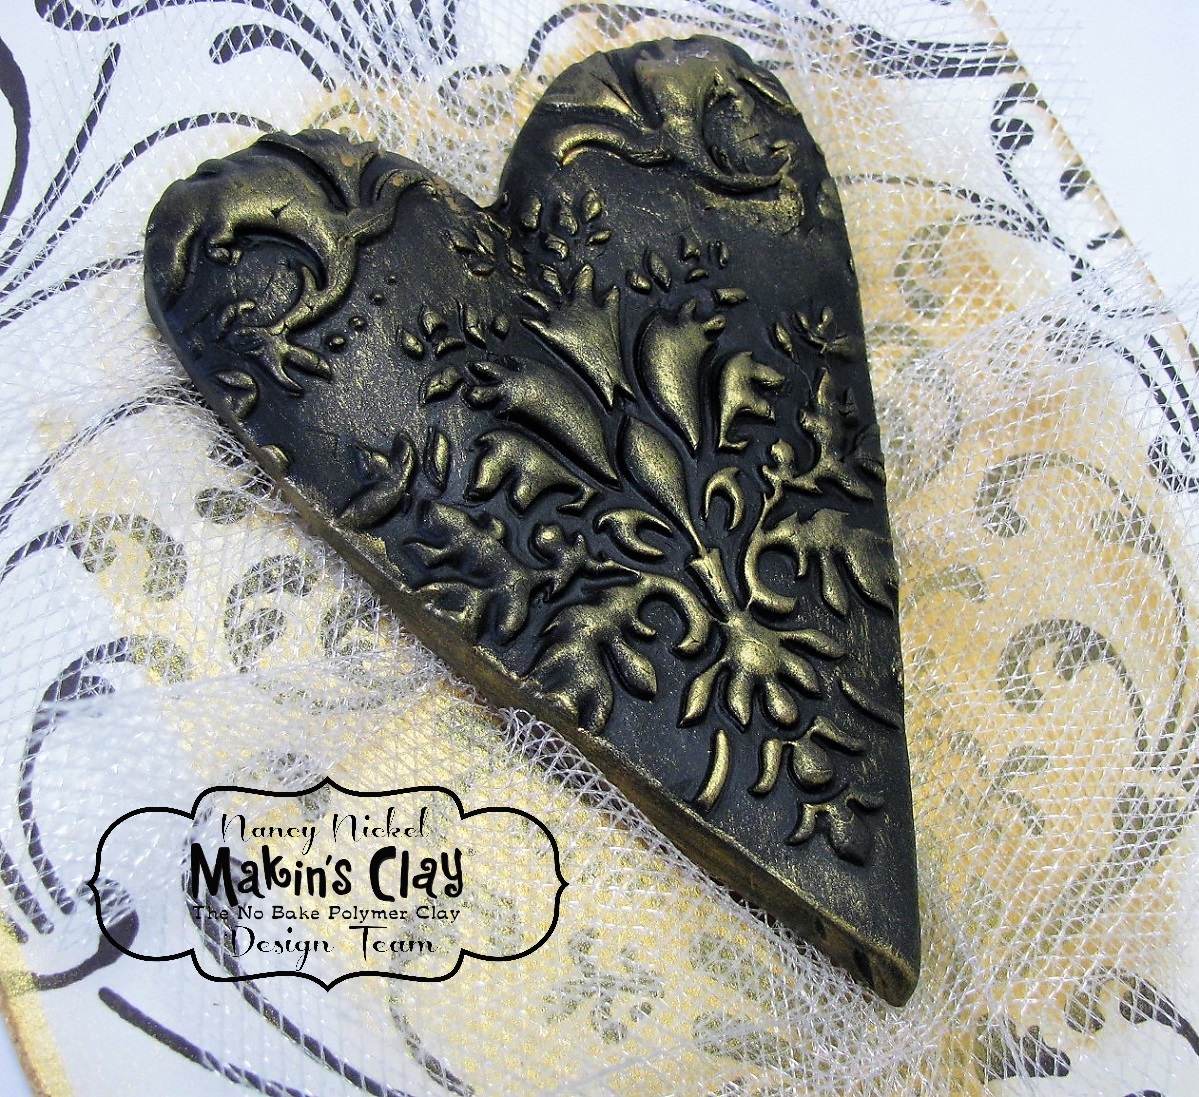
1.   Roll a good size piece of black clay into a smooth oval. Insert clay firmly into the heart mold. Pop heart out of mold, and allow to dry.

2.   When it’s dry, brush the surface of the heart with the gold gilding polish, using the foam applicator. 


3.   Adhere the paper to the front of the canvas.
4.   Swipe some gilding polish on the center of the canvas, as well as along all the outside edges. 
5.   Bunch up the shimmer tulle, and adhere to the center of the canvas.
6.   Adhere the pretty heart in place on the tuft of tulle. TrIm any excess tulle, so that it frames the heart nicely.


7.   Adhere the quote sticker to the scrap of black chipboard, and adhere in place under the heart.
8.   Pop the canvas in a frame, or display as it is!


Contact us

Name

Email *

Message *