Pages - Menu

Search This Blog

Showing posts with label autumn. Show all posts

Monday, October 28, 2019

Autumn Leaves Photo Frame


Materials:
  • Makin's Clay® white 
  • Makin's Professional® cutting mat
  • Mini leaves cutters
  • Roller
  • Chalk pastels in fall colours
  • White glue
  • Soft paint brushes
  • A blade
  • Plastic bag or foil

Instructions:

This project was born really fast as I had a great helper, my daughter Liza.  I actually,find Makin's Clay® one of the best clays to work with when working with - there are tons of possibilities and it is easy to use.  

1.  Take a piece of white clay out of a package and roll it to a thin layer  (the rest of the clay should be kept in a zip lock with a w et wipe inside.)
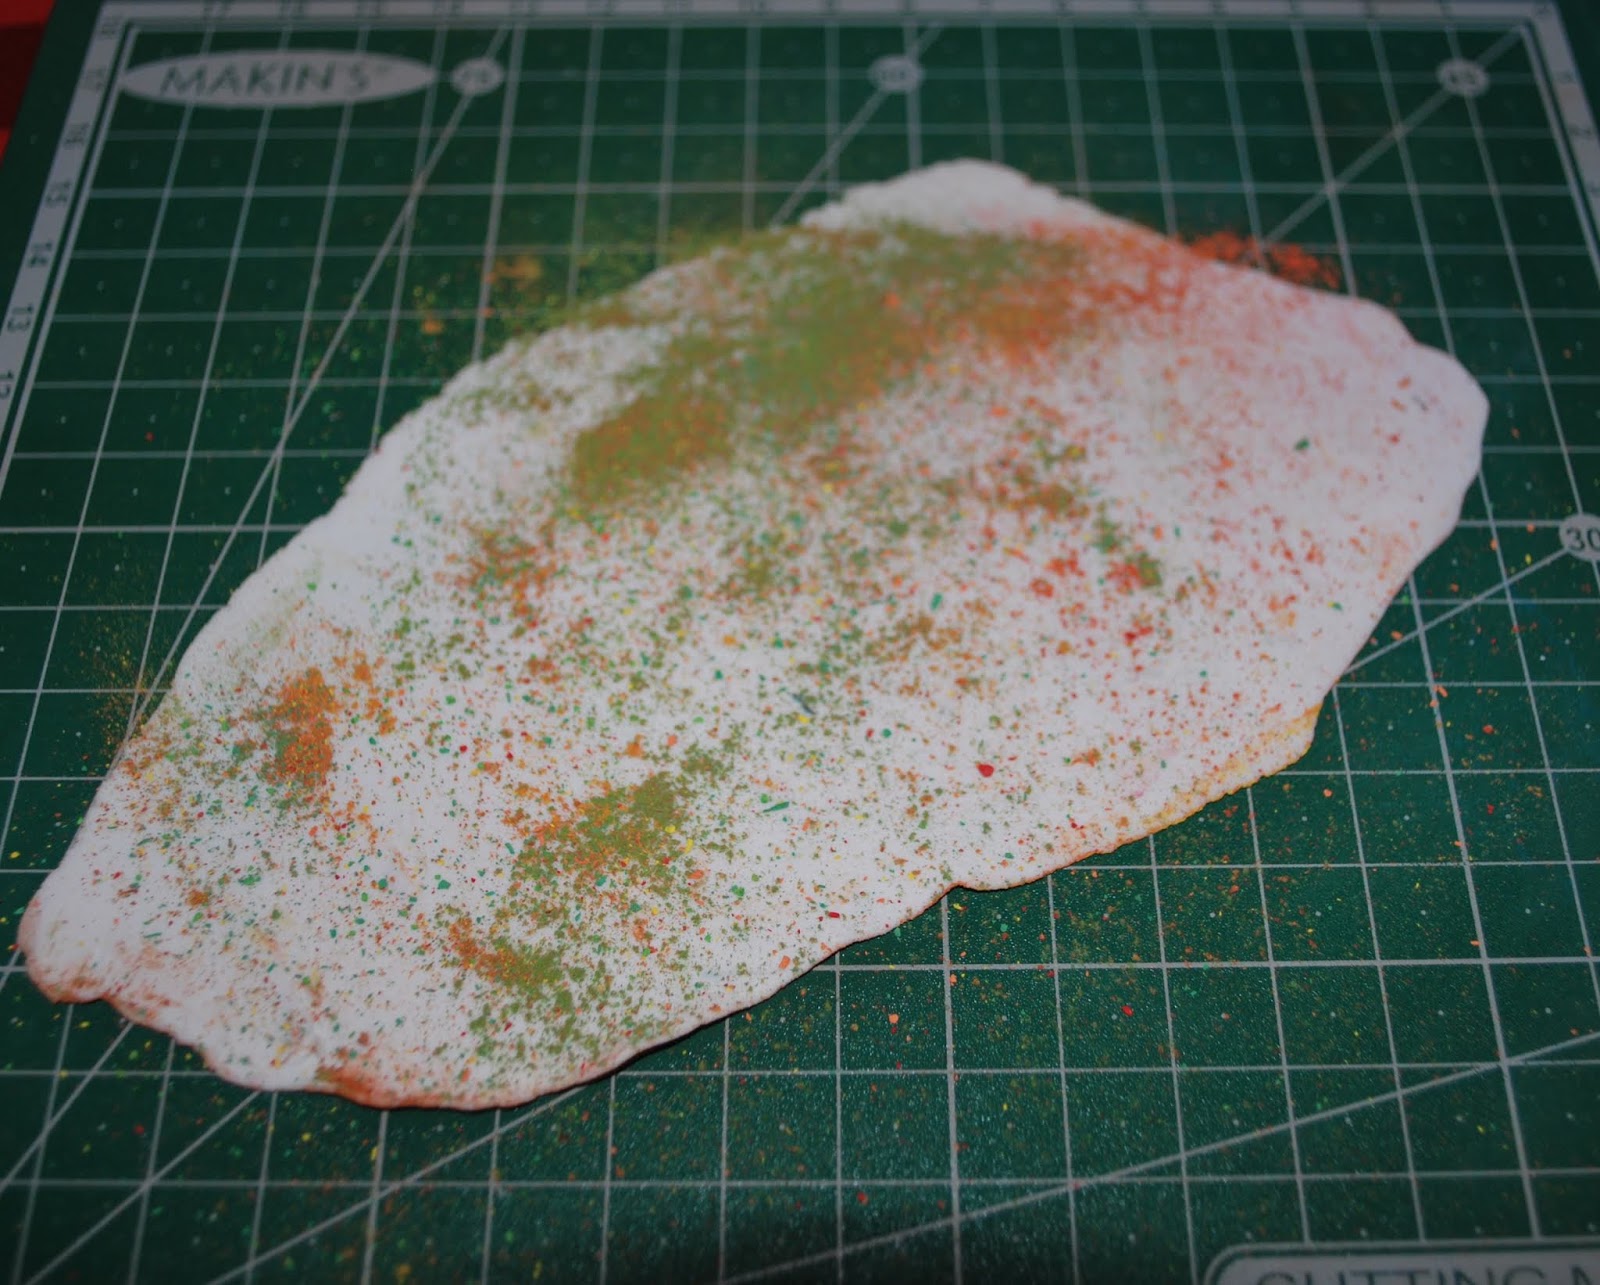
2   Add some chalk dust in autumn shades right on the white sheet. 
3.  We used a blade to make the dust.  
4.  Use a soft brush to spread the chalk powder over the clay.  
5.  Blow the rest.  Keep a sheet so that you collect the colourful dust. 
6.  Put the colouful dust you collected on the other side of the clay sheet. Repeat  steps 4 and 5.


7.  Use mini leaves cutters to cut as many leaves as you wish.

8.  Some leaves will separate well, and some will not, so leave the sheet for 30-50 minutes and then use regular scissors to cut them out. The chalks help the clay dry faster. Let the leaves dry completely for about 20-24 hours.


9.  Meanwhile, let us prepare the picture and the paper frame – I have coloured it with gold acrylic and left some fingerprints, to add some texture. I use double side tape to adhere the pic and the frame.
10. Prepare the cardboard, I glued “knitted” scrap paper on it, and some embellishments.  The main embellishments are the leaves.  For them to be a bit glossy I have used white glue.  Just take each leaf and brush some white glue over from both sides.  Leave to dry for about 30 minutes. (NB! This was my biggest discovery in this project, as I had no clue what to use to make the leaves glossier and had no special mediums).  Attach the leaves chaotically with tacky glue.  


You may use this frame as a frame, or make a page in a scrapbooking album, or make a magnet out of it.  It is up to you! Go and create!!!

Tuesday, October 22, 2019

Monday, October 7, 2019

Halloween in a Bottle - Glow in the Dark!


Halloween in a Bottle by Leila Bidler 

For this project you will need:

Makin's Clay® Glow in the dark
Makin's Clay® White
Makin's Clay® Black
(The quantity of clay depends on the dimensions of your jar!)
Makin's Professional® Ultimate Clay Machine®
Makin's Professional® Cutting Mat
Makin's® Basic Tool Set
Glass vial or jar with cork top (any dimension you like)
Clay texture sponge
Black embossing powder
Acrylic Paint black
Small paintbrush
Small deco pebbles
Colored dry deco moss
2 eye pins 
Small jewelry pliers

Instructions:

- In this tutorial we will use the awesome Makin's Clay® GLOW IN THE DARK to create a little ghost scene in a jar - the perfect decoration for Halloween!

- Take some black Makin's Clay® and roll it thru the widest setting of your Makin's Professional® Ultimate Clay Machine®. Turn it 90° and run it thru the second setting. Now run it thru the first setting again with a texture sponge to get a nice deep textured base for our little Halloween / Graveyard scene.


- Using the jar itself or the top, whatever is more comfortable to you, cut out a disc of this textured sheet of clay, since during drying it will shrink a little bit it will fit perfectly on the bottom of your jar once it is dry.

- Mix some white clay with a tiny amount of black clay you can always add more to make it darker and add some black embossing powder to give it the look of granite.


- Roll out the clay on the thickest setting or your clay machine and cut off a long stripe, then fold it in half, now you have a piece of clay that is twice the thickest setting of your clay machine. Using the tools from your Clay Basic Tool Set cut out the shape of a basic headstone.


- Using a paintbrush or the tip of your finger moisten the base of the headstone with some water and wrap the stripe around it so the headstone can stand up by itself (photo 007)

- Make some markings in the stone, draw a cross, some symbols or the classic "R.I.P." on the headstone and put it aside for now.


- Let's make a Glow in the dark skull now! Take your Glow in the Dark Makin's Clay® and make a small ball, pinch the bottom part to form an egg shape.

- Using the small tip of your tool poke two roundish holes for the eye sockets and two small ones for the nose.

- Cut off the bottom sides to make a sharp jaw line and draw one horizontal and 5 vertical lines for the teeth.


-Put a drop of water on the black base and add the headstone and the tiny skull so they will stick while it all dries.


- Now we need a little ghost! Using the Glow in the Dark Makin's Clay® form an egg shape and pinch the sides to form two "arms."

- Insert an eye pin on the top of the head and carefully close the hole around it. It will get permanently stuck once your clay dries.


- Let everything dry for a day.

- When everything is dry use some black acrylic paint on the headstone, the skull and paint a little face on the ghost:


- Take the second eye pin and insert it in the bottom center of the jar lid. Since it is cork you just need to push a little, no need to drill holes or use glue.


- Suspend your little ghost from that eye pin, if he hangs too low, just push the eye pin further into the cork lid - the fun part is that using two joined eye pins the ghost will move if you just touch the jar.

- Now put the base with the headstone and the skull on the bottom of your jar, use some white clay to glue it in and sprinkle some small decor stones and colored dried moss all over. Decor moss comes in all colors, I used light green and orange, it is a very soft material that you can easily pick a part with your fingers or cut with a pair of scissors. 


Want to see the ghost in motion?  


Expose to a light source then turn off the lights and enjoy!


Tuesday, October 1, 2019

Monday, September 30, 2019

Contemporary Brooches


Design Team member Cynthia Gougian recently shared these fantastic contemporary brooches. She created the modern textures with Makin's® Clay Texture Sheets. I used "Coils" and "Connectors" from the Clay Texture Sheets- Set H. Cynthia really enjoys using the textures in this set! She loves the dramatic, stylish effects they create!

Saturday, September 28, 2019

Autumn Leaves Candle Holder


Autumn Leaf Candle Holder by Panarili
Thank you Bea Grob for the great idea to use wooden cubes!  

Tools and Materials:

Makin's Professional® Cutting Mat
Makin's® clay roller 
Leaves
Wooden cube
Tea light candle
Water colors
Paint brushes 

Remove the clay from the packaging.  Any clay you are not using put into a plastic bag with a zipper top, add a damp paper towel or a moist towelette to keep the clay fresh for later use. 
Roll out the clay about 2-3mm thick to cover the cube on all but one side.  Cut the rest of the clay. 


Place leaves on each of the 4 sides except for the bottom.  Press them well


Take watercolours in fall shades and paint each side in a different shade. You may also add some details if wanted, I did so with the berries for one of the leaves.  


Once dried a bit, take off the leaves and colour the leaves.  Let it dry well.


Leave it dry for at least 24 hours, then extract the cube = that was the most difficult part))) Colour the inside if wanted.  
Place the candle inside.  Most likely it will be too deep for it, so put some foil or something else in the cube.  Then place the candle.  Make as many as you wish and enjoy the fall days. 


Contact us

Name

Email *

Message *