 |
| "FALL" Decorative Jars by Steph Ackerman |
Supplies:
Makin's®
Makin's Professional®Beacon Adhesives Tacky Glue
Spellbinders Dies & Grand Caliber machine
Mason Jars
Instructions:
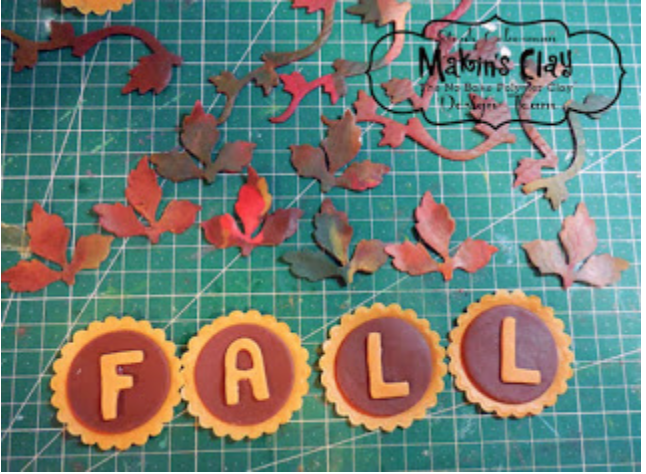
Roll out Straw clay into a thin sheet using the clay roller.
Cut letters from the clay.


 Place remaining damp clay between two layers of wax paper.
Peel off both layers of wax paper to reveal the die cut elements.
Using wax paper ensures that the clay does not get stuck in the die when cutting with fresh clay.

Use the clay roller and roll out brown clay to a thin layer.
Use the largest round cutter to cut 4 circles.
Mix assorted colors of clay together and roll to a thin panel using the Ultimate Clay Machine®.
Begin with the highest setting #1.
Continue placing the panel in the clay machine, turning the dial up each time until the panel is thin. I finished on setting #5.
Look at all the fun combinations of colors you can create!


Die cut an assortment of leaves from the clay panels.
Assemble the circular elements and letters.
Emboss leaves with a texture sheet.

I allowed this layer of clay to dry overnight, then die cut scalloped circles for the tops of the jars.
Dried clay die cuts easily and there is no need to use wax paper as you need to when the clay is fresh.

 |
Finally, assemble the jars.
Use Tacky Glue to adhere burlap around the jars. Adhere the letter panels and leaves to the burlap.
Place the die cut scallops on the top of the jars.

These make great decorations for the holidays. They would also make great hostess gifts don't you think?
Thanks for stopping by.
No comments:
Post a Comment