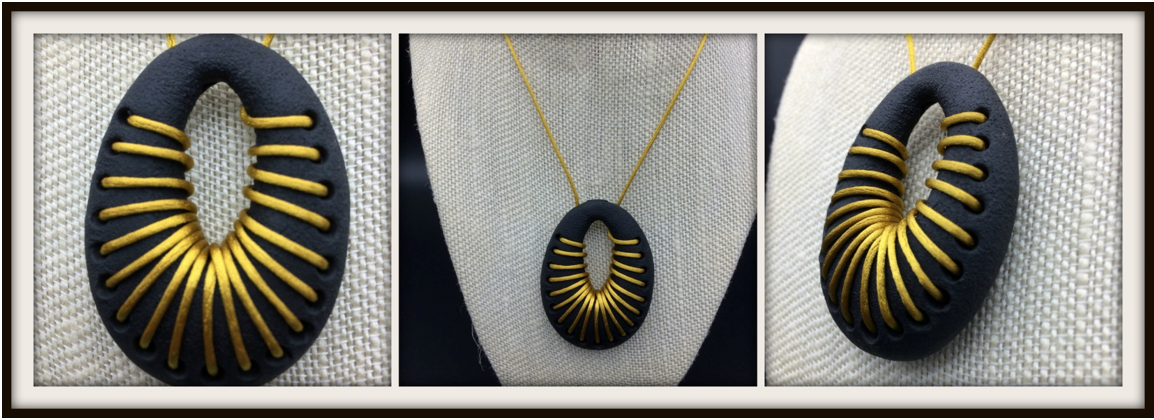
String Theory Necklace
By Carole Monahan
I meant to do a project about SPRING??
But string is close….right?
Channeling more of my dark and twisted side comes easier to me than
making
something with flowers.
There are soo many variations running through my head right now for
this basic design.
Materials:
Satin cord - 1mm your color of choice
Tools:
Makin's Professional®
- Ultimate Clay Machine®
- Professional Clay Tools
 Makin's® Clay Cutters - 3 piece Oval
Plastic wrap or sandwich baggie
Texture sponge (air conditioner filter)
 This is as easy as the supply list. It just takes some precision and some bad words at times! Did you ever notice the more simple the lines, the harder it is to execute? There is no place to hide a mistake.
Instructions:
Take about 1 oz. of black clay and roughly shape it into an oblong pebble.
Take the largest oval clay cutter, 40mm, and place a piece of plastic wrap or sandwich bag over the clay to be cut. This will give you a smooth and rounded edge as shown.
Take the smallest cutter, 20mm, and cut the center hole. No need for the plastic wrap for this hole, it will just warp the shape. You can smooth anything out with the sculpting tools.
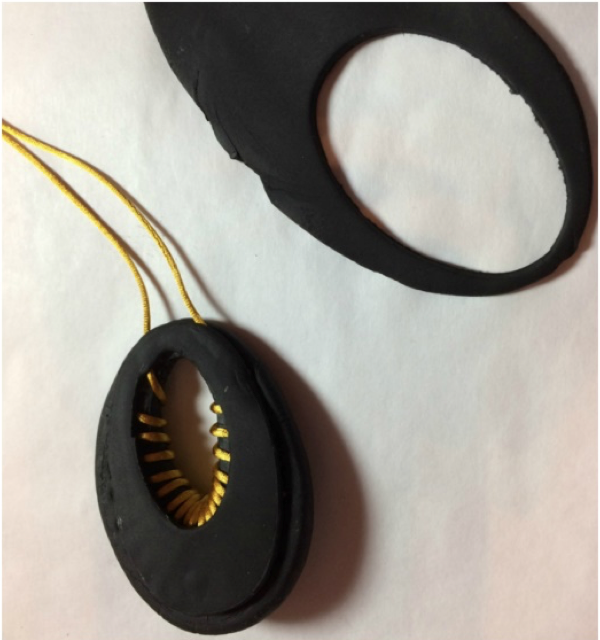
While the clay is still fresh, use your texture sponge to create a lava like surface. Now take your fine tip from the Professional Tool Kit to start the holes. I mark each spot first before I commit (insert cursing here...).
Now wait at least 3 hours for the clay to partially cure. The outside will be dry, but the middle will still be fresh, this helps if you have to adjust any of the holes to make the string fit in. No power tools needed this way.
This is just basic whip stitch. The trick to avoid the curse words is to fold the cord in half. Start in the middle one side a time. I used about 1 yard. Better to err on the side of caution, you want to have enough string on the end for it to hang around your neck.
 Now roll out a small piece of the black clay on the Ultimate Clay Machine® starting at setting #1 and progressing to setting #3. Use the middle sized oval cutter, 30mm, to cut out the back. Lay the back onto the piece. You may want to use a damp cloth on the back of the necklace to help the newly cut piece adhere. You are making sure the top strings are even at this point so when the necklace hangs around your neck it is even.
Now take the longer large tip from your Professional Tool Kit and smooth to the back and set the top strings in place for hanging You can use a damp towel to help this along. I took the texture sponge to the back of the piece as well.
I finished the necklace with a basic sliding slip knot, this way it can be adjusted and worn at many different lengths.
This
was a fun project and I can see this with all different variations or color and
shapes and strings!
If
you want to see what other twisted things I’m up to you can fine me and follow
me here.
I
would love to see your variation of this!


No comments:
Post a Comment