Hello my crafty friends! Irit is here and this time I am going to show you my Steampunk creation made for Father's day with Makin's Clay products . As you all most probably know, making masculine projects can be a pain. Most of us have a hard time with anything masculine. But then, Steampunk can be an easy solution for this hard situation and as I am a Steampunk lover, this was my solution for a small present to my husband.
Product list:
Stamps: Rubber Dance
Molds: unknown/ self made
Powders: ESF Copper, Blue
Inks: Distressed Ranger
Alcohol inks: Ranger
Metals: Tim Holtz, other
Clock brad: Eyelet Outlet
Adhesive: Quick Grip
Step by step instructions:
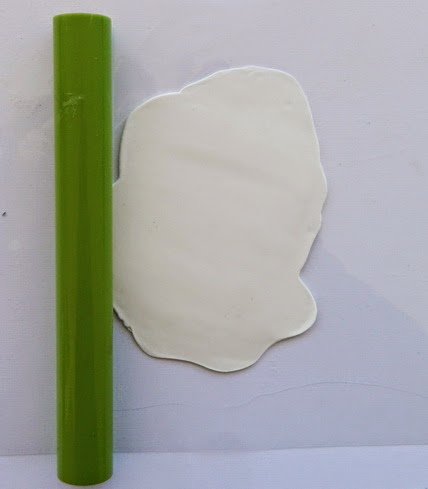
1. Use 1/2 package of white clay and roll a sheet of it in whatever shape. The great thing is that it can be any irregular shape: the more irregular- the better.
2. Use gears texture sheet on 2/3 of your flat clay piece. Stamp script letters into the naked 1/3 of the clay sheet. Let it dry!
3. Use some face mold and make your King's face mold. I made a few and actually I used another face for my finished project, so this is just a sample. The wings were caste from the same white clay in my own homemade mold. Let the pieces dry and it takes time as those are not flat pieces. Just wait!
3. And then arrange your King as shown.
I didn't make extra photos of the steps as those are just very easy steps to understand without any photos.
First ink the flat textured piece with a mix of brown distress inks and add some Copper powder over the piece. Paint the face and the wings the same way. For the wings I added a lot of blue ink and just a bit of copper powder over it.
Arrange the central metal piece using Quick Grip adhesive and then add a few drops of alcohol inks over the finished cluster and a bit of copper powder.
Use alcohol ink to change the FIND MUSE metal pieces as they were in silver.Make the very same with the metal crown.
Glue all pieces over the background clay and enjoy your creation!


No comments:
Post a Comment