
SEASHELL VOTIVE
Designed by Lisa Haney
Supplies:
Makin’s Clay® - White 120g
- Push Mold – Sea Shells
-Texture Sheet – Set A - Sand
6”x6” Tile
Beacon™ Tacky Glue
Oil paint – burnt umber, green, red, purple, pink, white
Paint brush
Paper towels
Rubber gloves
Turpenoid (or turpentine)
Votive with candle
Method:

Mold at least one each of the sea shells and one starfish using the Makin’s® Sea Shell Push Mold.
Create the sand area where the votive will sit by flattening
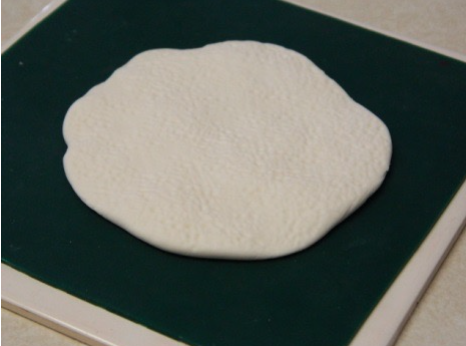 a large ball of clay. Make sure there is enough room for the votive and an area for the shells. Give it a sand texture by
pressing the Makin’s® Texture Sand Sheet all over the clay.

Press the votive into the clay. Make two rocks by rolling a 1” ball and a ¾” ball of the clay. Put a small amount of Beacon™ Tacky Glue on the bottom of each rock and press beside the votive. Press the sand texture sheet all over the rocks.

Put a small amount of glue on the bottom of each of the
shells and place them around the votive on the sand area. Glue the starfish to the top of the rocks. If there is still more room around the votive, simply mold more shells and glue them on. Let the entire piece dry.  Remove the votive from the base and place the piece on a tile. Put on rubber gloves. Paint the entire piece using the burnt umber oil paint.
Immediately rub the paint off with a paper towel removing
as much paint as possible. Do not worry about getting the paint out of the crevices. Clean the paintbrush with the turpenoid.  Paint the starfish. I painted it orange but starfish come in a variety of colors so choose the color or colors you like. Immediately wipe the paint off with a paper towel. Continue painting the rocks and other shells with various colors of the oil paint and immediately wiping the paint off after each color. Use the tupenoid to clean the paint brush in-between colors. After everything has been painted, let the paint dry.
  Replace the votive, add a candle, and enjoy!
Lisa taught this project at a recent workshop - you can see photos from her class and see their finished projects here on her blog.
No comments:
Post a Comment