 |
| Stackable Cans Designed by Lisa Haney |
Supplies:
Makin’s Clay®
Neon Yellow, Pink and Green, Black
Recommended
Makin’s® Tools
Other Materials:
Stackable Cans – three
Method:
Create a long strip of neon green Makin’s Clay® by running it
through the Ultimate Clay Machine™starting with the largest setting. Move the setting of the clay machine up one
setting at a time until the clay has been run through the #4 setting. The strip should fit around the entire can.


Wrap the strip around the can and trim. Rub the seam together.
Texture the green clay by repeatedly pressing the sand
texture sheet from the Makin’s Clay®
Texture Sheet Set A all the way around the can. This should help hide air bubbles,
fingerprints, and the seam.


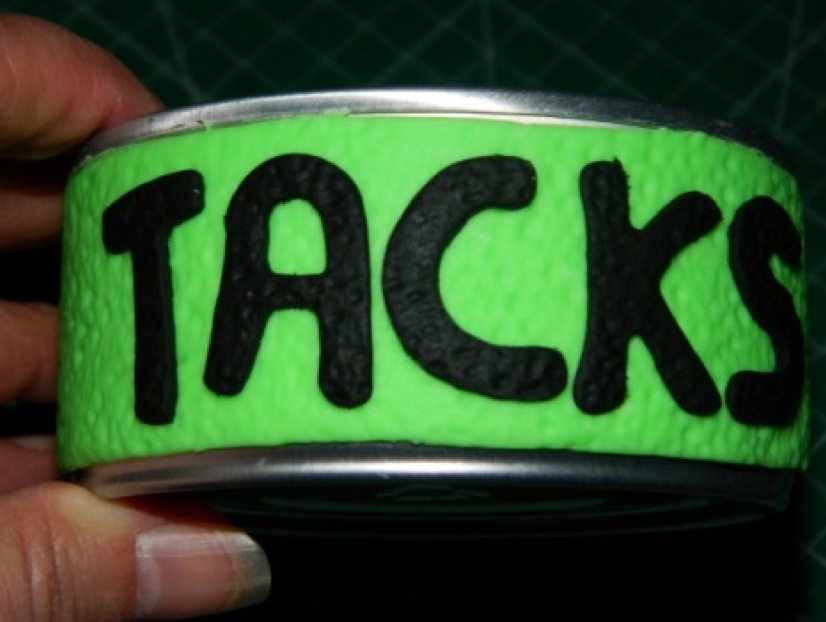
Create a sheet of black Makin’s Clay® by running it
through the clay machine starting with the largest setting. Move the setting of the clay machine down one
setting at a time until the clay has been run through the #3 setting. Cut out the letters ‘TACKS’ and press each
letter onto the side of the can using the Makin’s Clay®
Alphabet Cutter Set.
Press the sand texture sheet repeatedly on each letter to give them texture and round the edges.

 Repeat all the directions using the neon pink and yellow
clay adding ‘RUBBER BANDS’ and ‘PAPER CLIPS’ (or ‘BANDS’ and ‘CLIPS’ for a
shorter version) to each can. Or, change
the words to whatever you would like to store in the cans (‘MINTS’, ‘CANDY’,
etc.) Or, add more cans with more words. They are stackable so add as many as you
would like!
Repeat all the directions using the neon pink and yellow
clay adding ‘RUBBER BANDS’ and ‘PAPER CLIPS’ (or ‘BANDS’ and ‘CLIPS’ for a
shorter version) to each can. Or, change
the words to whatever you would like to store in the cans (‘MINTS’, ‘CANDY’,
etc.) Or, add more cans with more words. They are stackable so add as many as you
would like!
2 comments:
Wicked cool idea...nice job Lisa, I love to up cycle.
What a great idea!. This would be a wonderful teachers appreciation gift that my little girl could help out on.
Post a Comment